
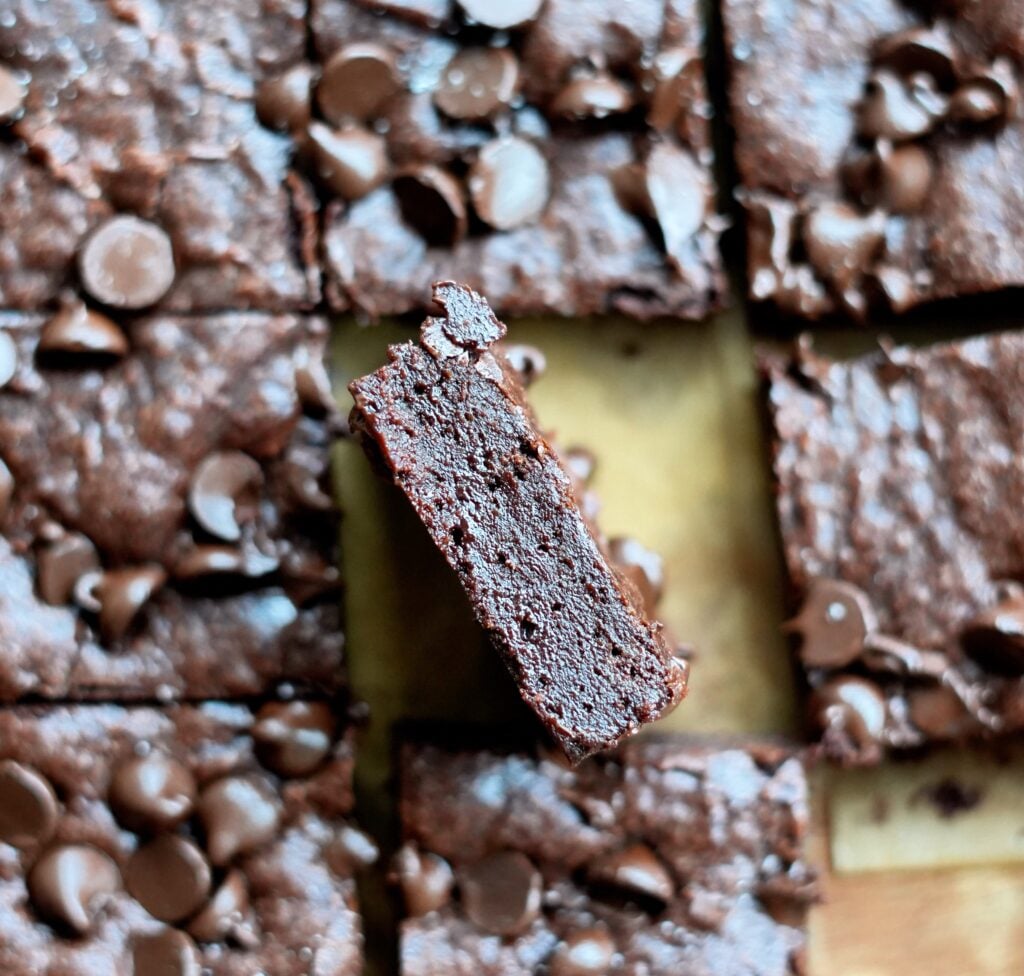
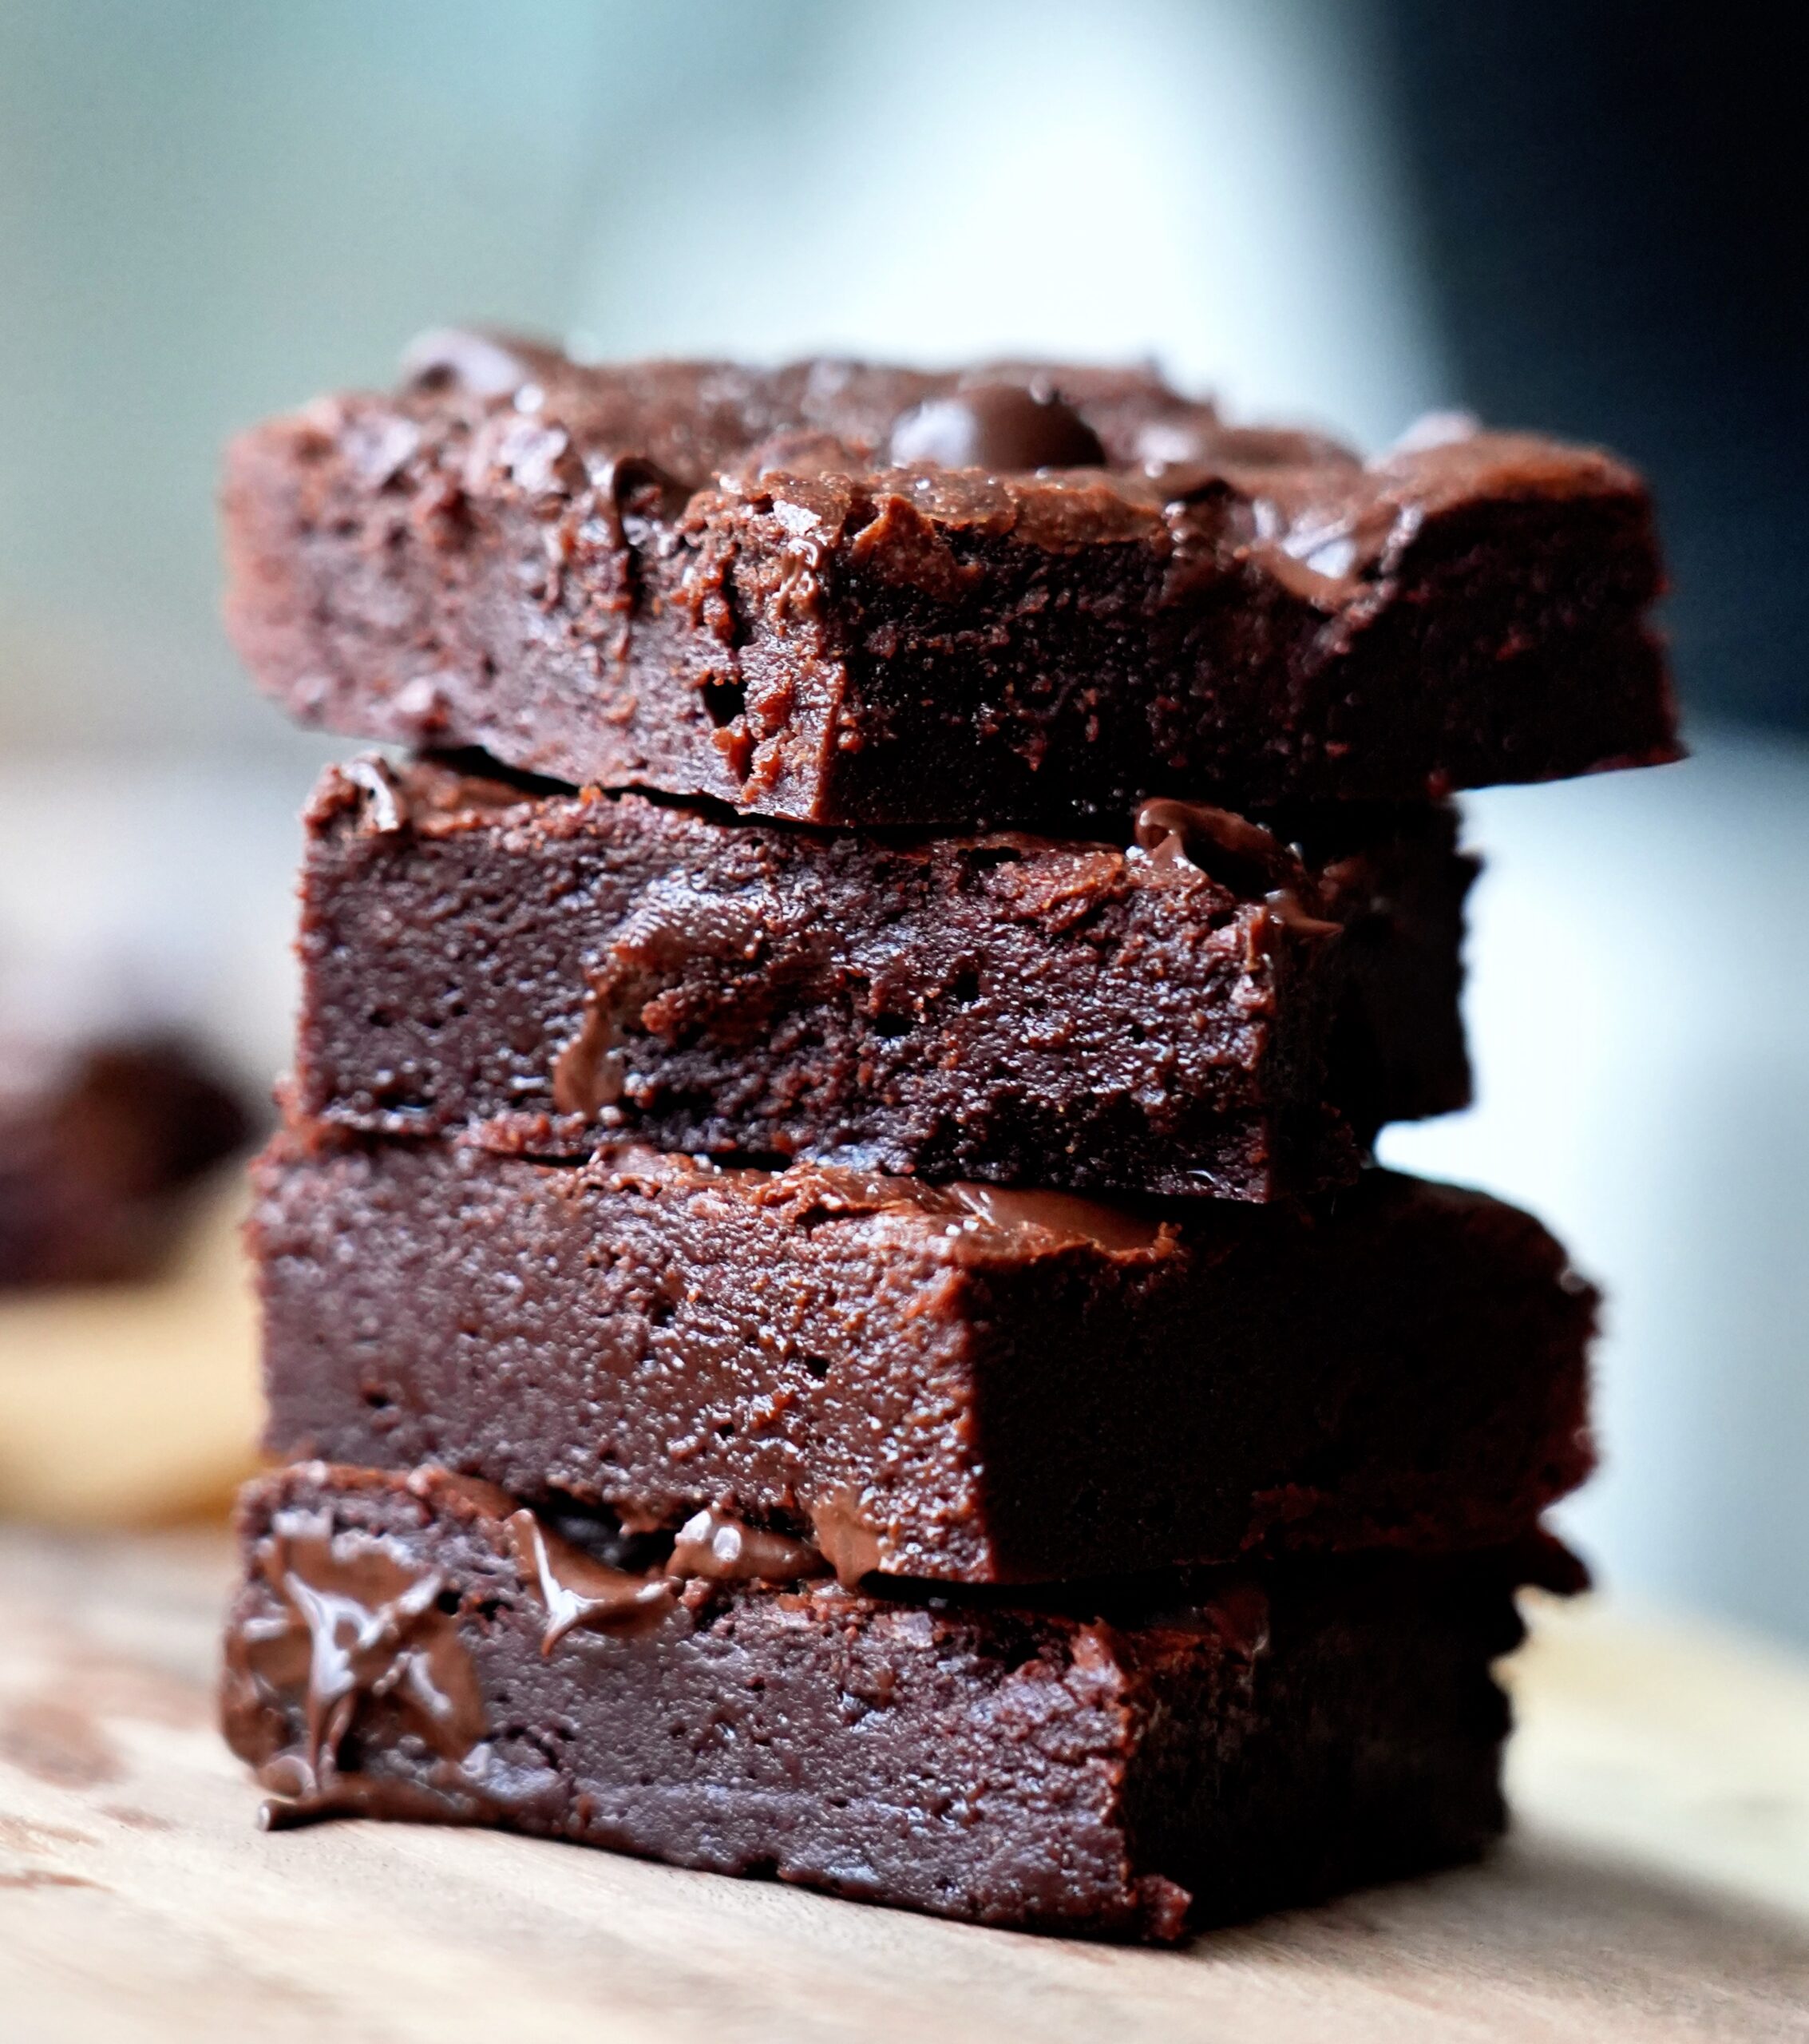
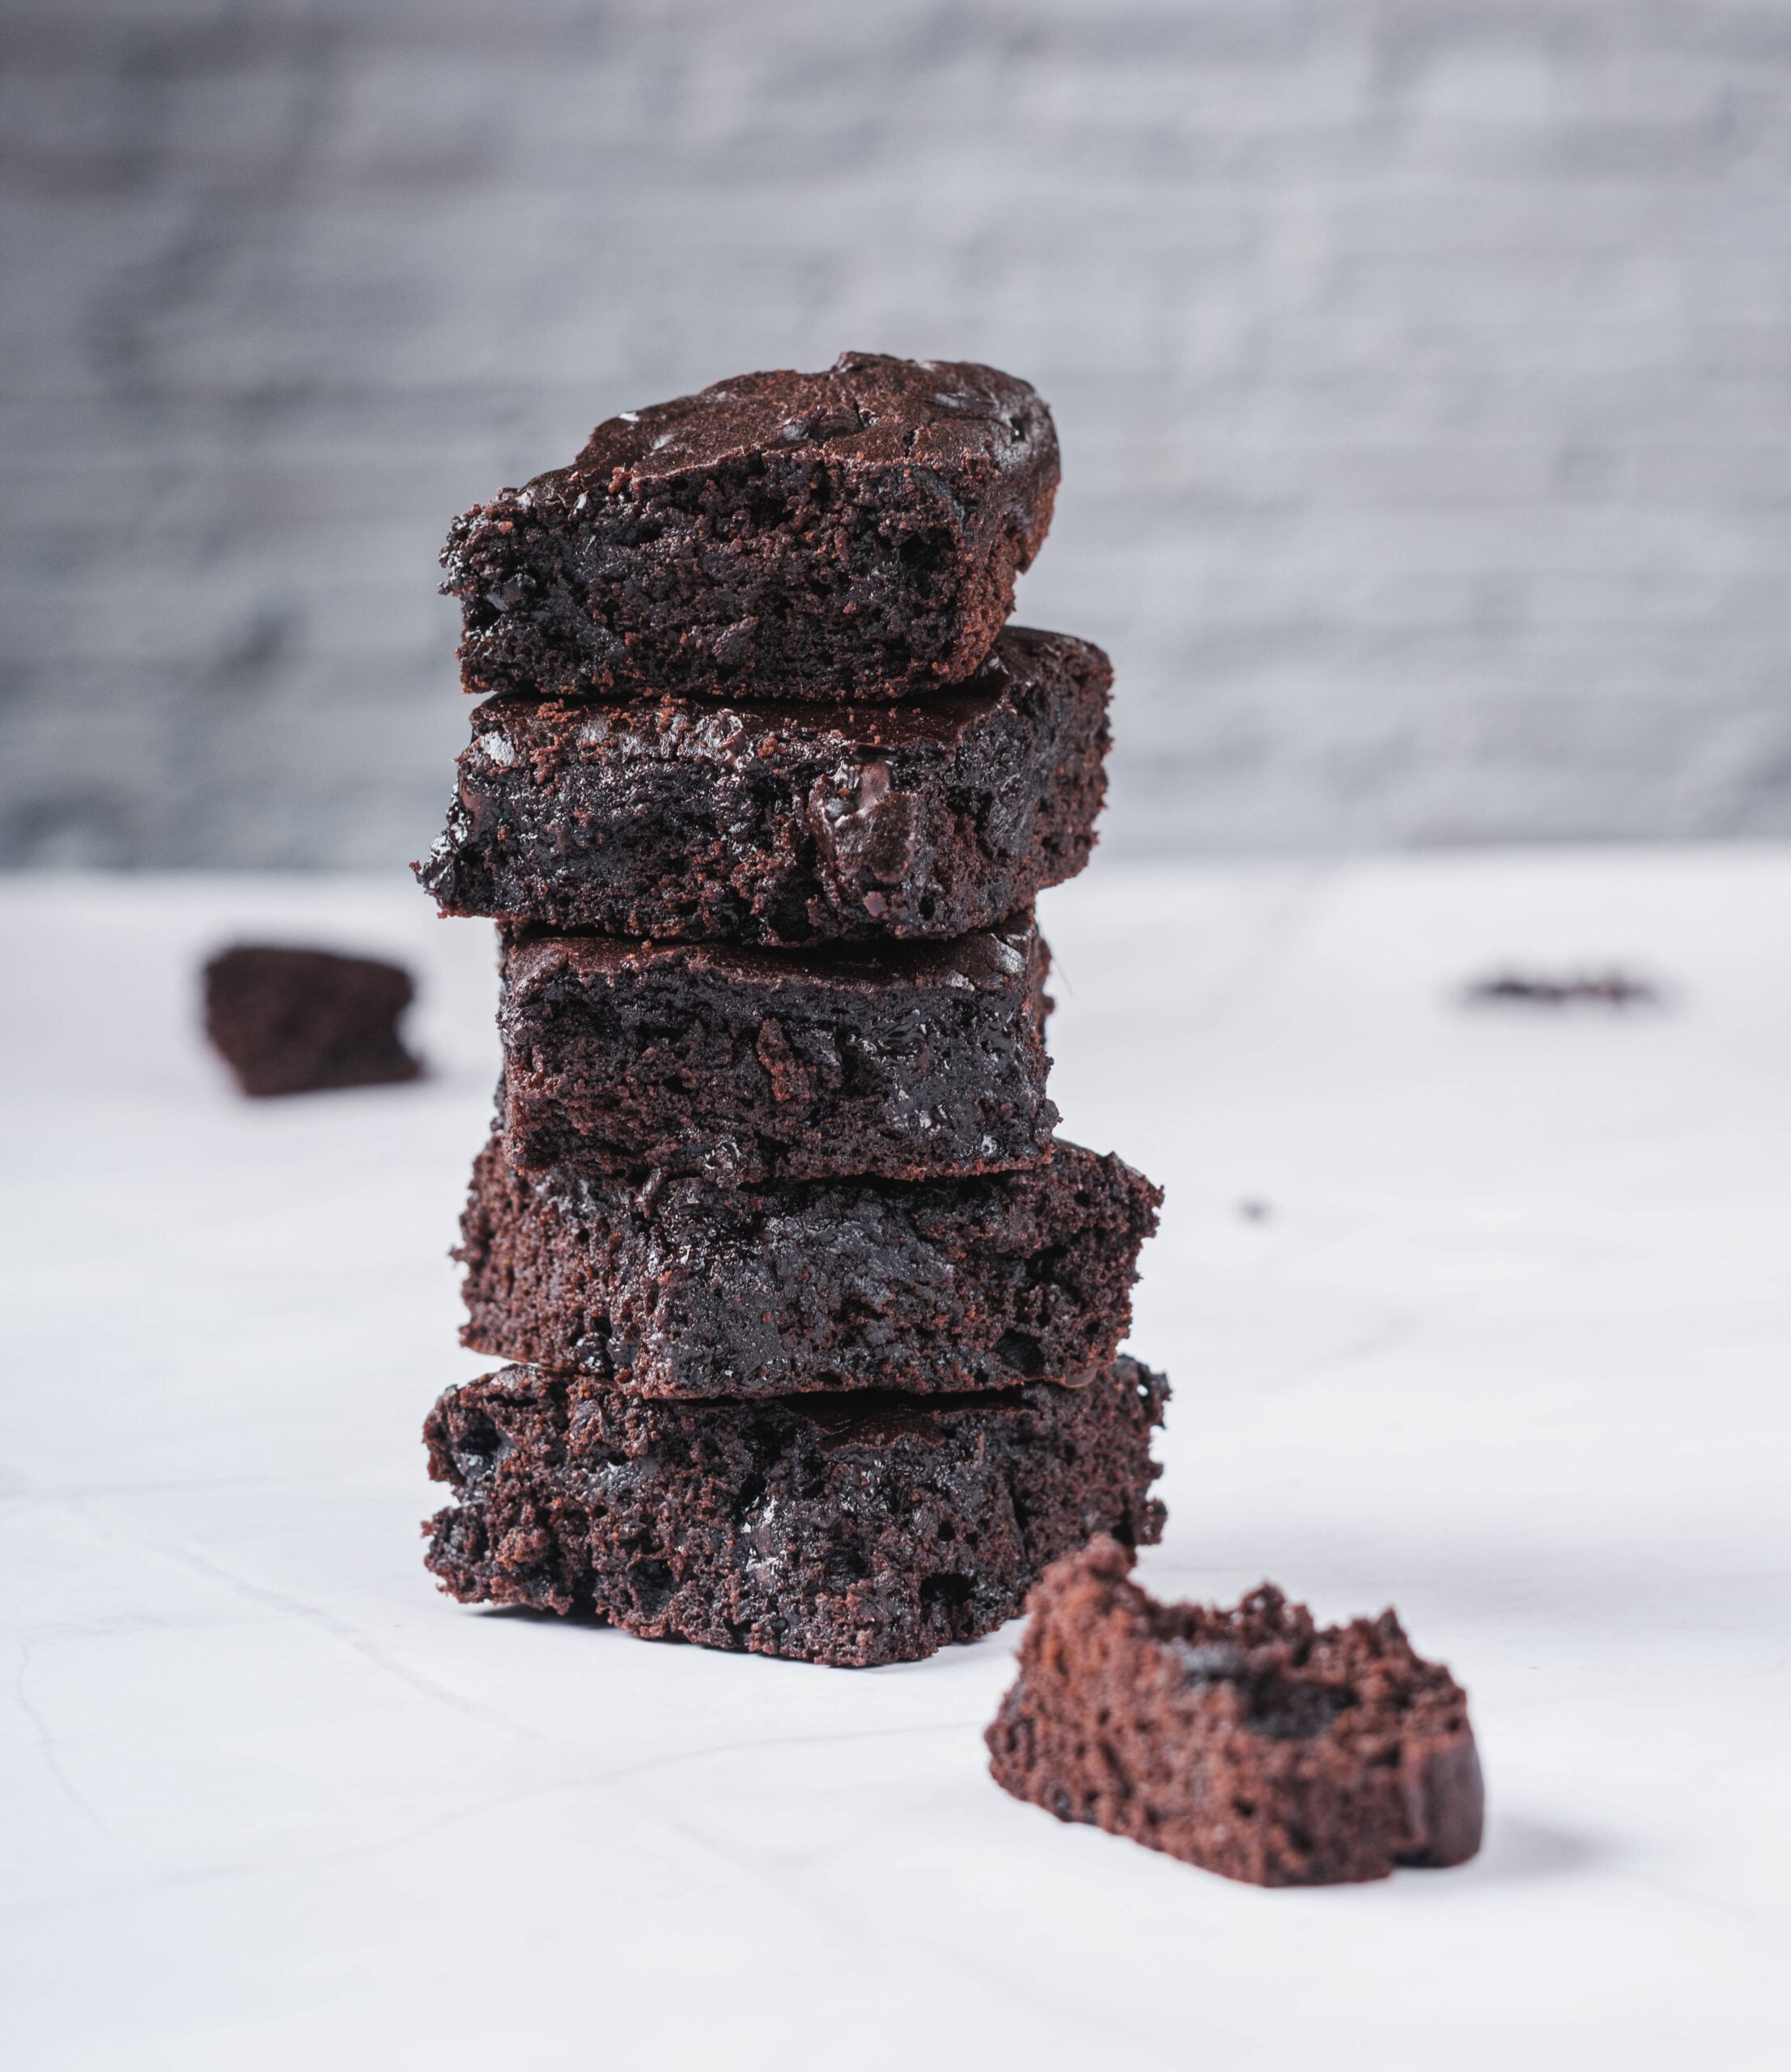
If you are tired of dry, cakey brownies that taste like a chemistry experiment, this is the fix. The difference between a mediocre brownie and a perfect one is how you handle the fat and the cocoa. We use the saucepan method to melt the sugar and butter together, which creates that elusive, shiny, crinkly top and a dense, fudgy interior. By adding a touch of espresso powder and high-quality dark chocolate chunks, we've taken the standard homemade brownie and moved it into bakery-tier territory.
If you're looking for other Brownie hits from the archive, try these:
- Gluten Free High Protein Brownies
- High Protein Brownie Cookies (High-Protein Recipe)
- Red Velvet Protein Brownies (High-Protein Recipe)
The Saucepan & Emulsification Strategy
The secret to a fudgy center is emulsification. By melting your butter in a saucepan, adding your sugar, and then whisking in your eggs vigorously, you are creating a stable emulsion. This prevents the oil from separating, which is the main cause of greasy, uneven brownies. We add espresso powder not to make them taste like coffee, but to amplify the bitterness of the cocoa, creating a rounded, dark chocolate profile. Using dark chocolate chunks ensures you get a molten bite in every square, adding textural contrast to the dense crumb.
Why You'll Love This Recipe
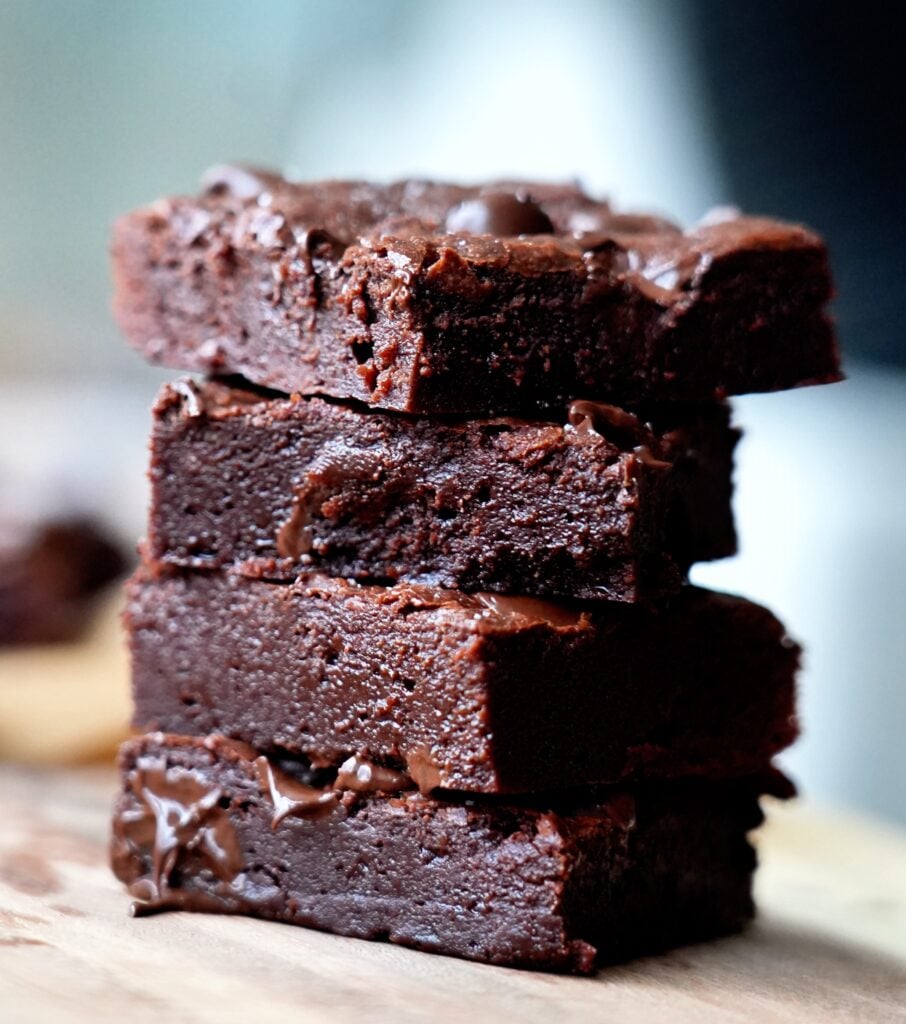
- Texture Focused: Designed to be fudgy, not cakey. These maintain moisture even days after baking.
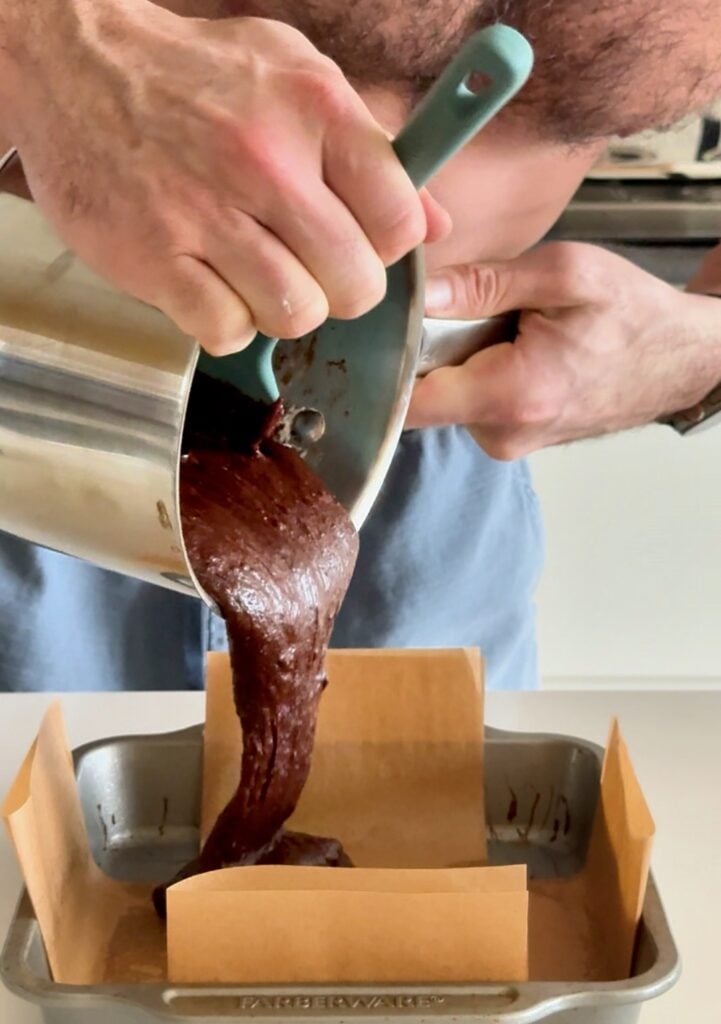
- One-Bowl Cleanup: You melt your butter and mix the entire batter in a single Heavy Bottom Sauce Pan, saving you from a pile of dirty dishes.
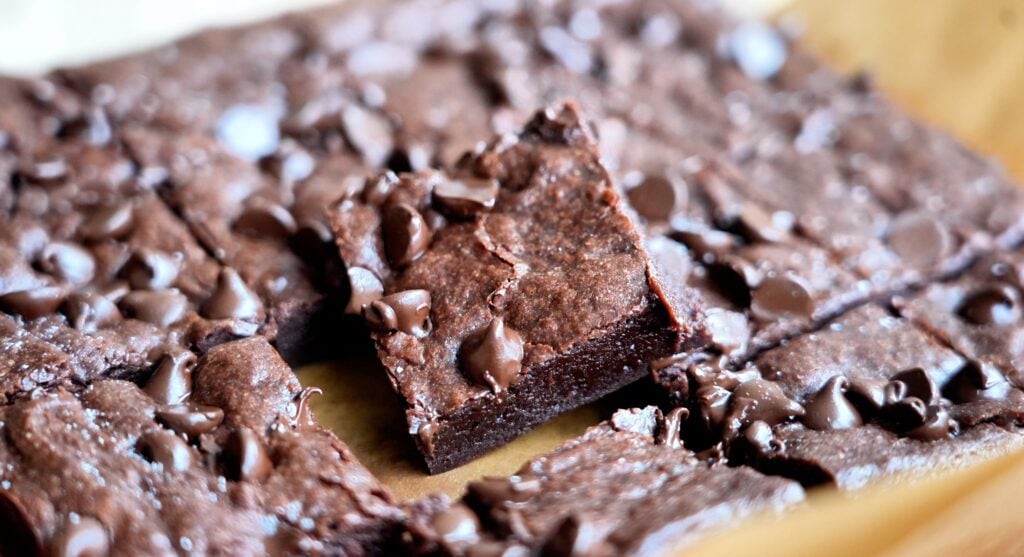
- Complex Flavor: The combination of espresso powder and dark chocolate chunks creates a deep, intense chocolate experience.
- Consistent Results: Using the “spoon and level” measurement method ensures the hydration balance is perfect every time.
- No Specialized Gear: You don't need a stand mixer or a double boiler; just a whisk and a spoon.
Key Equipment Focus
Heavy Bottom Sauce Pan: This is non-negotiable. A thin pan will create hot spots and can burn the butter. A heavy bottom ensures gentle, even heat distribution, which is essential for the base of your brownie batter.
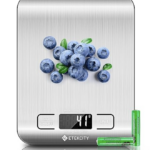
Digital Kitchen Scale: Baking is a science. If you pack your measuring cup with flour, you will get a dry, cakey brownie. Weighing your ingredients is the only way to ensure the ratio of cocoa to fat remains consistent, giving you that fudgy center every time.
Ingredient Deep Dive & Strategy
- Cocoa Powder: Use high-quality natural cocoa powder. It provides the deep, acidic backbone needed for a classic brownie. Sift it if you see lumps.
- Butter: Use unsalted butter so you can control the salt levels. If you only have salted, omit the extra sea salt.
- Espresso Powder: This acts as a flavor catalyst. It draws out the deeper, roasted notes in the cocoa.
- Eggs: Use room-temperature eggs. If they are cold, they can shock the warm butter-sugar mixture, preventing proper emulsification.
Homemade Fudgy Brownie Ingredients
- 142g Unsalted butter
- 250g Granulated sugar
- 75g Unsweetened cocoa powder (spooned and leveled)
- 1 tsp Vanilla extract
- 1 tsp Espresso powder
- 1/4 tsp Fine sea salt
- 2 Large eggs
- 65g All-purpose flour (spooned and leveled)
- 1/2 cup Dark chocolate chunks (chopped)
Homemade Fudgy Brownie Step by Step Instructions
- Prep the oven and pan: Preheat your oven to 325°F (162°C). Line an 8×8 baking pan with parchment paper, leaving an overhang on the sides. This is critical for getting the brownies out of the pan without them crumbling.
- Melt the butter: Add the butter to your Heavy Bottom Sauce Pan over medium-low heat. Cook until completely melted. Do not let it brown; we want melted butter, not brown butter.
- Incorporate dry aromatics: Remove from heat. Immediately stir in the sugar, cocoa powder, espresso powder, vanilla, and salt. Stir until the mixture is uniform. It will look gritty at this stage—that is normal.
- Cool the base: Set the saucepan aside for 5 to 10 minutes. The base should be warm to the touch, not hot. If it's too hot, the eggs will scramble when added.
Pro Tip: Touch the side of the pan with your palm. If it's uncomfortably hot to touch for more than a second, it's too hot for the eggs. Let it sit longer.
- Add eggs and emulsify: Add the eggs one at a time, whisking vigorously after each addition. You are looking for the batter to become glossy and smooth. This vigorous whisking is what creates the shiny, crinkly top.
- Fold in flour: Add the flour. Use a wooden spoon to beat the batter for about 40 to 50 strokes. The batter should become very thick and pull away from the sides of the pan.
- Mix in chunks: Gently fold in the dark chocolate chunks.
- Bake: Scrape the batter into the prepared pan. Bake for 20 to 30 minutes.
Pro Tip: Do not overbake. Use the toothpick test: insert it into the center. If it comes out with a few moist, fudgy crumbs attached, they are done. If it comes out clean, they are overbaked and will be dry.
- Cool and slice: Let the brownies cool completely in the pan. For the cleanest cuts, chill them in the fridge for an hour before slicing.
Troubleshooting & FAQ
- Why are my brownies cakey? You likely used too much flour or overbaked them. Always use a scale and pull them out when the center still looks slightly underdone.
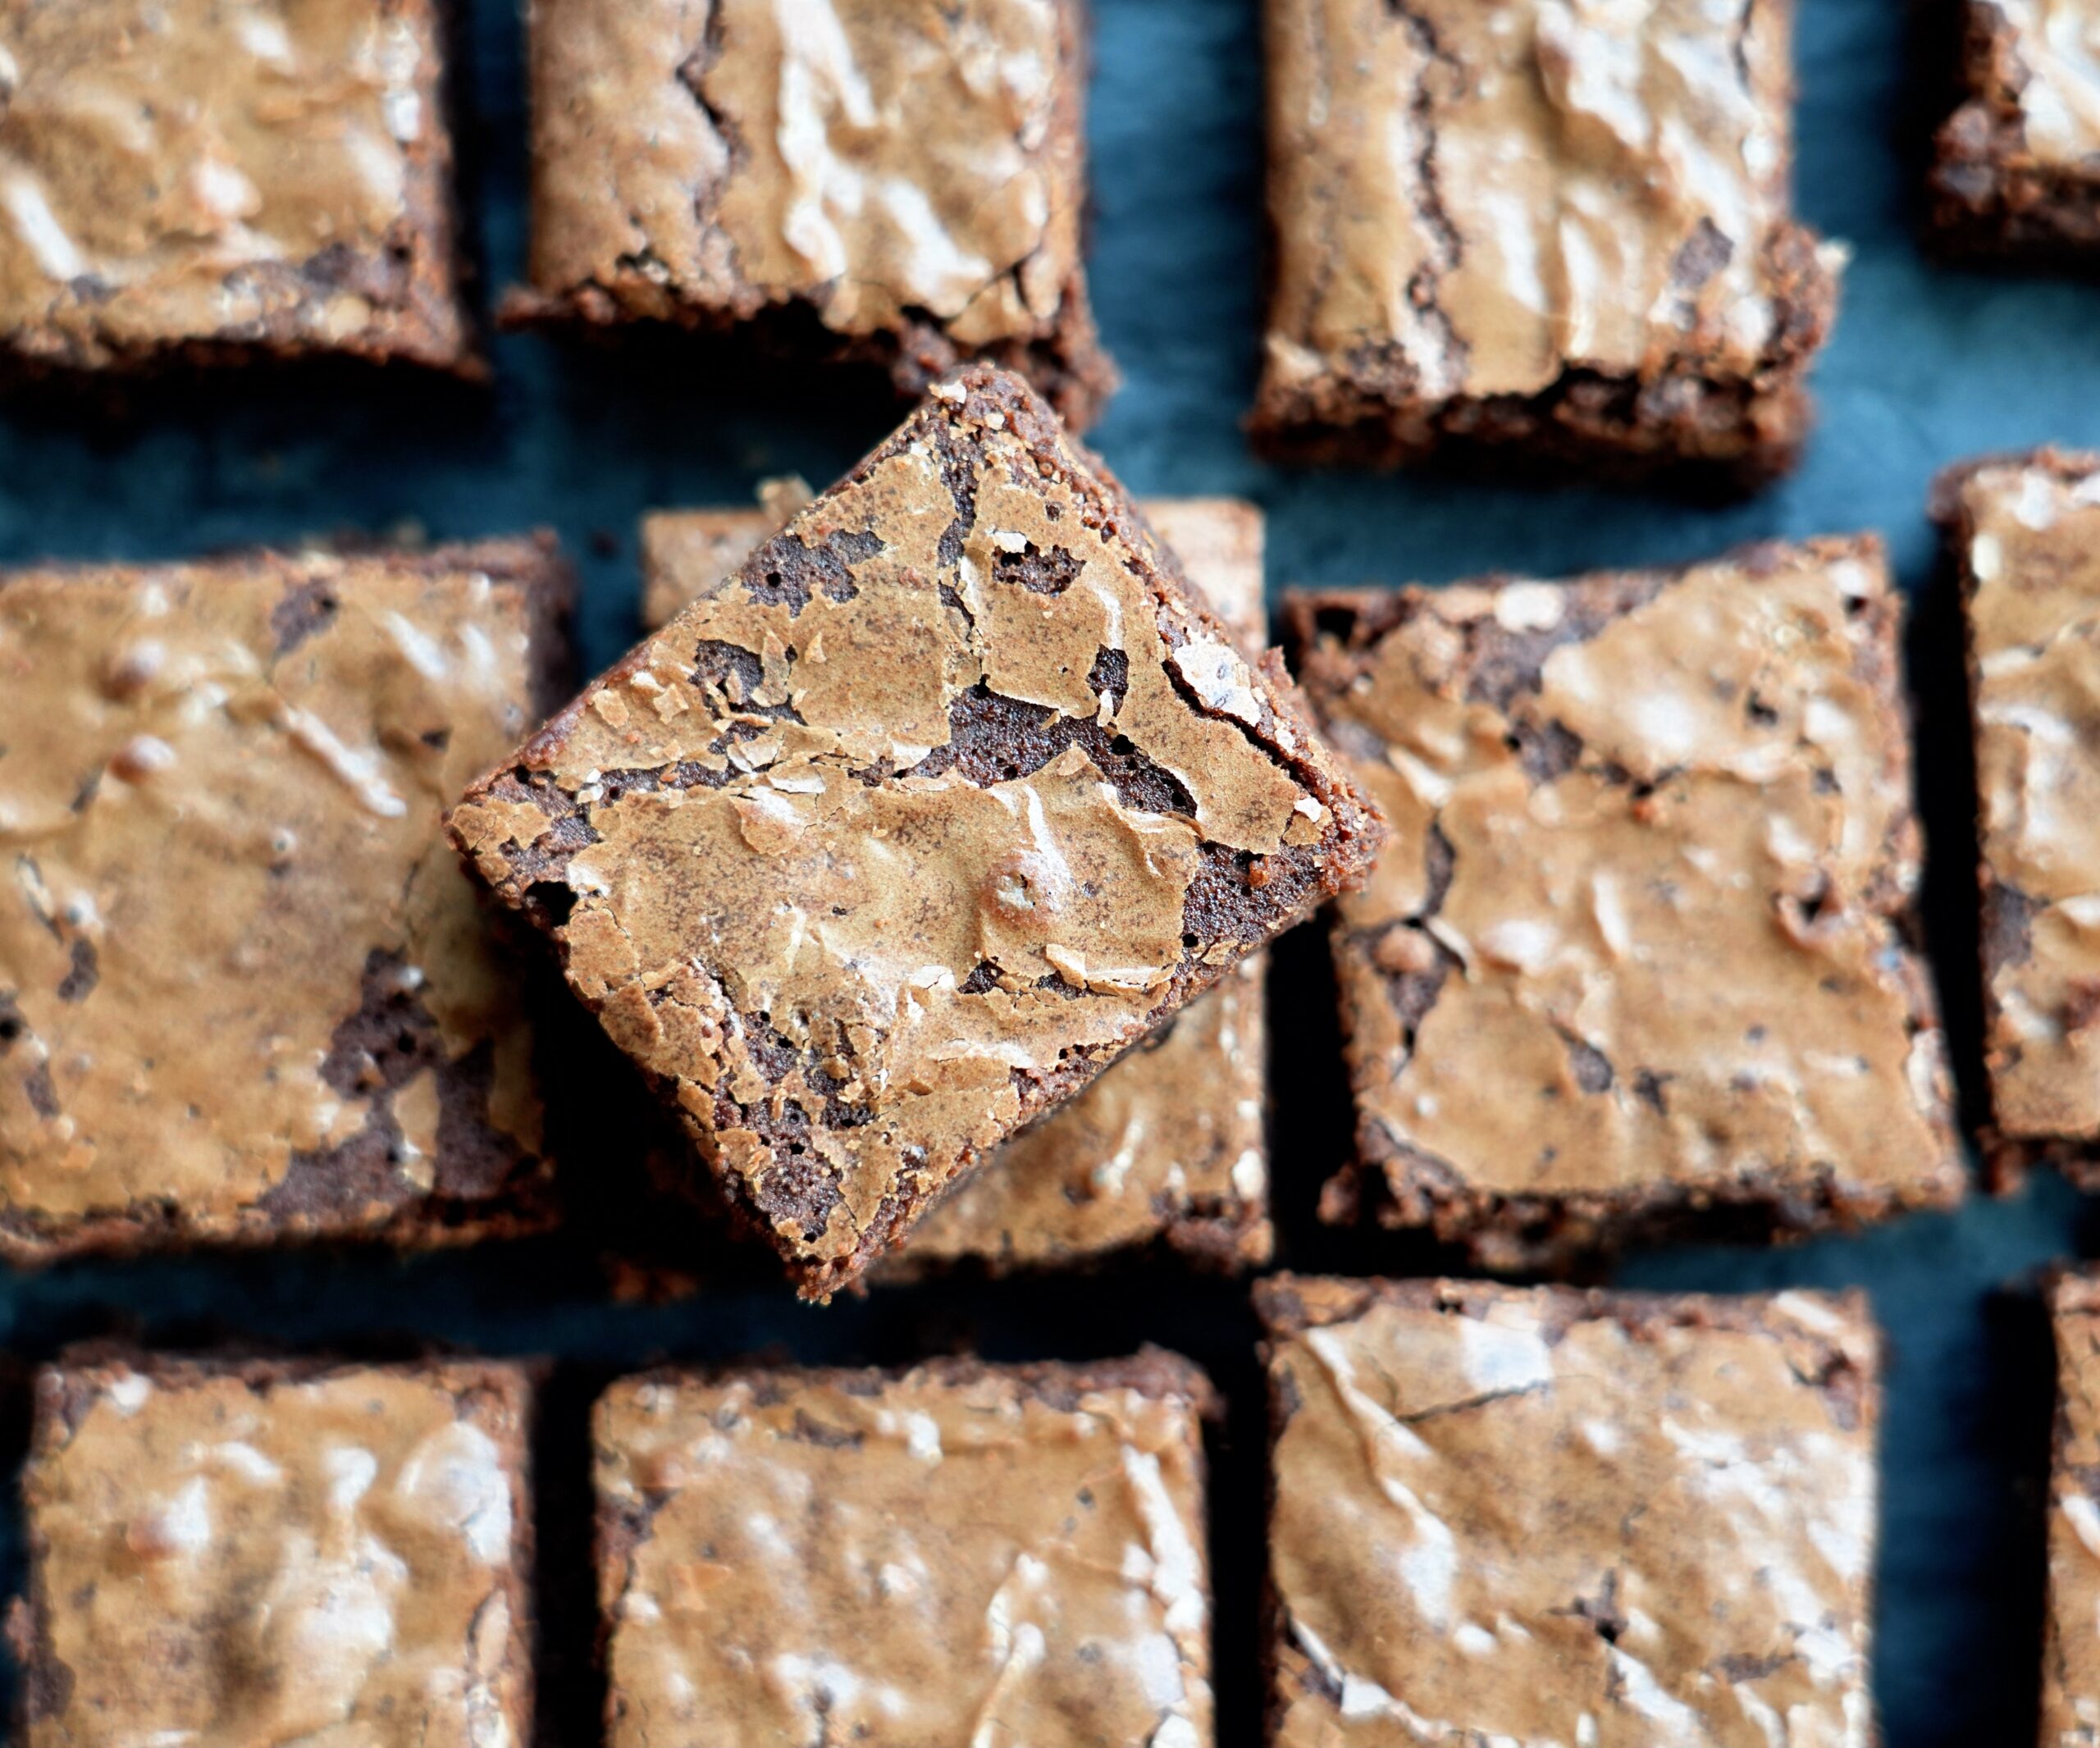
- Why didn't I get a crinkly top? Usually, this is because the sugar didn't fully dissolve into the butter or the eggs weren't whisked enough. Ensure you whisk vigorously after adding the eggs.
- Can I use a 9×9 pan? You can, but they will be thinner and will bake faster. Check them 5 minutes early.
- My brownies are greasy. This happens if the butter was too hot when the eggs were added. Ensure the mixture has cooled sufficiently before adding the eggs.
- Can I make these gluten-free? Yes, substitute the all-purpose flour with a 1:1 gluten-free baking blend.
- Why did my brownies crumble? You likely cut them while they were still warm. They must cool completely to set the structure.
Substitutions Table
| Component | Swap Options |
| Flour | 1:1 Gluten-free all-purpose blend (like Bob's Red Mill) |
| Sugar | Granulated is best for the crinkly top; do not substitute with liquid sweeteners. |
| Butter | Plant-based butter stick (do not use oil). |
| Mix-ins | Walnuts, pecans, or white chocolate chunks instead of dark chocolate. |
Storage & Reheating
Store cooled brownies in an airtight container at room temperature for up to 3 days. They also keep in the fridge for up to 2 weeks. For long-term storage, wrap individual brownies in plastic wrap and freeze for up to 3 months. To enjoy, thaw at room temperature or microwave for 10-15 seconds for a fresh-out-of-the-oven texture.
You Might Also Like
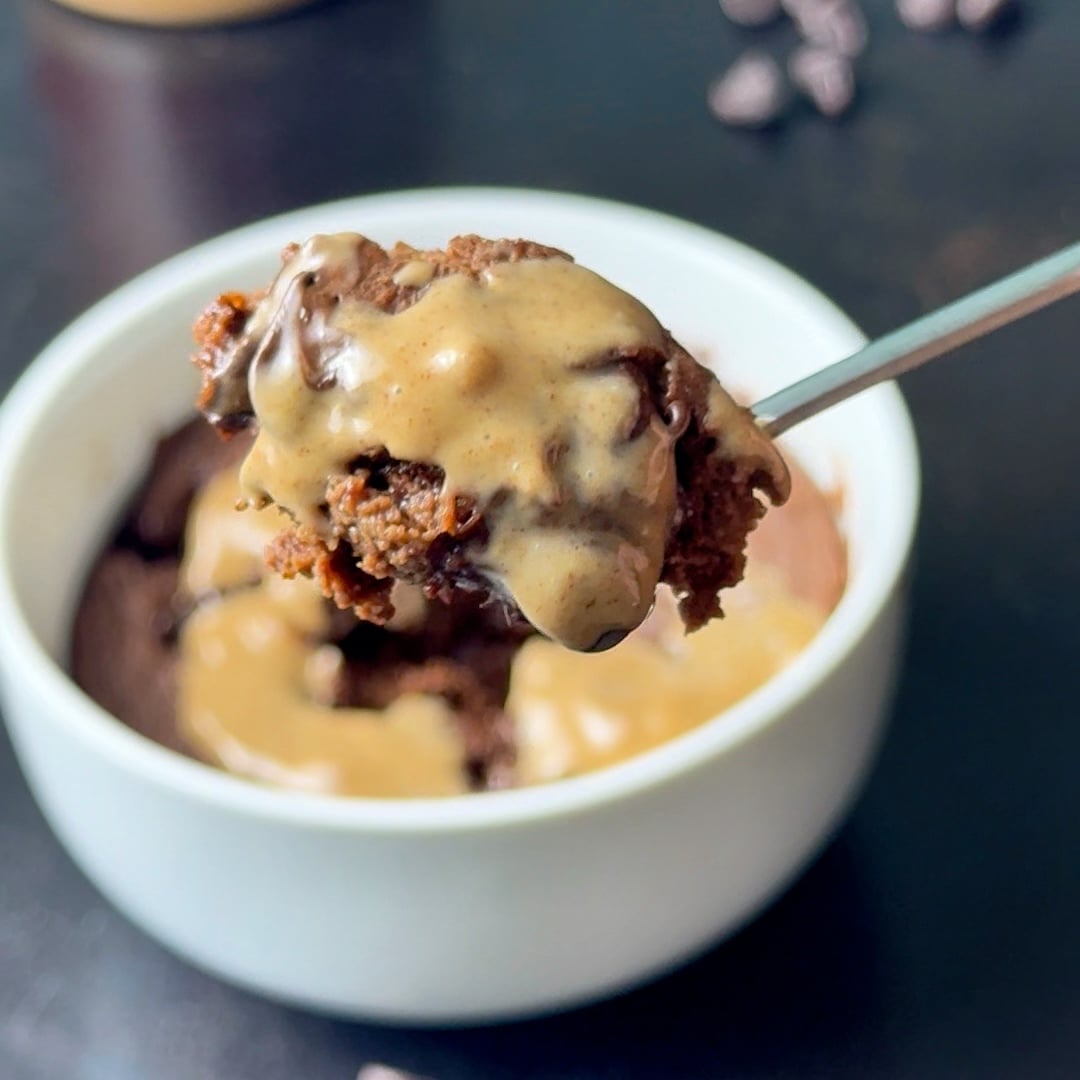
- High Protein Brownie Batter The 2 Minute Cravings Killer
- High Protein Reeses Oreo Loaf
- High Protein Mint Chocolate Chip Cookie Dough
The Final Verdict & Share
This is the only brownie recipe you need. It hits the perfect balance of bittersweet chocolate and deep, fudgy texture. Once you make these, you won't go back to boxed mixes. If you try them, share your results—I want to see those crackly tops.
Easy Fudgy Brownie Recipe (The Ultimate Homemade Method)
Ingredients
- 142 g Unsalted Butter
- 250 g Granulated Sugar
- 75 g Unsweetened Cocoa Powder Spoon and leveled
- 1 tsp Vanilla Extract
- 1 tsp Espresso Powder
- 0.25 tsp Fine Sea Salt
- 2 large Eggs Cold
- 65 g All-Purpose Flour Spoon and leveled
- 0.5 cup Dark Chocolate Chunks Chopped

Method
- Preheat oven to 325°F (162°C). Line an 8-inch square pan with parchment paper.
- Melt butter in a heavy bottom saucepan over medium-low heat. Do not brown.
- Stir in sugar, cocoa powder, espresso powder, vanilla, and salt until blended.
- Cool the mixture slightly for 5-10 minutes, then stir in eggs one at a time vigorously.
- Beat in the flour until thick and glossy.
- Fold in the dark chocolate chunks.
- Spread into the pan and bake for 20-30 minutes until edges are set but center is slightly underbaked.
- Cool completely before slicing.
Nutrition
Notes
Best Brownie Recipe Tips
- The Secret to the Shiny, Crinkly Top: The signature shiny crust on a brownie comes from the sugar dissolving into the warm butter and egg mixture. When you add the eggs, whisk them vigorously. This emulsification process creates a meringue-like film on the top of the batter as it bakes. If you simply stir the ingredients without energy, you will miss out on that beautiful, crackly finish.
- Mastering the Doneness Test: Forget the standard “clean toothpick” rule you use for cakes. If a toothpick comes out of a brownie completely clean, it is overbaked. You are looking for a toothpick that comes out with a few moist, sticky crumbs attached. This indicates the center is set but still fudgy. If you are ever in doubt, pull the pan out of the oven. The brownies will continue to cook from the residual heat of the pan as they cool.
- The Importance of Cooling: I know the temptation to cut into these while they are hot is overwhelming, but you must resist. The structure of a brownie is fragile when hot because of the high fat-to-flour ratio. Allowing them to cool completely—at least 2 hours—allows the fat to solidify, creating that dense, fudgy texture you want. If you slice them warm, they will crumble and fall apart.
- Pan Material Matters: We call for an 8-inch metal baking pan for a reason. Metal conducts heat faster and more efficiently than glass or ceramic. If you use a glass pan, the edges will likely overbake before the center is set, or the total bake time will increase significantly. If you only have glass, lower your oven temperature by 25°F and check for doneness 5 minutes early.
- The Espresso Powder Effect: People often fear that adding espresso powder will make their brownies taste like a cup of coffee. It won't. It functions as a flavor catalyst. It cuts through the sweetness of the sugar and amplifies the complexity of the cocoa powder. If you want a deep, mature dark chocolate flavor, do not skip this step.
Tried this recipe?
Mention or tag @bakedlean!Related Posts
One response to “Easy Fudgy Brownie Recipe (The Ultimate Homemade Method)”


the most simple and fudgey brownies you will ever have


Leave a Reply