

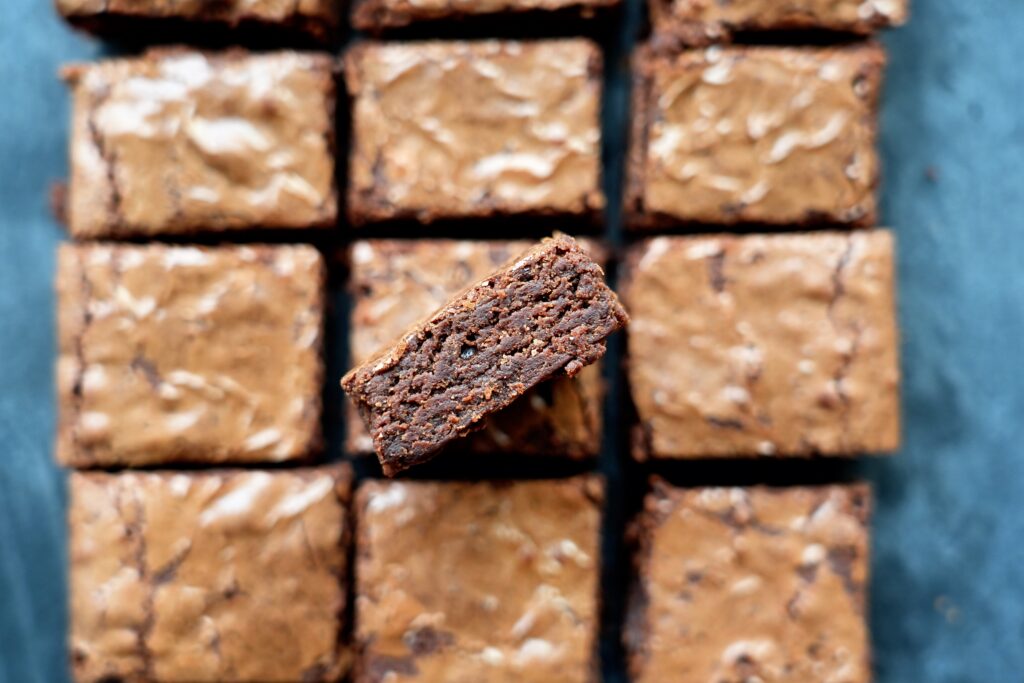
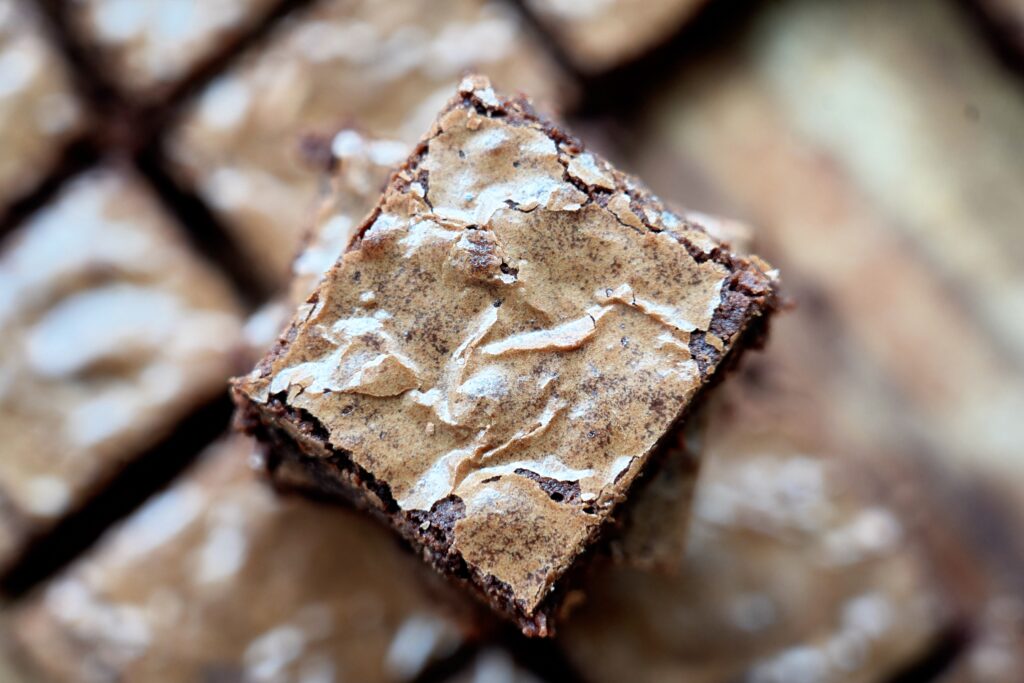
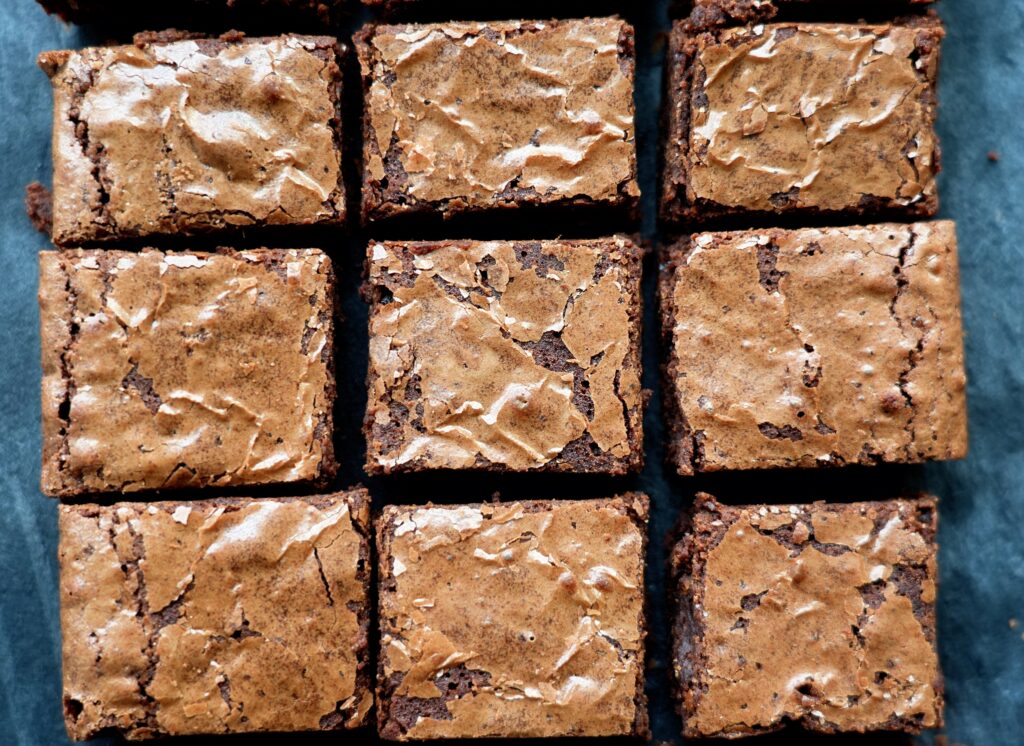
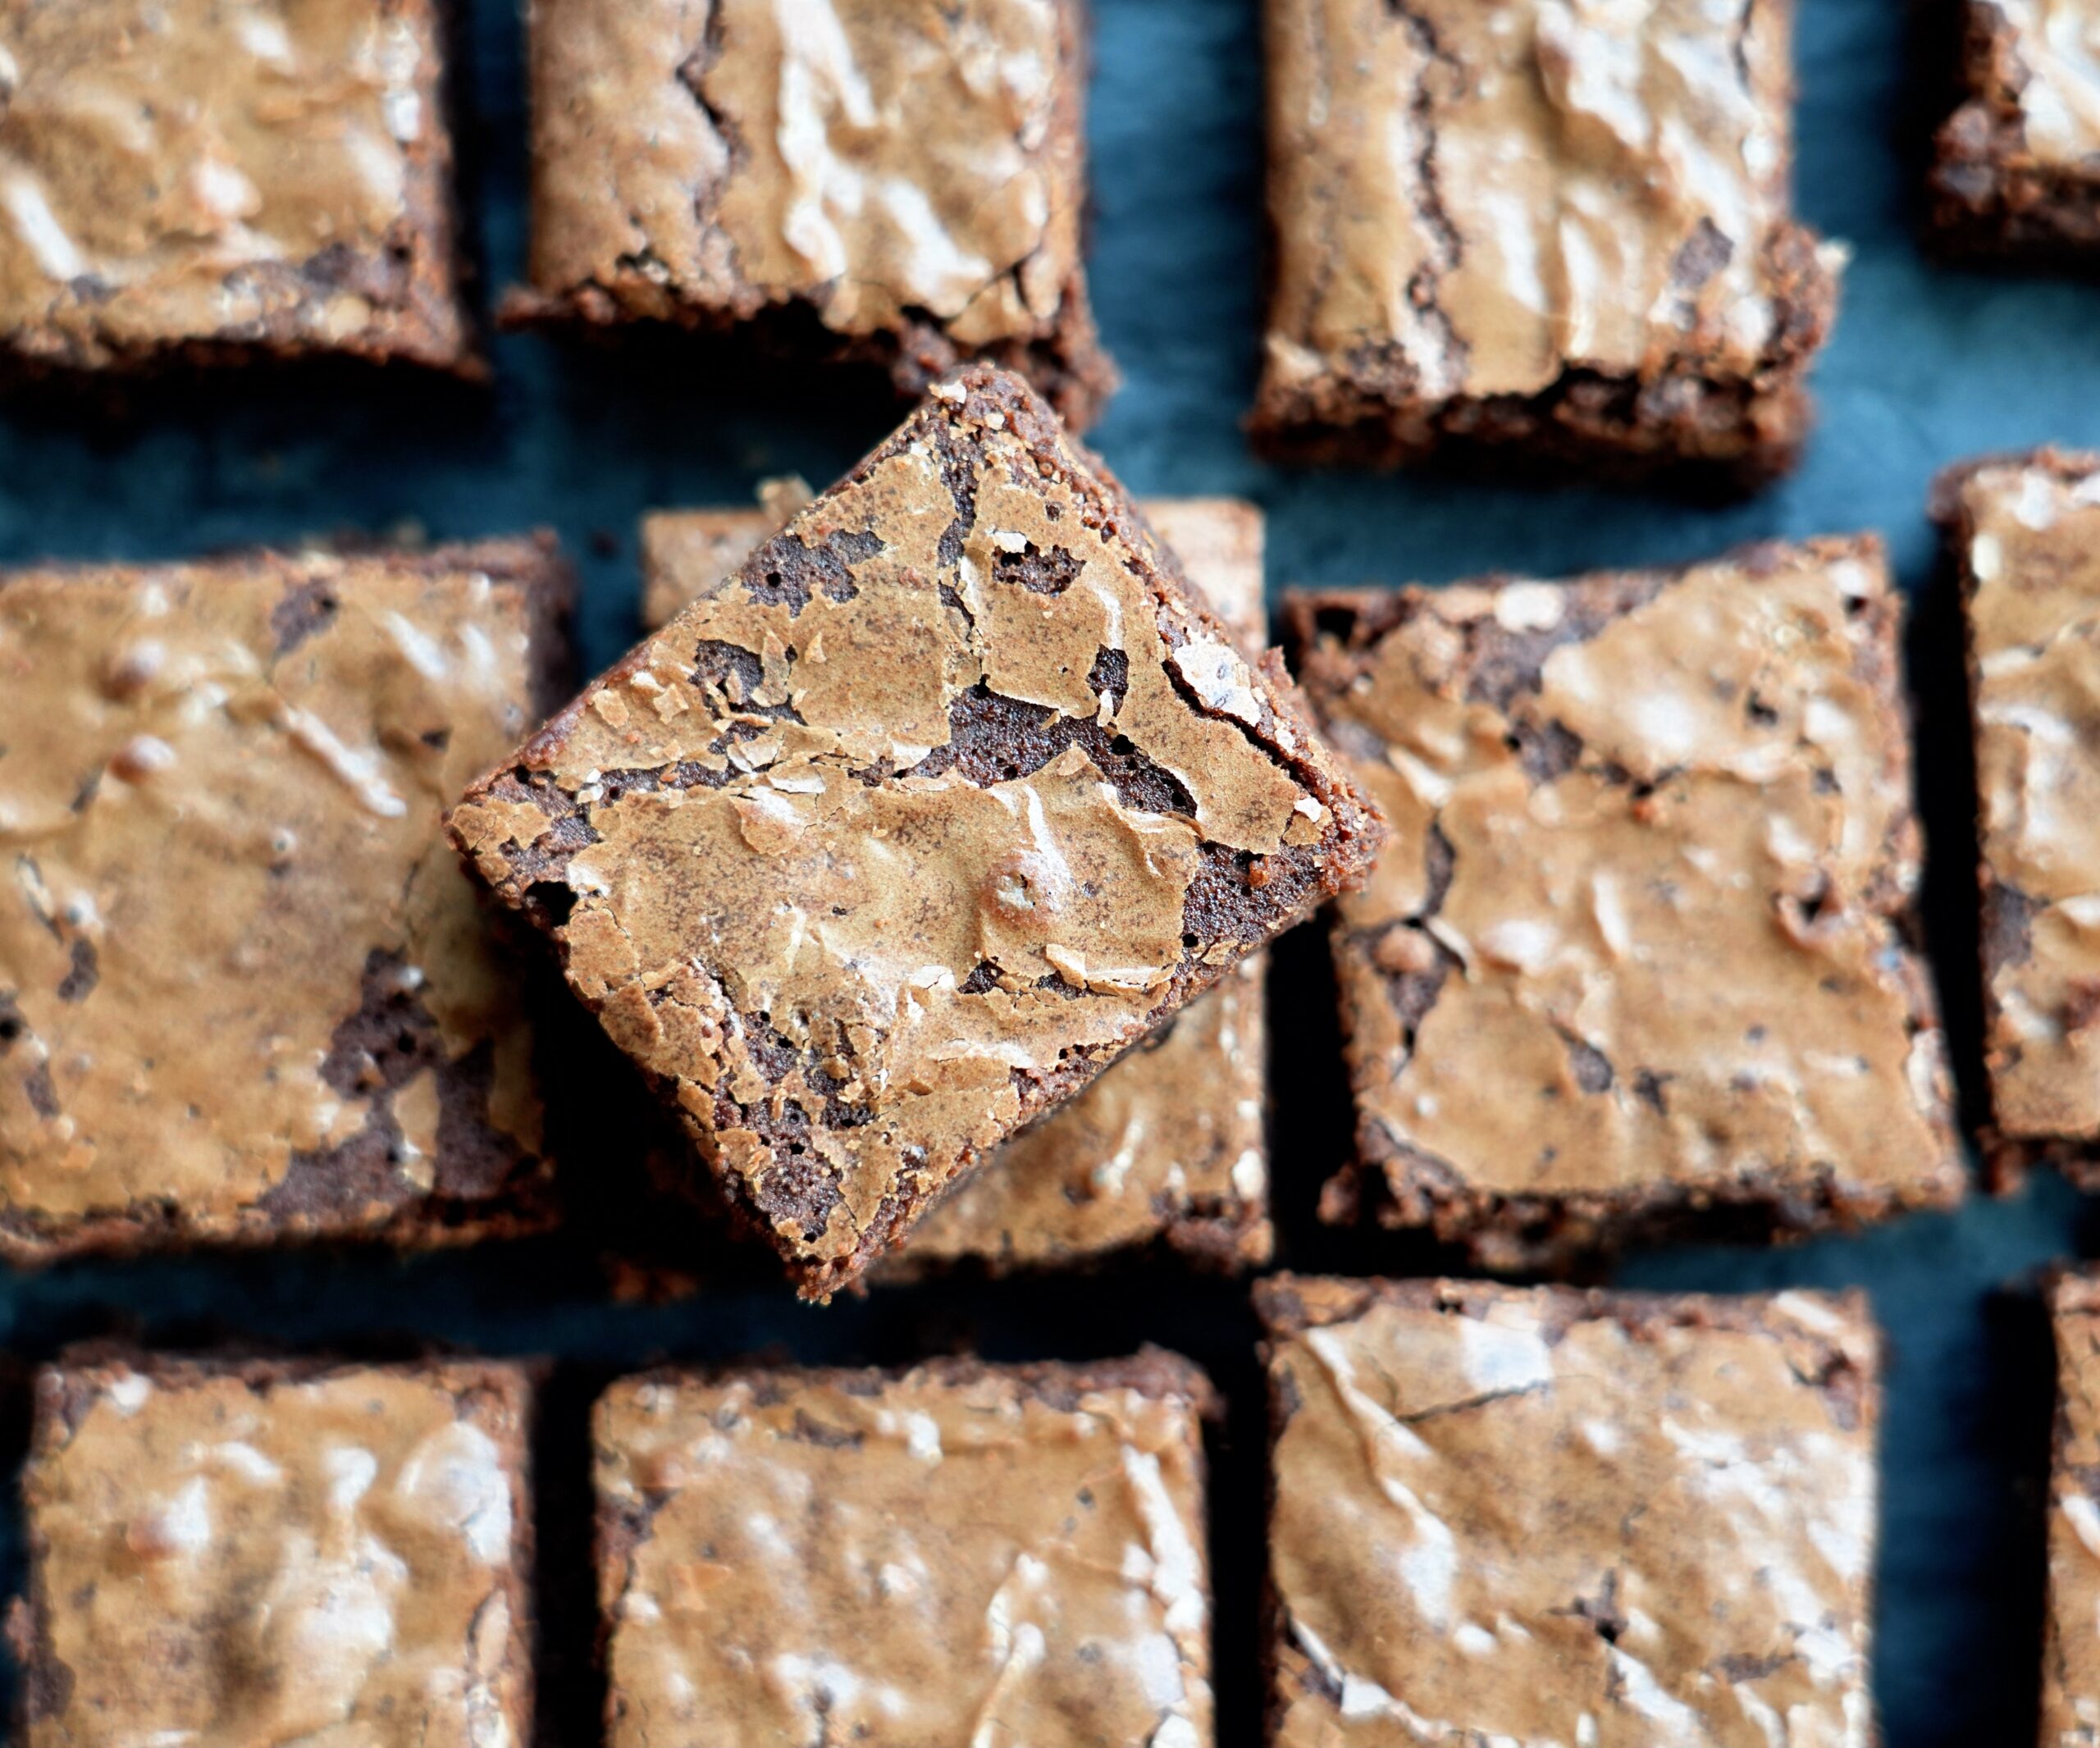
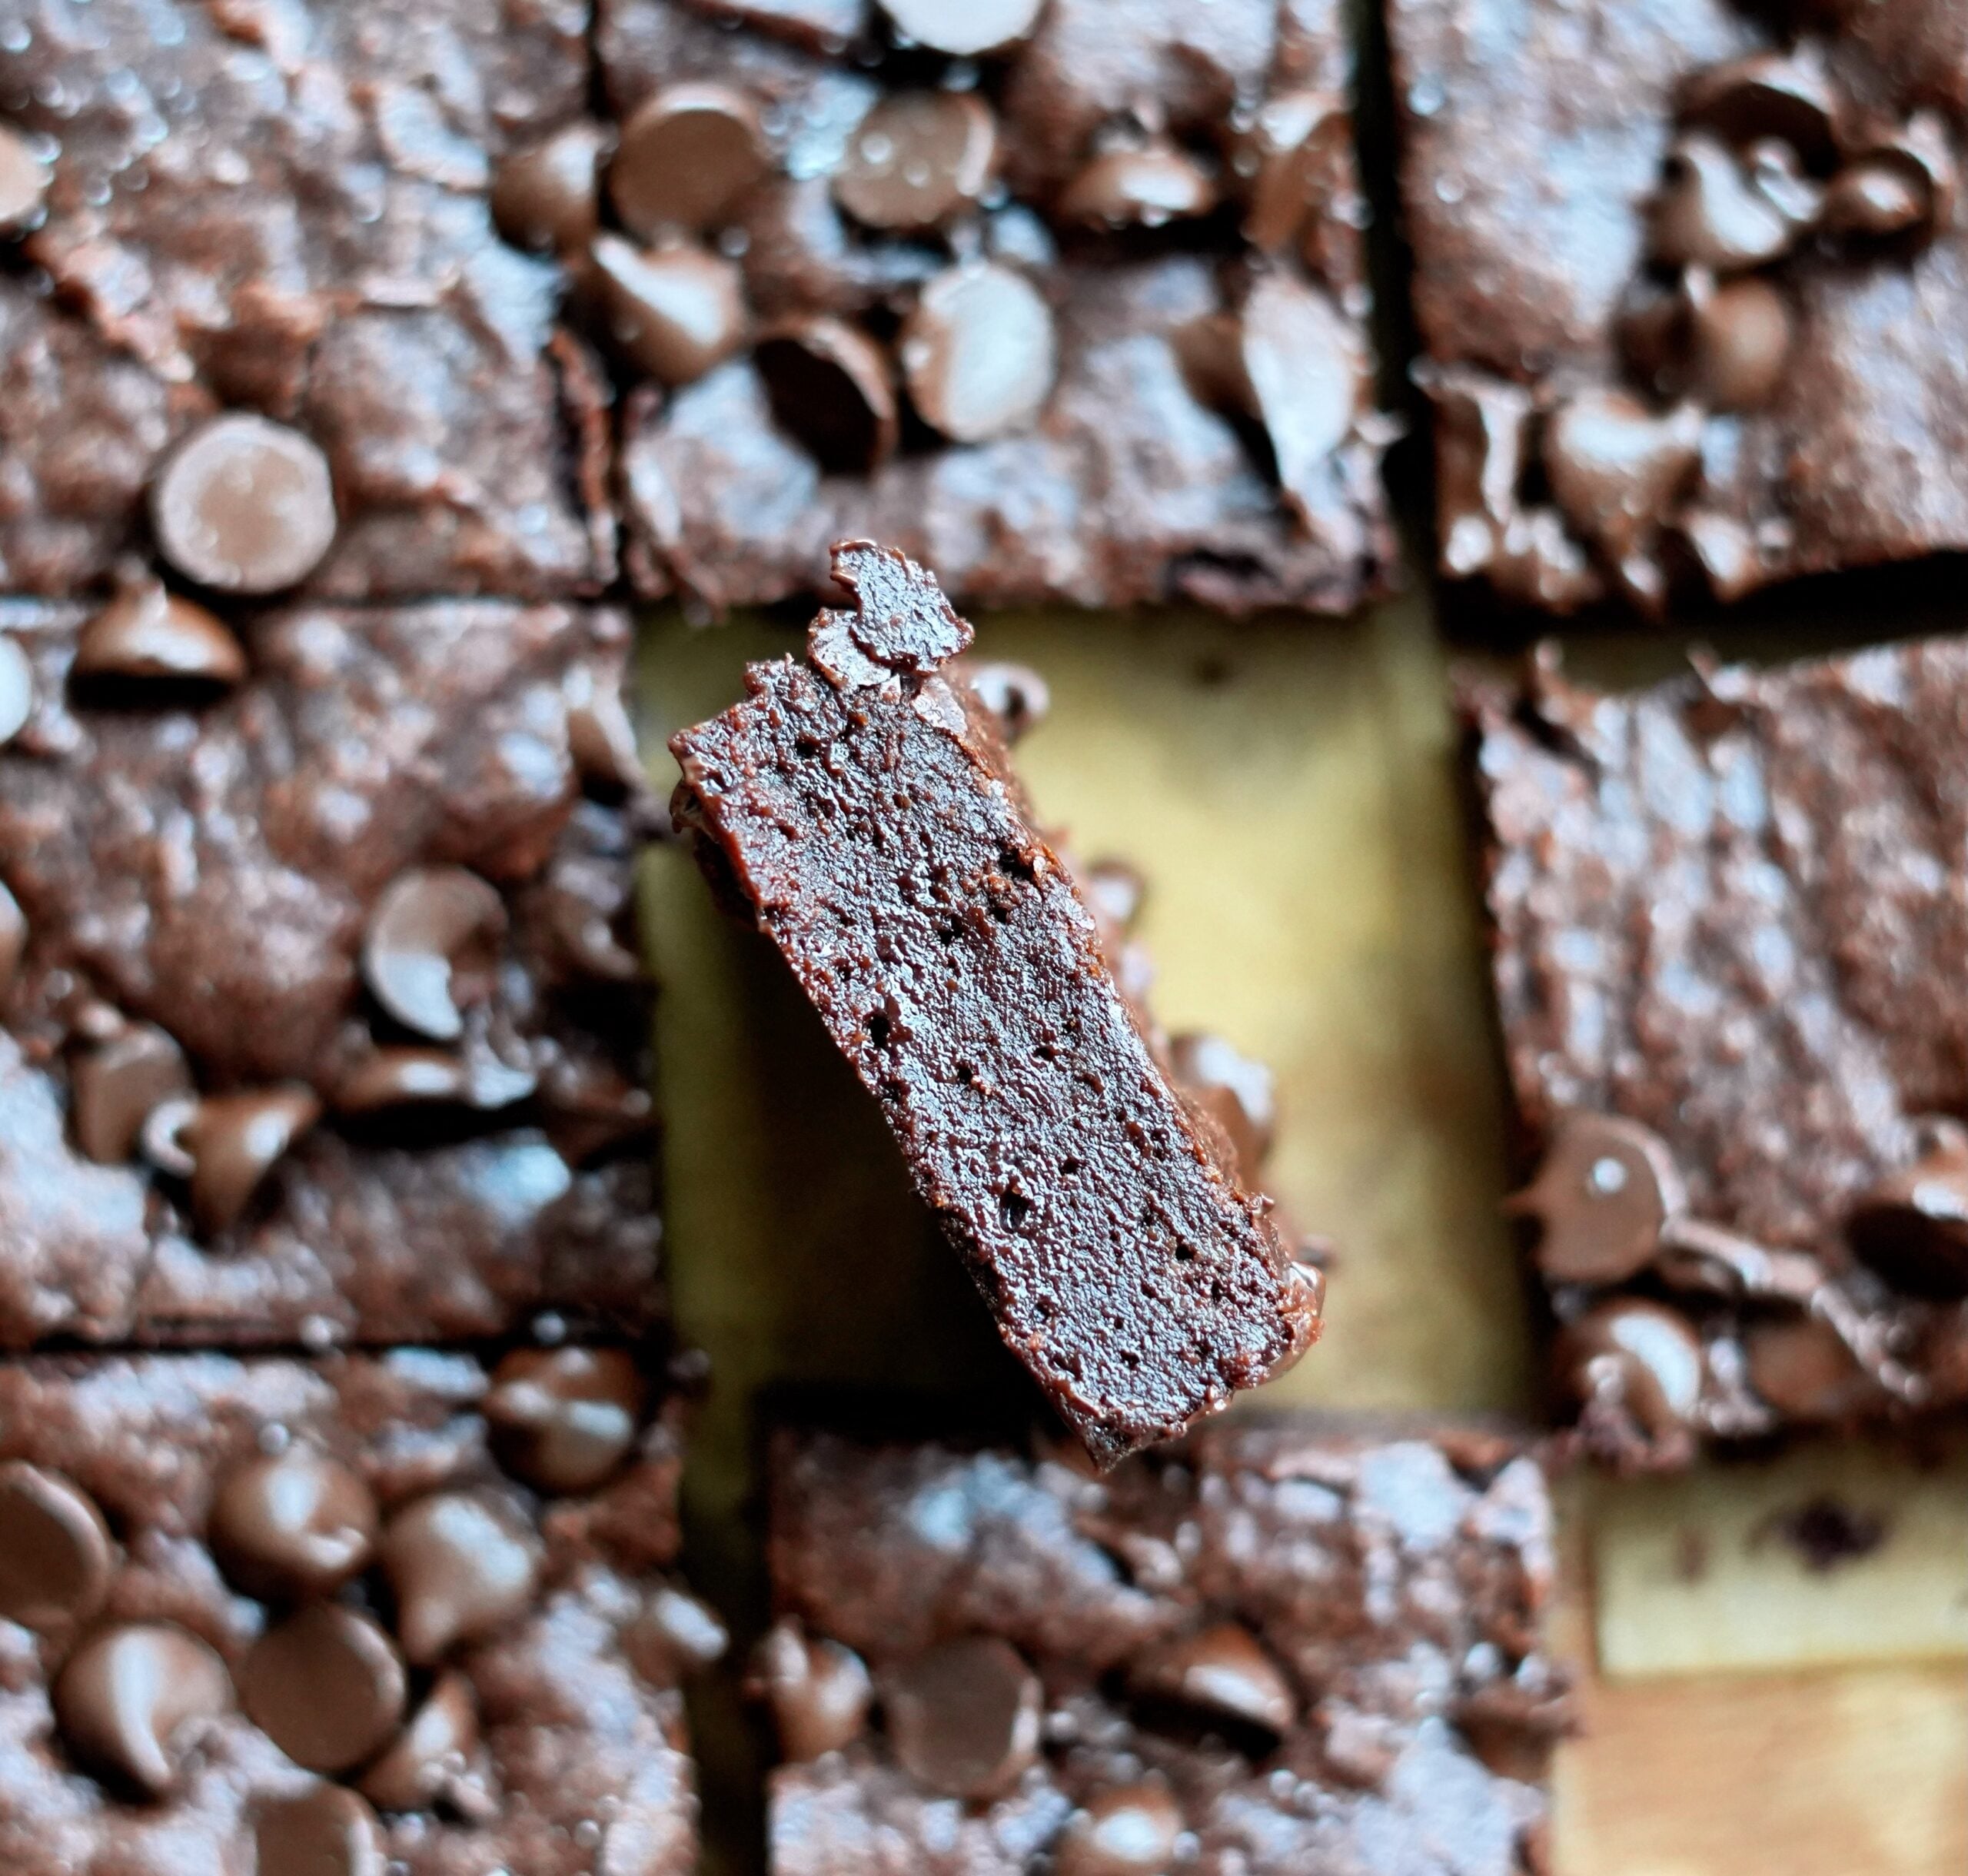
When I set out to build the best chewy brownies from scratch, I rejected the cakey, bland squares common in standard baking. I wanted the deep, intense chocolate flavor that defines a premium dessert. This chewy brownie recipe is the result. It delivers the dense, fudgy chewy texture you'd expect from a bakery, but it's engineered to perform better than box mix brownies. Whether you follow the traditional method or use my macro-optimized adjustments, you'll get consistent results every time.
If you're looking for other Brownie and Dessert hits from the archive, try these:
- Gluten Free High Protein Brownies
- High Protein Brownie Batter The 2 Minute Cravings Killer
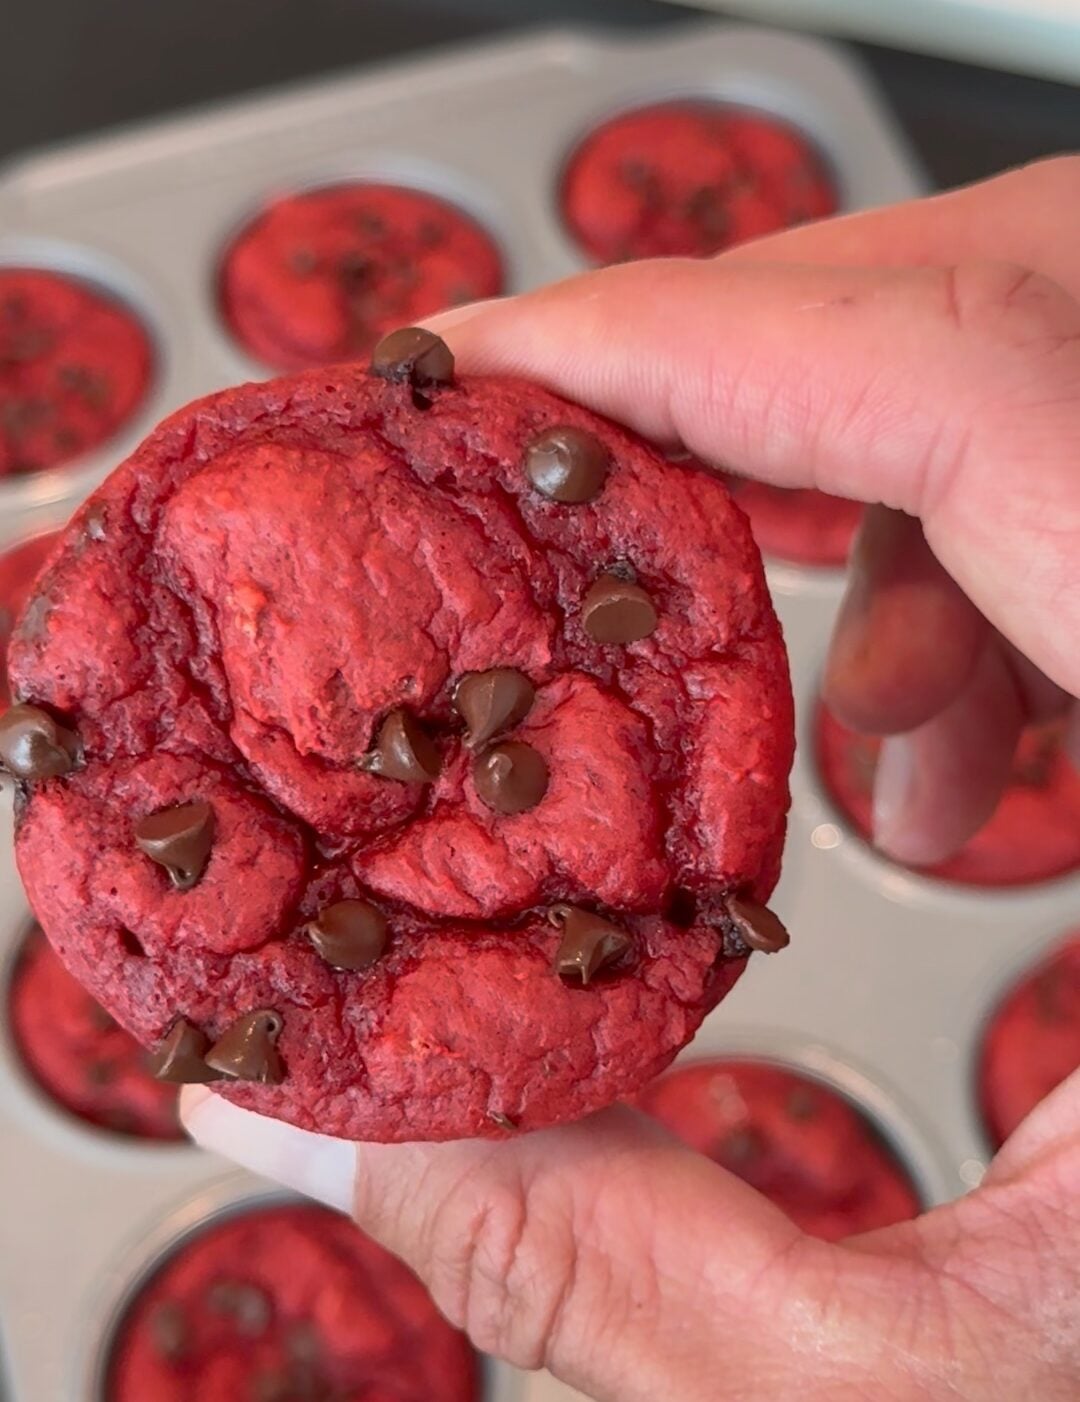
- Red Velvet Protein Brownies (High-Protein Recipe)
The Stove-Top Melting Strategy
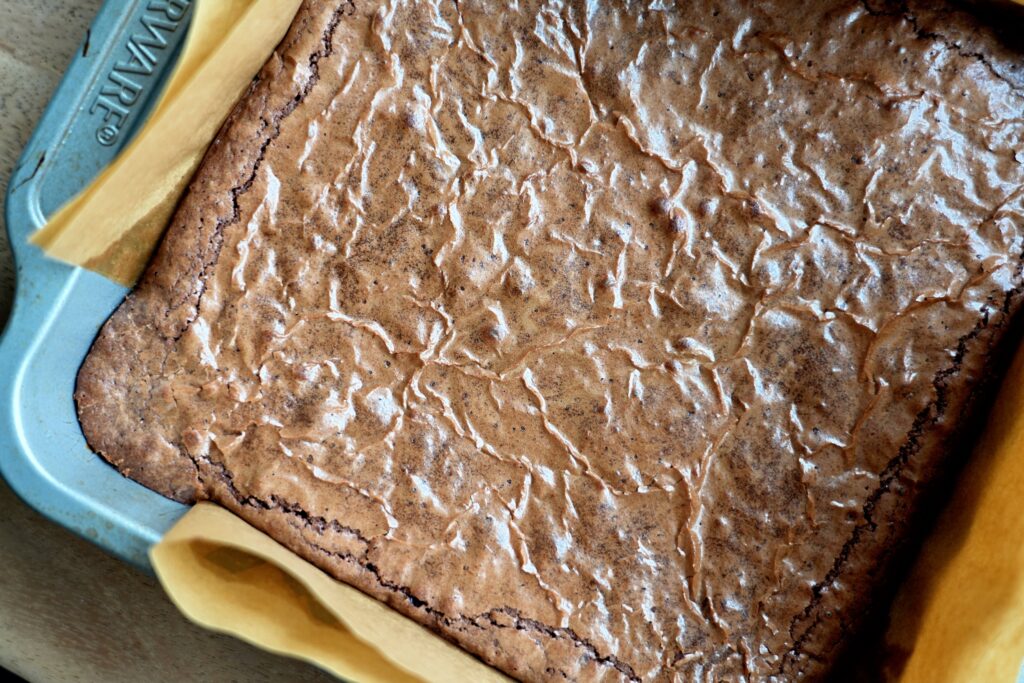
Most bakers rely on the microwave, but it creates uneven heat. By using a Heavy Bottom Sauce Pan on the stove, we gently melt the butter and sugar until the grains begin to dissolve. This specific control creates the stable emulsion necessary for a crackly top. It's not just about melting; it's about heat management to lock in moisture and create the perfect density.
Why You'll Love This Recipe
- Texture Control: We prioritize a dense, fudgy crumb over the airy, cake-like taste of standard recipes.
- Efficient Workflow: Everything happens in one bowl (or the saucepan), making cleanup fast.
- Performance-Ready: The structure handles protein or fat swaps with ease, unlike delicate cake recipes.
- Flavor Depth: We use high-quality cocoa for intensity, avoiding the need for expensive melted bars.
- Customizable: This base is the perfect canvas for pecans, walnuts, or extra chocolate chips.
Key Equipment Focus
Heavy Bottom Sauce Pan: Essential for the stove-top method. A thin pan leads to scorched sugar and a broken emulsion. Even heat is required to keep the moisture intact.
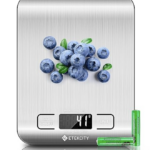
Digital Kitchen Scale: Baking is chemistry. Measuring flour by volume is inaccurate. Weighing in grams is the only way to guarantee your results every single time.
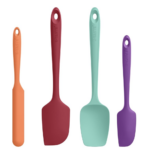
Silicone Spatula Set: You need a sturdy tool to fold your ingredients. A whisk adds too much air; a spatula keeps the batter dense and fudgy.
Ingredient Deep Dive & Strategy
Cocoa Powder: Use Dutch-processed cocoa for a smoother, darker, and more intense chocolate flavor. It reacts better with fats than natural cocoa and provides that classic brownie look.
The Sugar: I use granulated sugar for the crackly top, but you can swap 50g for brown sugar if you want to deepen the taste profile and add a hint of molasses chew.
The Leavening: You will notice there is no baking soda or powder here. Leavening adds lift, which creates a cakey brownie. We want the opposite.
Homemade Chewy Brownie Ingredients
- 71g Unsalted butter
- 249g Granulated sugar (can swap 50g for brown sugar for depth)
- 2 Large eggs, cold
- 1 Egg yolk, cold
- 1 tsp Vanilla extract
- 74g Neutral oil (avocado or vegetable oil)
- 75g Dutch-processed cocoa powder
- 63g All-purpose flour
- 1/4 tsp Fine sea salt
Chewy Homemade Brownie Step by Step Instructions
- Prep the oven and pan: Preheat your oven to 325°F (160°C). Line an 8×8-inch metal baking pan with parchment paper, leaving an overhang for easy removal, and lightly grease it.
- Melt the base: Place butter in the Heavy Bottom Sauce Pan over low heat. Once melted, add sugar. Stir continuously until the sugar begins to dissolve into the butter. Remove from heat immediately.
Pro Tip: If the mixture becomes too hot, let it cool for 3 minutes before adding eggs, or you will scramble them.
- Whisk the eggs: Add whole eggs and the extra yolk. Whisk vigorously for 1 full minute. This step is essential for that glossy crackly top.
- Combine wet ingredients: Stir in the vanilla and the neutral oil until fully emulsified.
- Fold in dry ingredients: Add cocoa powder, flour, and salt. Use your Silicone Spatula to fold the flour mixture in the bowl until just combined. Ensure there are no dry streaks, but do not over-mix.
Pro Tip: Over-mixing develops gluten, turning your chewy brownie into a cake. Stop as soon as the dry bits disappear.
- Bake: Spread the batter into your pan. Bake for 30 minutes, or until the edges are set and a toothpick inserted into the center has moist crumbs attached.
- Cooling: Allow to cool completely in the pan before slicing. This is vital; they firm up as they set.
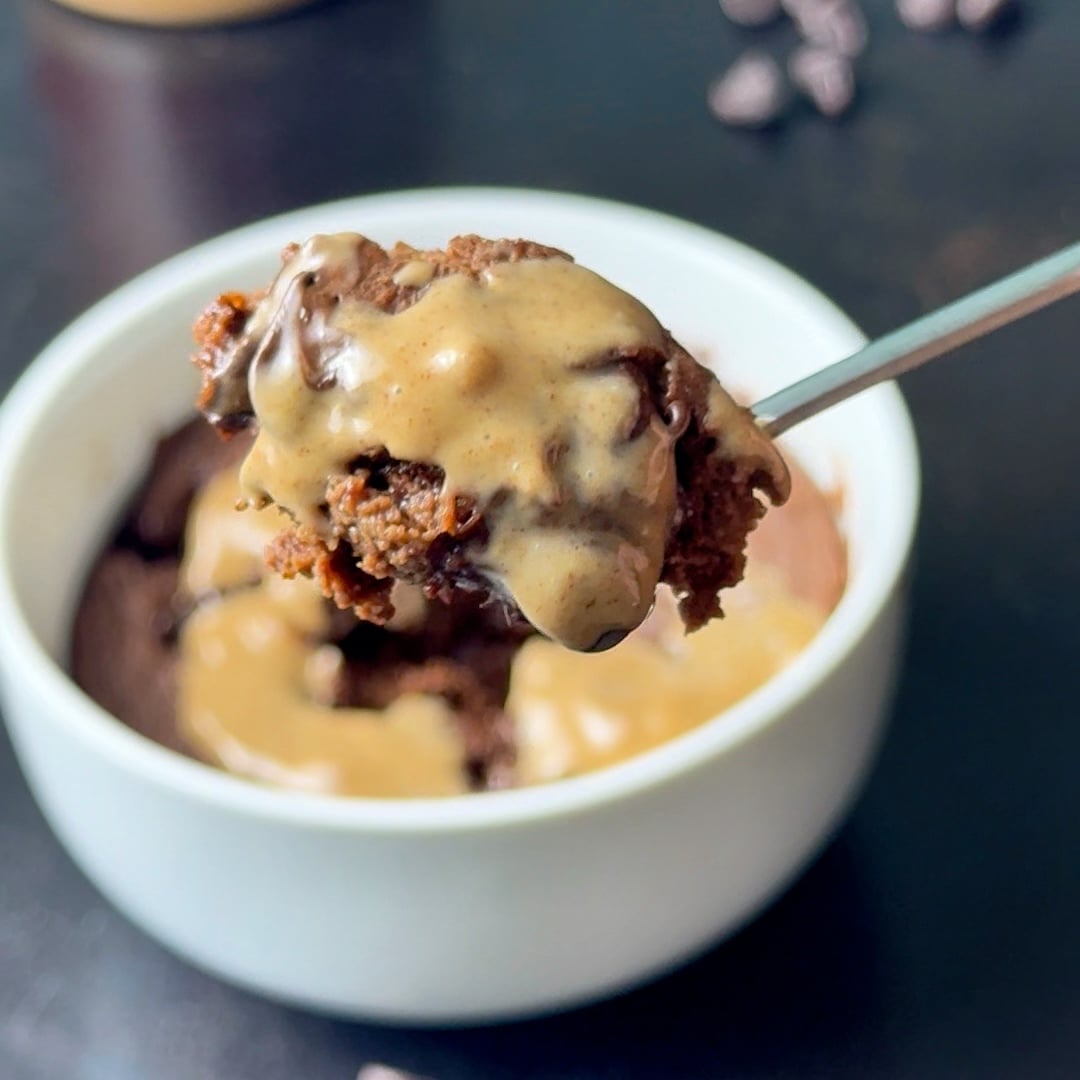
The Macro-Optimization Blueprint
- The Flour Pivot: Replace up to 1/2 of the flour with a Whey/Casein protein blend. Never use 100% Whey, or you will get a rubbery, inedible texture.
- Fat Displacement: Swap 50% of the neutral oil for blended cottage cheese or pumpkin puree. This slashes calories while keeping the brownie's moisture.
- Volume Loading: Stir in soy protein puffs before baking for added crunch and protein.
- Sweetener: Do not reduce sugar below 200g; it provides the structural density needed for the crust.
Why PE Science is Essential for Protein Baking
PE Science Whey/Casein Blend — 10% Discount using affiliate code BAKEDLEAN —
I always talk about the importance of the whey/casein blend! In virtually all of my high-protein recipes, this blend is the fundamental component that makes the macro-friendly structure possible. The casein holds moisture and prevents the final product—whether it's a baked good or a dense protein ball—from becoming too dry or gritty.
Troubleshooting & FAQ
Why are my brownies cakey?
You likely added baking soda or over-mixed the flour. Keep the batter dense.
Why are they rubbery?
If you used protein powder, you likely used 100% Whey. Always use a Whey/Casein blend for structural integrity.
How do I get that crinkly top?
Ensure your sugar is fully dissolved in the melted butter and whisk your eggs vigorously.
Can I freeze them?
Yes. Wrap individual squares in plastic wrap and place them in the freezer for up to 3 months.
Substitutions Table
| Component | Swap Options |
| Flour | Swap 1/3-1/2 for Whey/Casein protein blend (never 100% Whey). |
| Oil | Swap for pumpkin puree or blended cottage cheese (equal weight). |
| Add-ins | Fold in walnuts or pecans for crunch. |
| Serving | Serve warm with a scoop of vanilla ice cream. |
Storage & Reheating
Store in an airtight container at room temperature for 3 days, or in the fridge for 5 days. They gain a fudge-like texture when chilled. No reheating is required, but 10 seconds in the microwave works if you want a warm treat.
You Might Also Like
If you're still craving more, check out these high-performance recipes:
- High Protein Brownie Cookies (High-Protein Recipe)
- High Protein Vegan Chocolate Chip Cookies
- 3 Ingredient Pineapple Protein Cookie
The Final Verdict & Share
This is the baseline you need to master. Technique is everything—get the sugar/butter ratio right, and you'll have the best chewy brownies in your rotation. Snap a photo of your bake and tag us.
Best Chewy Brownies
Ingredients
- 71 g Unsalted butter
- 249 g Granulated sugar
- 2 Large eggs cold
- 1 Egg yolk cold
- 1 tsp Vanilla extract
- 74 g Neutral oil
- 75 g Dutch-processed cocoa powder
- 63 g All-purpose flour
- 1/4 tsp Fine sea salt


Method
- Preheat the oven to 325°F (160°C). Line an 8×8-inch metal baking pan with parchment paper and lightly grease.
- Melt the butter in a heavy-bottom saucepan over low heat. Add the sugar and stir continuously until the sugar begins to dissolve. Remove from heat.
- Whisk the eggs and extra yolk into the warm butter/sugar mixture for at least 1 full minute to emulsify.
- Stir in the vanilla extract and neutral oil.
- Fold in the cocoa powder, flour, and salt using a silicone spatula until just combined. Avoid over-mixing.
- Pour the batter into the pan and bake for 30 minutes, or until the edges are set and a toothpick has moist crumbs.
- Cool completely in the pan before cutting.


Leave a Reply