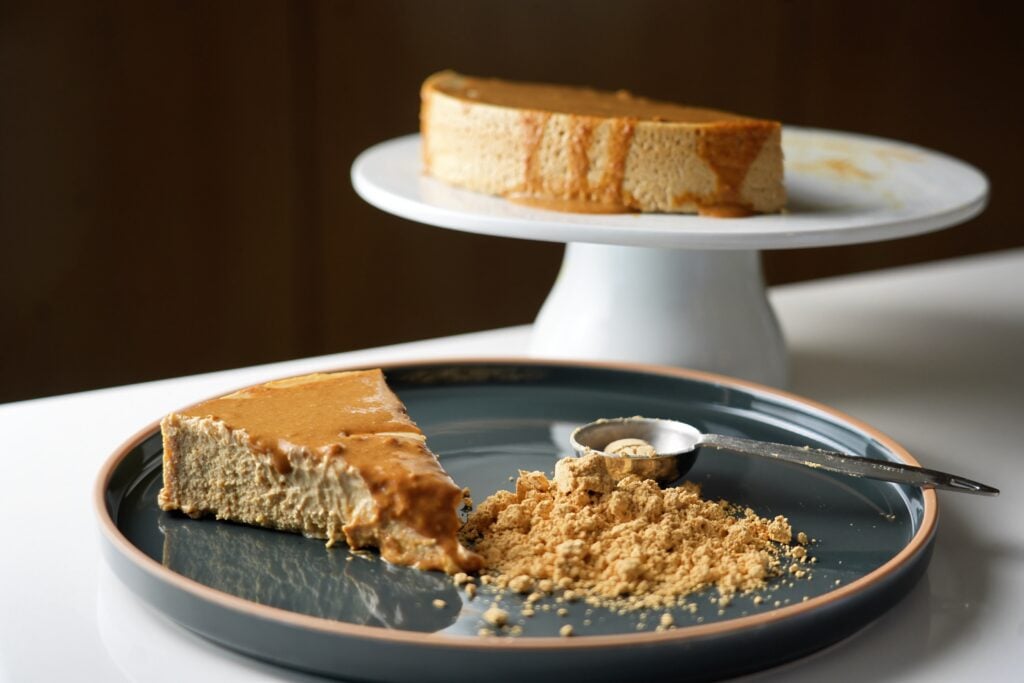
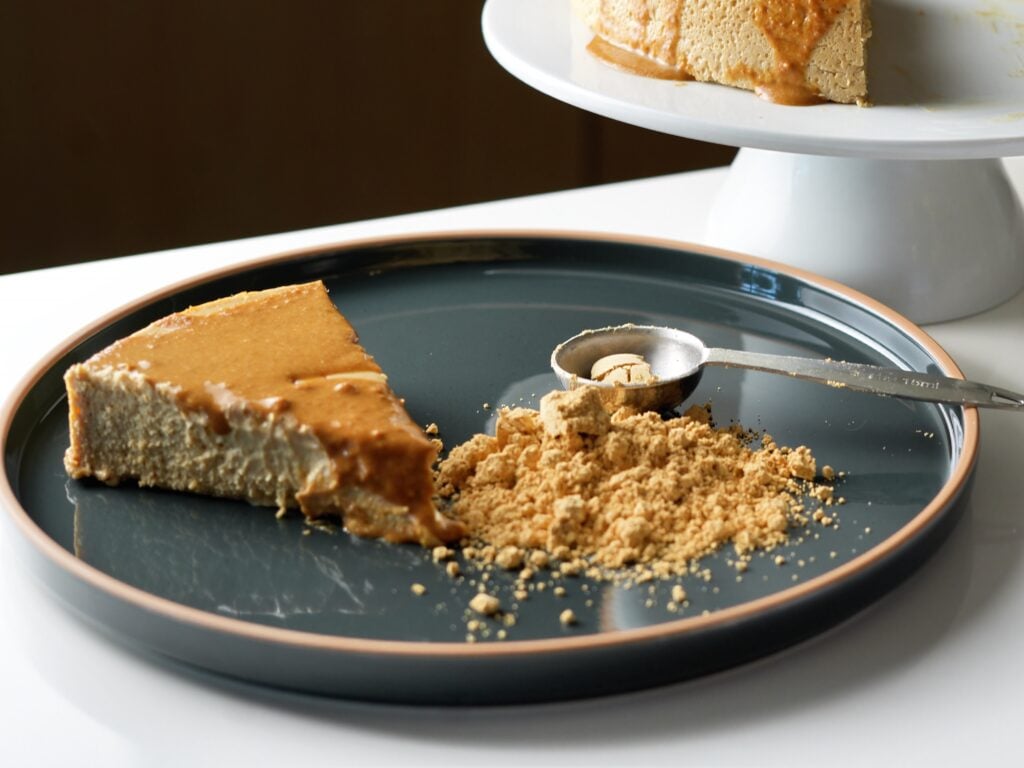
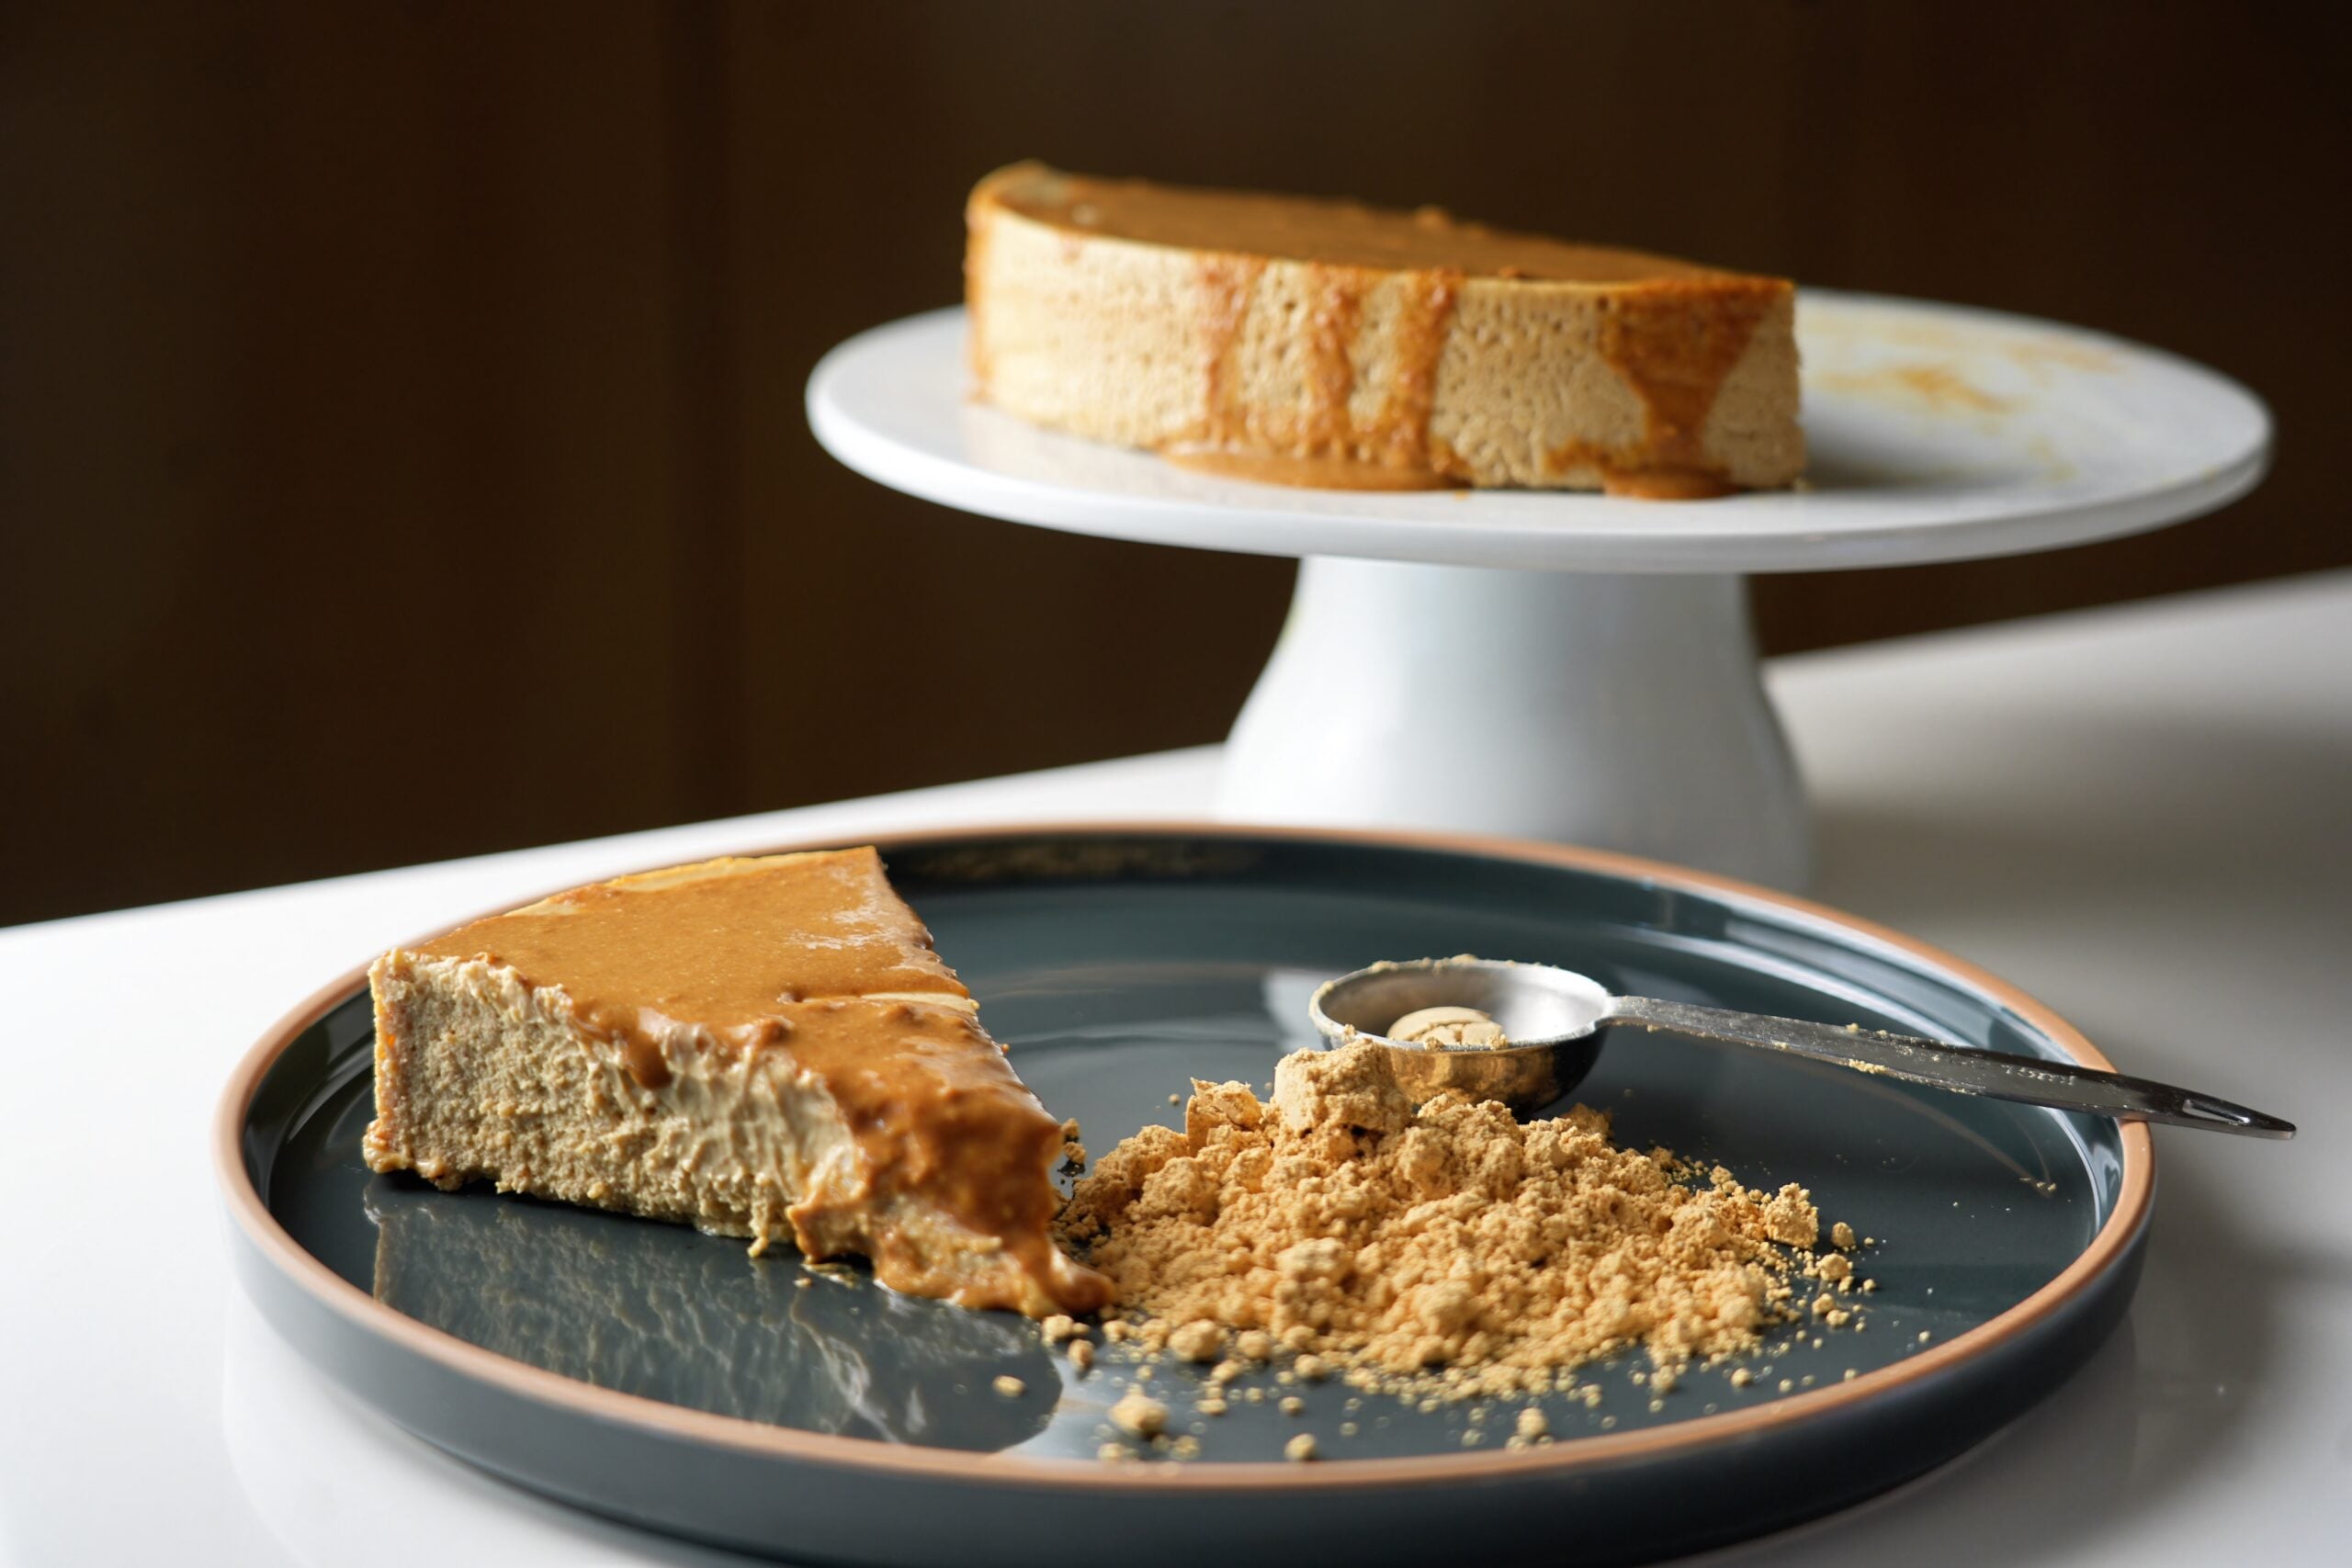
A rich, velvety, New York-style healthy peanut buttercheesecake that delivers authentic bakery flavor and texture without the heavy fats. Features a smooth plain Greek yogurt base and is topped…
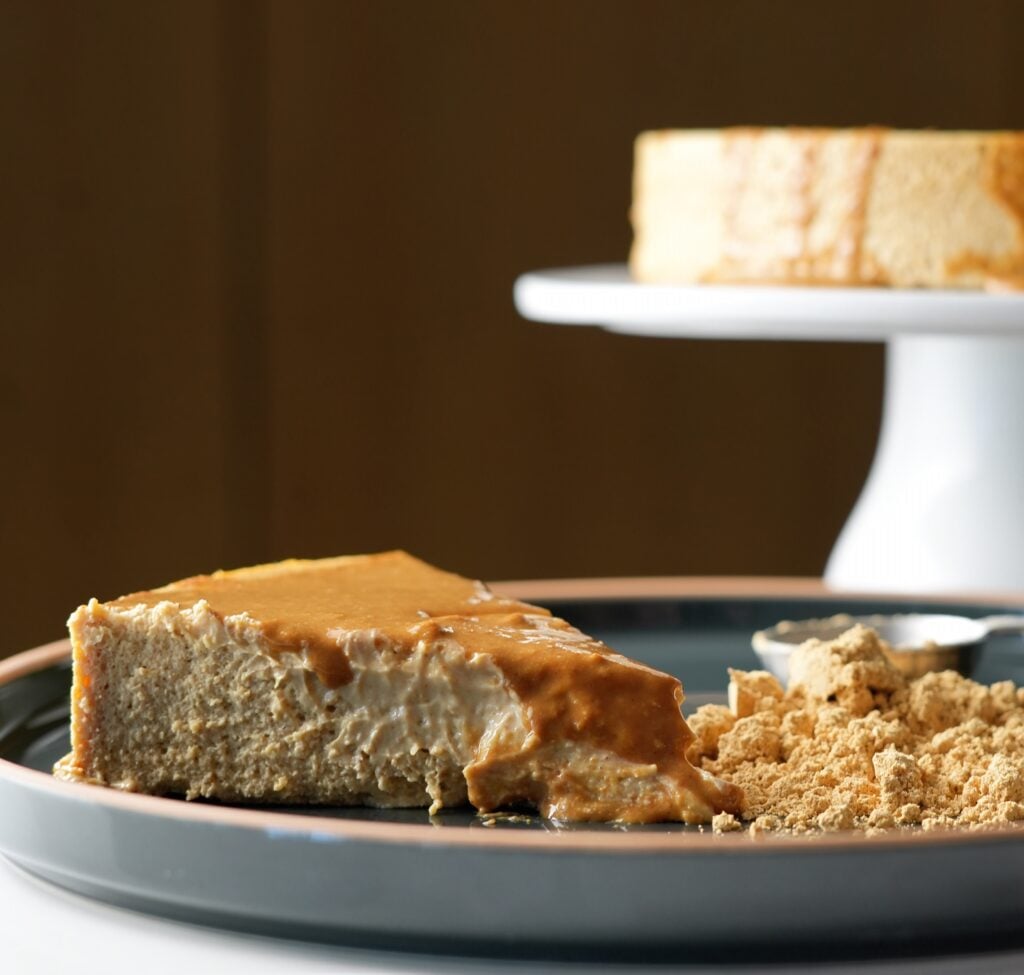
This high protein peanut buttercheesecake is dense, creamy, and made with low-fat cream cheese, Greek yogurt, powdered peanut butter, whole eggs, and a simple peanut butter glaze.
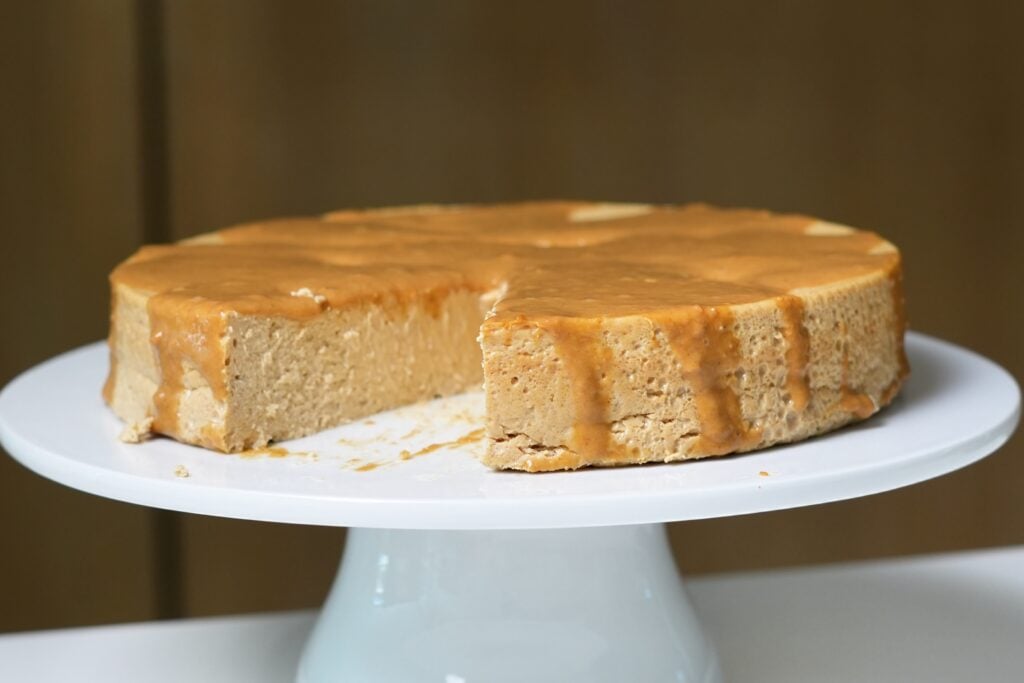
I wanted this peanut butter cheesecake to taste rich without turning into a dry protein cake. The goal was a real cheesecake texture: thick, creamy, sliceable, and full of peanut butter flavor.
This version is not fat-free, and that is intentional. A little fat from the whole eggs and peanut butter helps the cheesecake stay creamy instead of rubbery. The Greek yogurt, low-fat cream cheese, and powdered peanut butter help boost the protein while keeping the calories much lighter than a classic peanut butter cheesecake.
Each slice has about 255 calories, 25g protein, 11g fat, and 11g carbs, depending on the exact brands you use.
If you're looking for other Pie and Cheesecake hits from the archive, try these:
Why This High Protein Peanut Butter Cheesecake Works
A lot of high-protein cheesecakes go wrong because they remove too much fat.
That usually leaves you with a dry, rubbery texture. Cheesecake still needs some richness to taste like cheesecake.
This recipe uses low-fat cream cheese and Greek yogurt for the base, powdered peanut butter for extra peanut flavor, and whole eggs to help the cheesecake set smoothly. The glaze uses sugar-free syrup and more powdered peanut butter, so you get extra peanut butter flavor on top without making a heavy frosting.
The baking method matters too. This cheesecake bakes at 325°F, then cools slowly in the oven before chilling. That lower heat helps the filling set gently and keeps the texture creamy.
The Low-Heat Baking Strategy
High-protein cheesecakes need gentle heat. If the oven is too hot, the edges set too fast, the center lags behind, and the top is more likely to crack.
That is why this bakes at 325°F. The lower temperature gives the filling time to set slowly, so the cheesecake stays dense and creamy instead of rubbery.
You also do not need a water bath for this one. The slow oven cool-down helps prevent the sudden temperature drop that usually causes cracks.
Why You'll Love This Recipe
Dense Cheesecake Texture: This is meant to be rich and creamy, not light and fluffy.
25g Protein Per Slice: The Greek yogurt, cream cheese, eggs, and powdered peanut butter all help boost the protein.
Real Peanut Butter Flavor: A mix of peanut butter and powdered peanut butter gives the filling a stronger peanut flavor without making it too heavy.
No Water Bath: The lower oven temperature and slow cool-down help it set without extra hassle.
Easy Glaze: The powdered peanut butter topping gives you more peanut butter flavor without needing a heavy frosting.
What makes a Healthy Peanut Butter Cheesecake special?
A lot of high-protein cheesecakes go wrong because they remove too much fat. That usually leaves you with a dry, rubbery texture.
This version keeps a small amount of real peanut butter and uses whole eggs, so the filling still has richness. The Greek yogurt and low-fat cream cheese keep it creamy, while the powdered peanut butter adds more peanut flavor without making the slice too heavy.
That balance is what makes it taste like cheesecake instead of a protein bar in cake form.
Key Equipment Focus
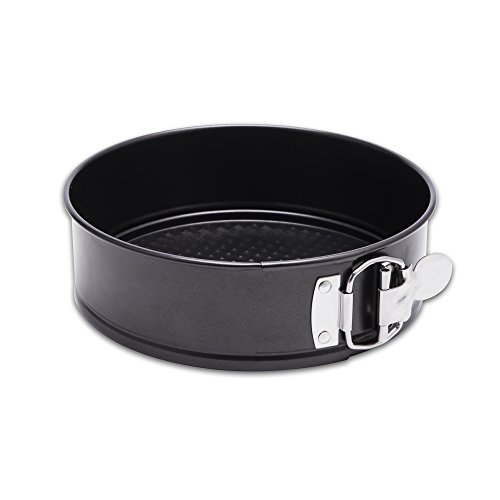
9 Inch Springform Pan: This is mandatory for a clean release. Standard cake pans will trap the cheesecake, forcing you to scoop it out and ruin the beautiful slices.
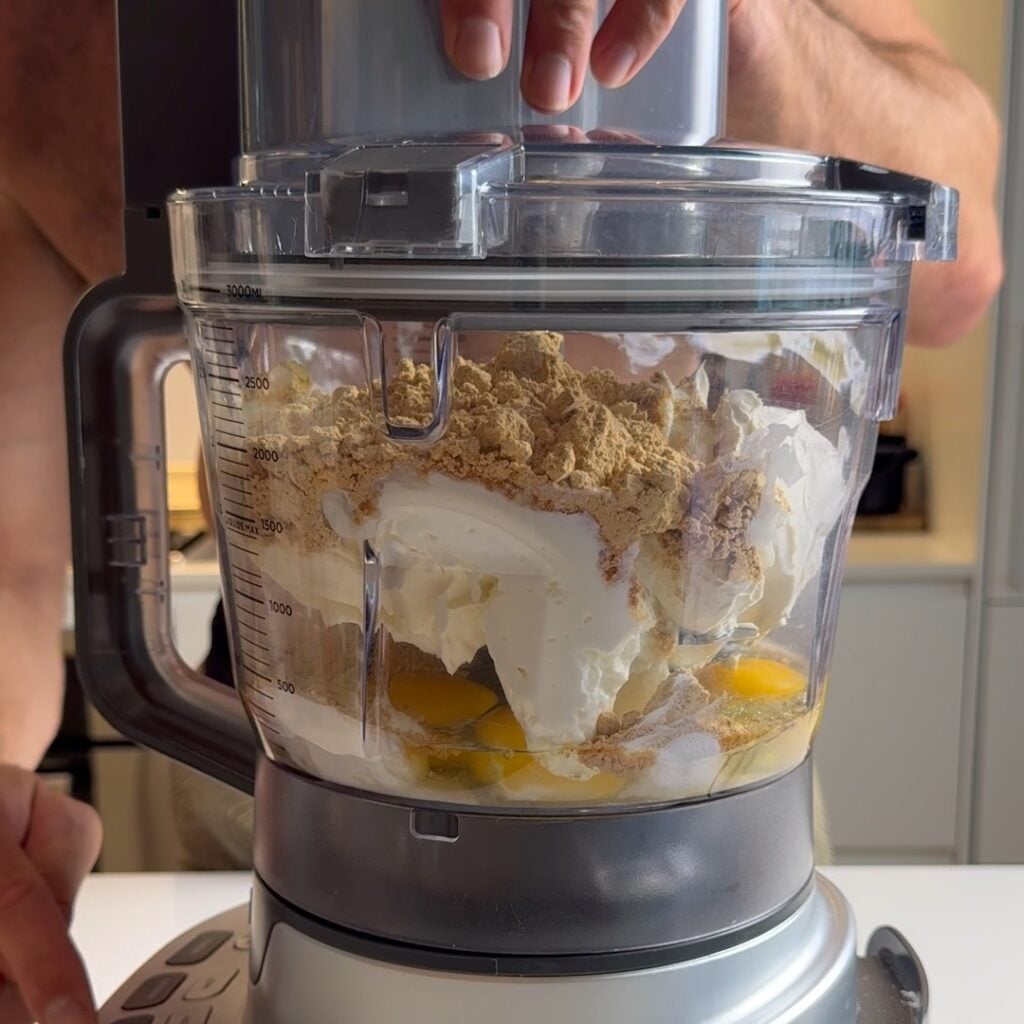
Food Processor: Crucial for eliminating lumps. To get low-fat cream cheese, plain Greek yogurt, and protein powder completely uniform, you need the shearing action of high-speed blades.
Digital Kitchen Scale: Consistency is everything. Weighing your cream cheese, peanut butter, and peanut butter powder ensures your batter consistency matches mine perfectly.
Silicone Spatula Set: Ideal for scraping every last drop of your thick peanut butter batter out of the food processor bowl down to the last gram.
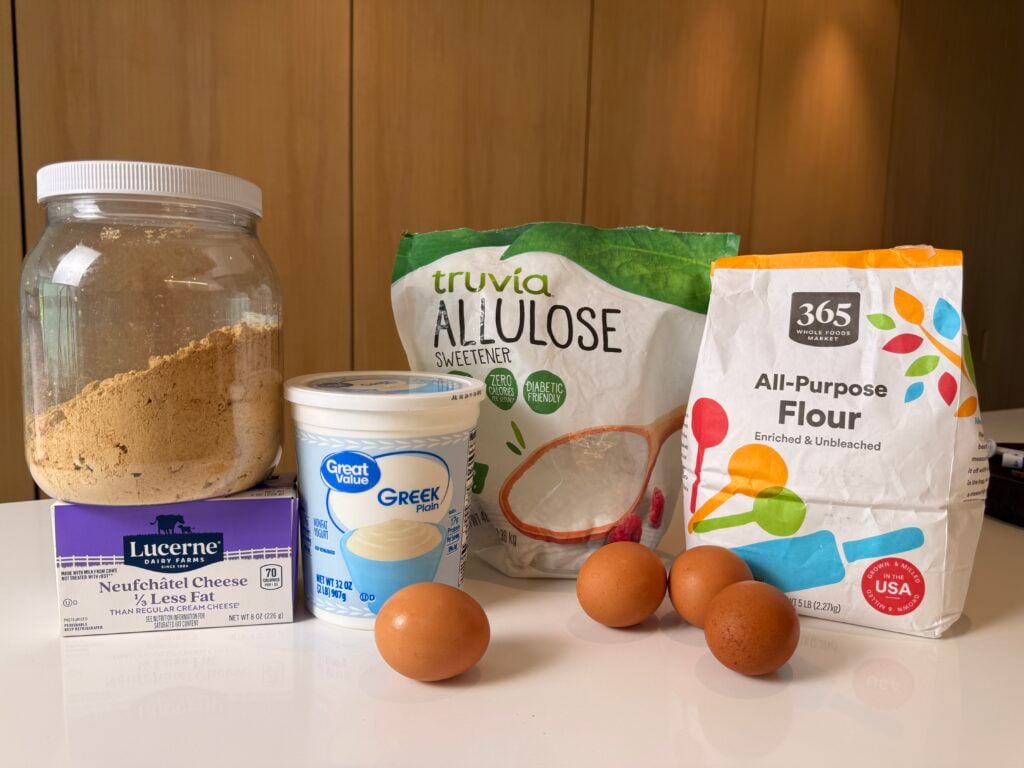
Low-Fat Cream Cheese: Gives the cheesecake its classic creamy base and tang. Let it soften before blending so the batter does not turn lumpy.
Plain Greek Yogurt: Adds creaminess, protein, and a little tang to balance the peanut butter.
Powdered Peanut Butter: Adds strong peanut butter flavor without making the cheesecake too heavy.
Granulated Zero-Calorie Sweetener: Sweetens the filling. Adjust to taste depending on your brand.
Vanilla Extract: Rounds out the peanut butter and cheesecake flavor.
Whole Eggs: Help the cheesecake set and give the filling a smoother texture.
Sugar-Free Syrup: Mixes with powdered peanut butter to create an easy glaze.
Provides enough bowl capacity and blade power to blend the dairy and peanut ingredients into a smooth batter.
This post contains affiliate links. As an Amazon Associate, I earn from qualifying purchases.
Healthy Peanut Butter Cheesecake Step by Step Instructions
1. Prep the oven and pan: Preheat your oven to 325°F (160°C). Lightly grease the interior of your 9 Inch Springform Pan to ensure a clean release later.
2. Process the dairy and base flavor: Place your room temperature low-fat cream cheese, plain Greek yogurt, and zero-calorie sweetener into the bowl of your Food Processor. Process the mixture on high speed for about 60 seconds until it is completely uniform, silky smooth, and free of any lumps.
3. Incorporate the peanut flavors and protein: Use your Digital Kitchen Scale to weigh 1/2 cup of Powdered Peanut Butter for the filling. Add them to the food processor along with your vanilla extract and process until completely smooth.
Pro Tip: Stop the machine halfway through this step and use a spatula from your Silicone Spatula Set to scrape down the sides and bottom of the bowl to ensure no dry pockets of peanut butter powder remain unblended.
4. Add the eggs gently: Add the 4 whole eggs into the processor bowl. Pulse the machine on a low speed just until the eggs are completely incorporated into the batter, taking care not to whip excess air into the mixture.
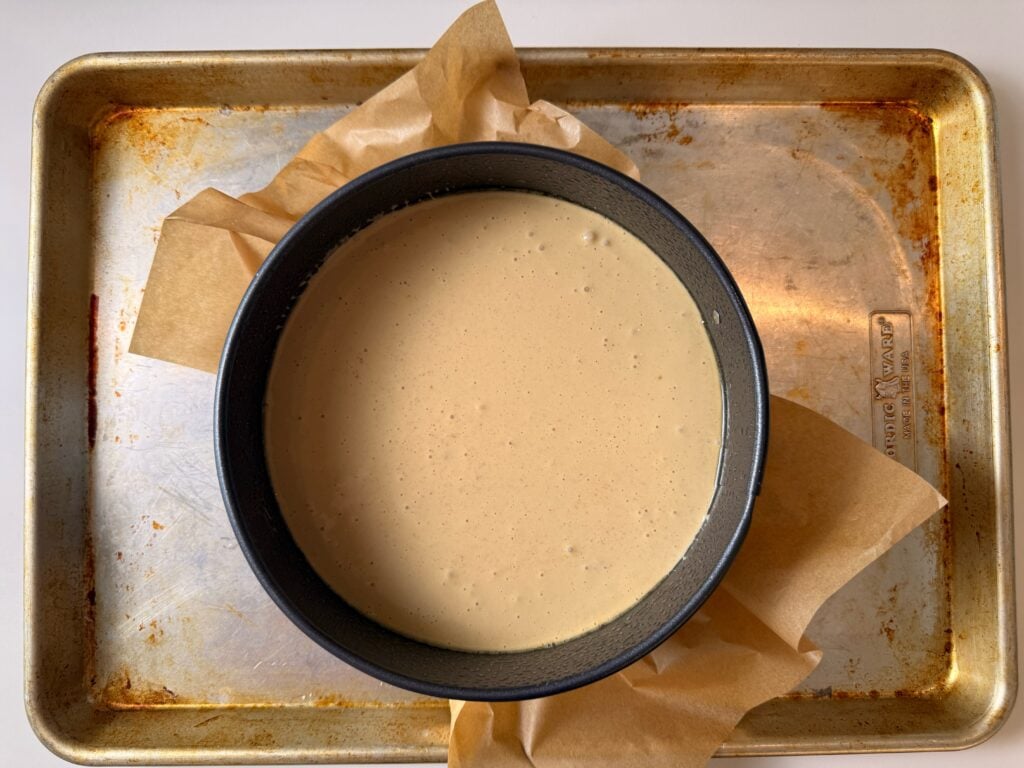
5. Bake the filling: Pour the smooth cheesecake batter into your prepared springform pan, smoothing the top evenly. Place the pan directly onto the center rack of your oven and bake at 325°F (160°C) for exactly 45 minutes until the edges are stable but the center retains a slight jiggle.
6. Cool slowly in the oven: Turn off the oven entirely and leave the cheesecake inside with the door closed for 20 minutes to allow the temperature to descend gently.
Pro Tip: Skipping this slow cooling step causes a rapid temperature drop, which is the primary reason a high-protein or skinny peanut butter cheesecake will develop large cracks down the center.
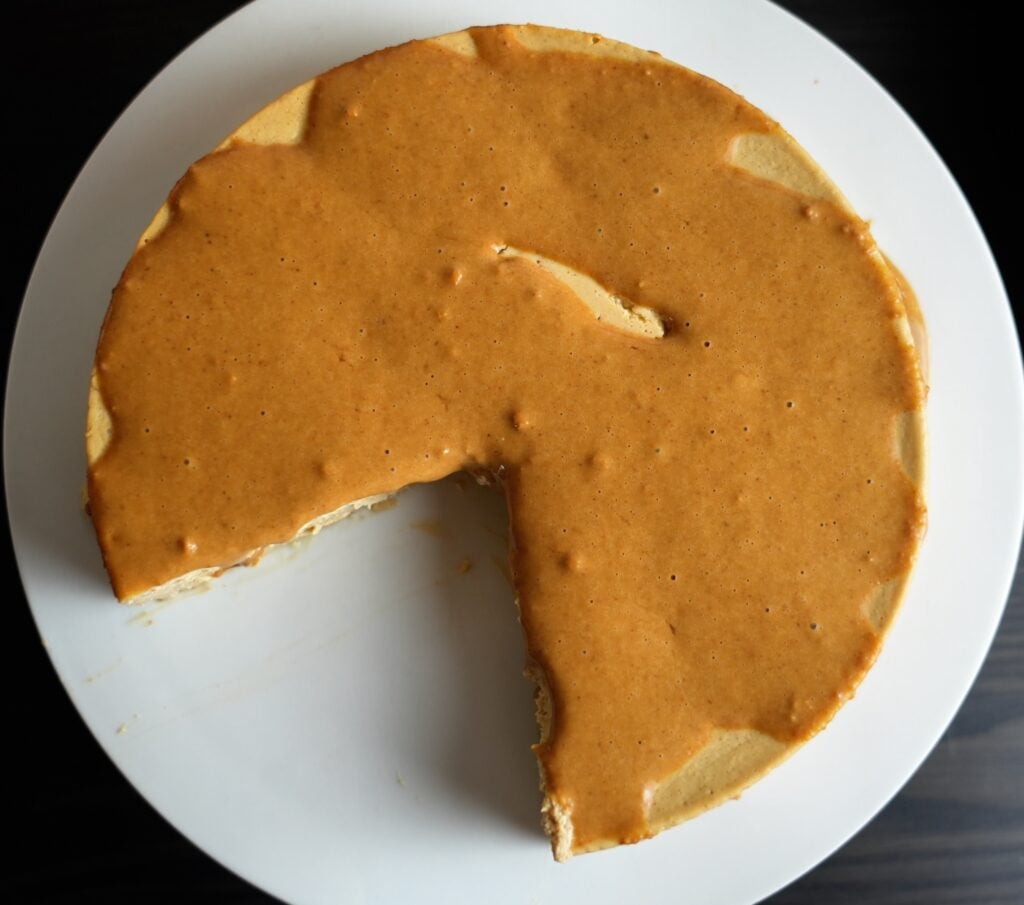
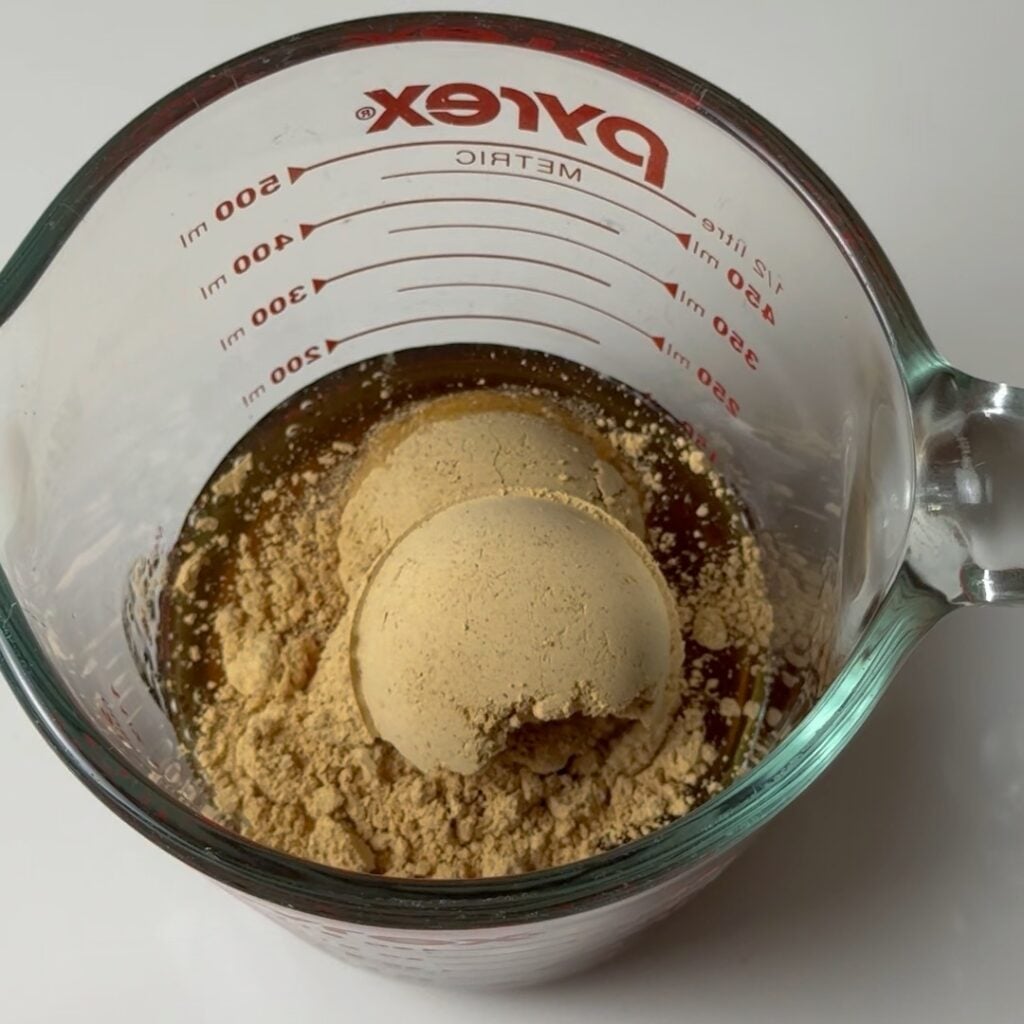
7. Mix the glossy glaze: While the cake cools, prepare your macro-friendly topping. In a small bowl, whisk 1/2 cup of sugar-free syrup with 5 tablespoons of Powdered Peanut Butter until it transforms into a thick, glossy, pourable peanut layer.
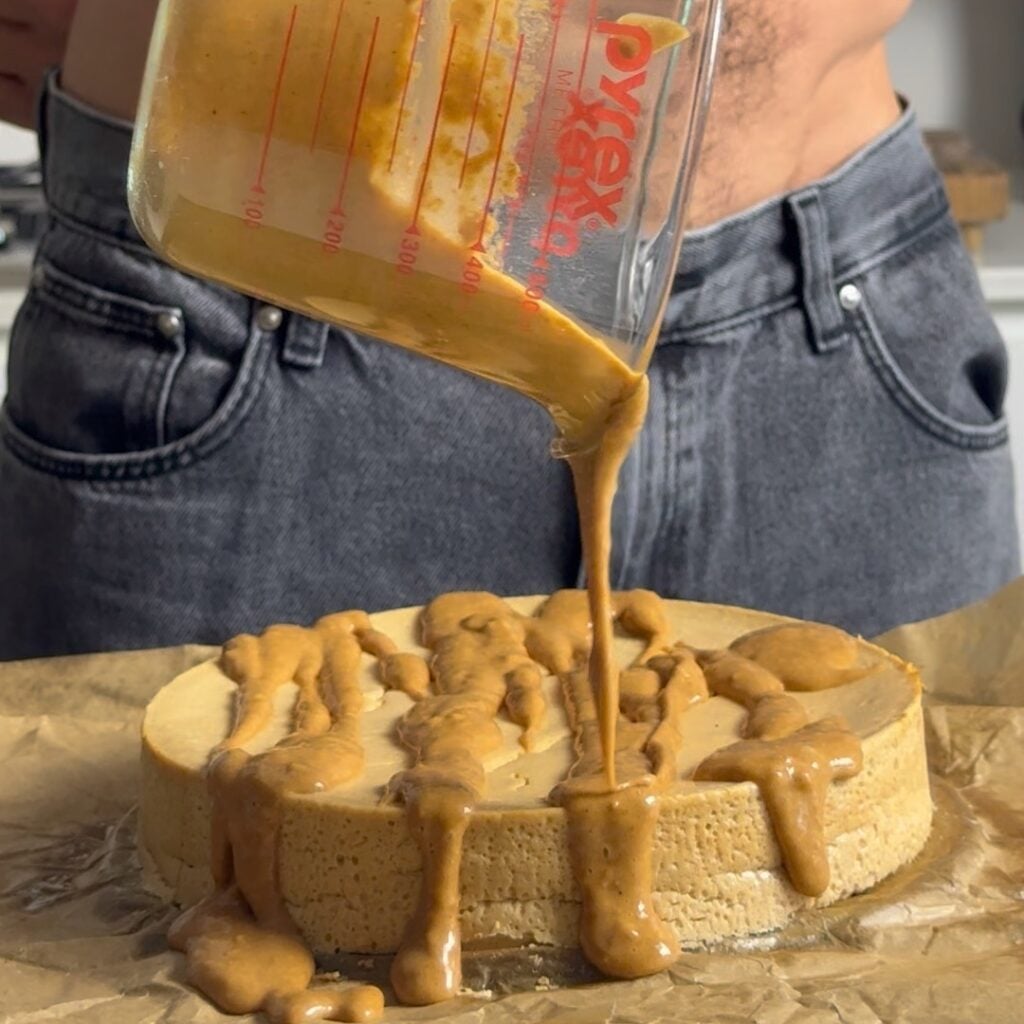
8. Apply glaze and chill completely: Remove the cooled cheesecake from the oven and evenly spread your prepared peanut glaze across the top surface using an offset spatula. Place the glazed cheesecake uncovered into the refrigerator to chill for at least 6 hours, or preferably overnight, before releasing from the pan and slicing.
Best Tips for Creamy Peanut Butter Cheesecake
For the best texture:
Use softened cream cheese.
Blend the dairy base until smooth before adding eggs.
Do not overmix after adding the eggs.
Bake low and slow at 325°F.
Let it cool in the oven for 20 minutes.
Chill for at least 6 hours before slicing.
Use a hot, clean knife for cleaner slices.
Troubleshooting & FAQ
Why is my cheesecake lumpy?
The cream cheese was probably too cold, or the base was not blended long enough. Let the cream cheese soften before blending and scrape down the food processor as needed.
Why did my cheesecake crack?
It may have been overmixed, overbaked, or cooled too quickly. Pulse the eggs in gently, bake until the center still jiggles, and use the oven cool-down.
Can I make this without a water bath?
Yes. This recipe does not need a water bath. The low baking temperature and slow cool-down help protect the texture.
Can I use regular peanut butter instead of powdered peanut butter?
You can use some regular peanut butter, but I would not replace all of the powdered peanut butter with it. Regular peanut butter adds more fat and can make the texture heavier.
Can I use PB2 or PBfit?
Yes. PB2, PBfit, or another powdered peanut butter should work.
Can I use fat-free cream cheese?
I would not. Fat-free cream cheese can make the cheesecake rubbery. Low-fat cream cheese is a better balance.
Can I use cottage cheese instead of cream cheese?
You can test blended cottage cheese, but the flavor and texture will be different. Cream cheese gives the best cheesecake texture.
Can I add a crust?
Yes. A graham cracker crust or chocolate cookie crust would work, but it will change the macros.
Can this fit a lower-sugar diet?
This recipe uses zero-calorie sweetener and sugar-free syrup, so it is lower in added sugar than a classic peanut butter cheesecake. Still, check the labels and macros if that matters for your plan.
Can I freeze it?
Yes. Freeze individual slices tightly wrapped for up to 3 months. Thaw overnight in the fridge before serving.
Substitutions Table
Component
Swap Options
Low-Fat Cream Cheese
Neufchâtel cheese, spreadable light cream cheese, or blended cottage cheese
Plain Greek Yogurt
Low-fat sour cream, skyr, or low-fat quark cheese
Powdered Peanut Butter
PB2, PBfit, or powdered almond butter
Sugar-Free Syrup
Sugar-free maple syrup, fiber syrup, or low-calorie honey alternatives
Storage
Store the cheesecake covered in the refrigerator for up to 5 days.
You can keep it in the springform pan or move individual slices to an airtight container.
To freeze, wrap slices tightly and place them in a freezer-safe bag for up to 3 months.
Thaw overnight in the refrigerator before serving.
You Might Also Like
If you love Pie and Cheesecake hits as much as I do, these three hits from the archive are worth checking out next.
This high protein peanut butter cheesecake is dense, creamy, and actually tastes like peanut butter. It is lighter than a classic peanut butter cheesecake, but it still keeps enough richness to feel like dessert. Make it once, chill it fully, and tag me if you try it.
Healthy Peanut Butter Cheesecake (High Protein Recipe)
5 from 2 votes
A rich, velvety, New York-style healthy peanut butter cheesecake that delivers authentic bakery flavor and texture without the heavy fats. Features a smooth plain Greek yogurt base and is topped with a glossy, sugar-free powdered peanut butter glaze.
Preheat your oven to 325°F (160°C). Lightly grease a 9-inch springform pan to ensure a clean release.
Blend the low-fat cream cheese, plain Greek yogurt, and zero-calorie sweetener in a food processor for 60 seconds until perfectly smooth and creamy.
Add the powdered peanut butter and vanilla extract. Process until completely uniform, scraping the sides as needed.
Add the 4 whole eggs, then pulse on low speed just until they are incorporated into the batter. Do not overmix.
Pour the batter into your prepared pan and smooth the top. Place directly onto the center rack of your oven.
Bake at 325°F (160°C) for exactly 45 minutes until the edges are set but the center remains slightly jiggly.
Turn off the oven entirely and allow the cheesecake to sit inside with the door closed for 20 minutes to cool down slowly.
While cooling, prepare the glaze by vigorously whisking 1/2 cup of sugar-free syrup with 5 tablespoons of powdered peanut butter in a small bowl until completely smooth.
Spread the prepared glaze evenly across the top surface of the cooled cheesecake. Place in the refrigerator to chill for a minimum of 6 hours before slicing.
Healthy Peanut Butter Cheesecake Tips & Expert StrategyTEXTURE TIP: This cheesecake should be dense, creamy, and sliceable. It is not meant to be light and airy.ROOM TEMPERATURE TIP: Let the cream cheese soften before blending. Cold cream cheese can leave lumps in the batter.CHILLING TIP: Do not slice it right after baking. The cheesecake needs at least 6 hours in the fridge so the center can fully set.SERVING TIP: For cleaner slices, use a sharp knife dipped in hot water and wiped dry between cuts.
4 responses to “Healthy Peanut Butter Cheesecake (High-Protein Recipe)”
Dave
Hi – you mention an “insulating water bath environment” at the top, but then don't mention it again. Is this recipe better with a bain-marie? any changes if using one, temp or time? Or is that not really needed (it helps even out the cooking and reduce cracking with a traditional cheesecake)






Leave a Reply