
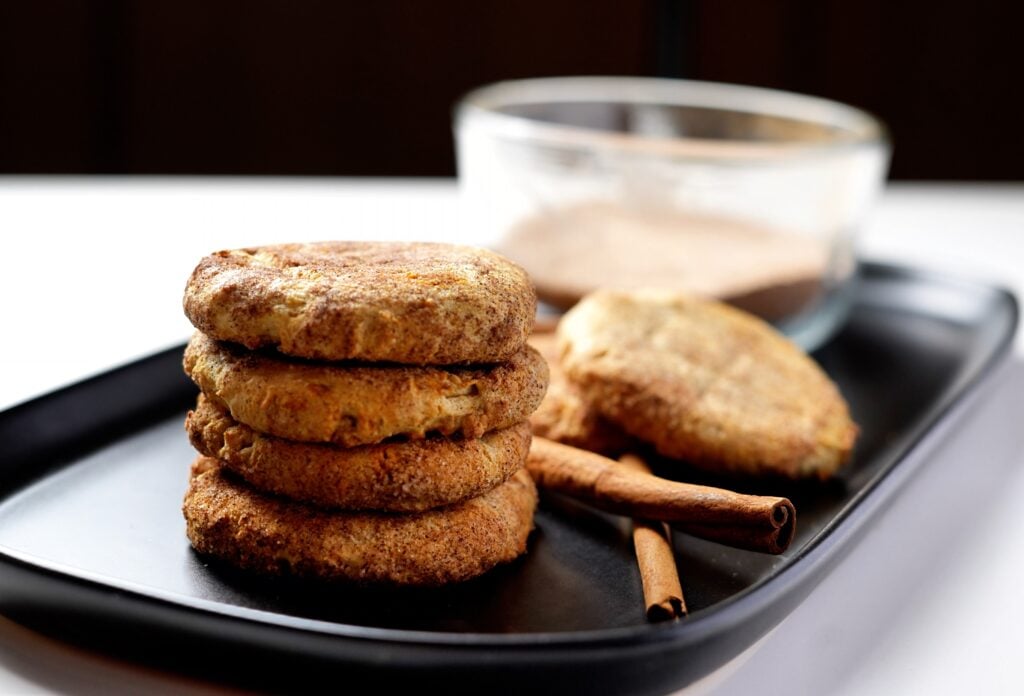
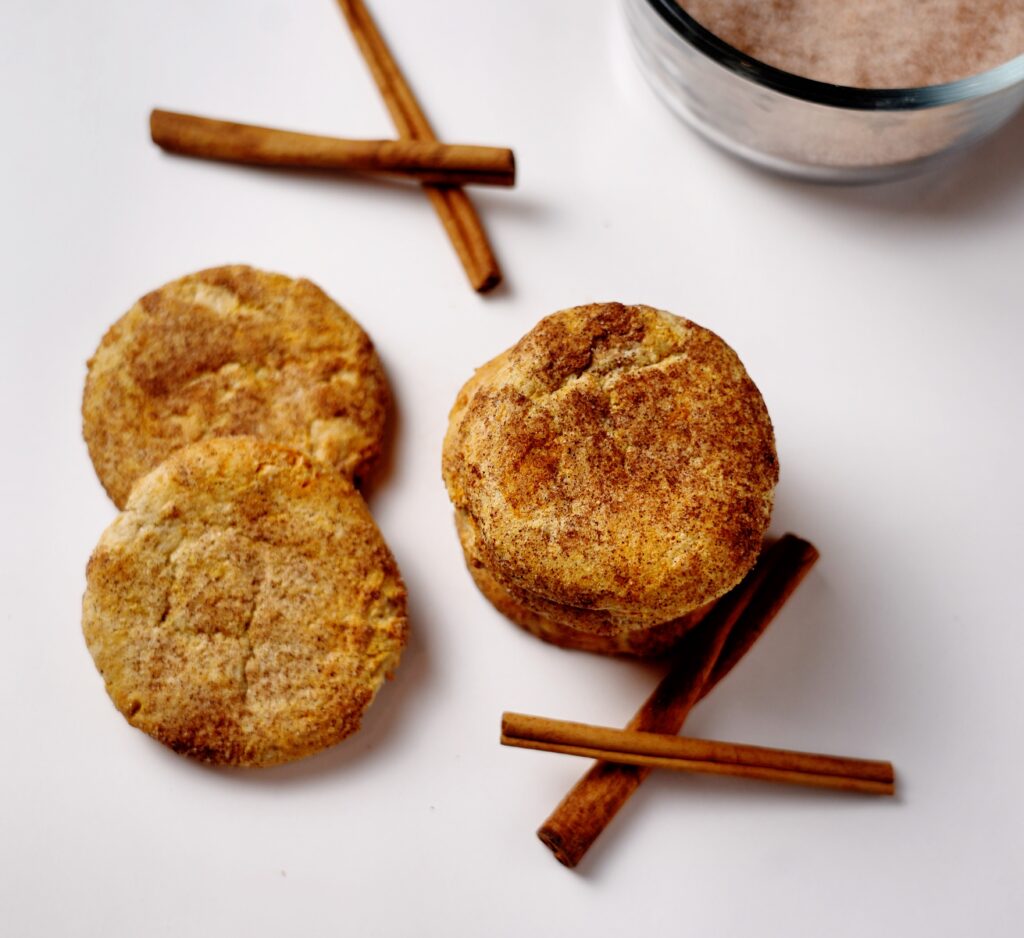
I don't mess around with complicated baking. If a cookie requires ten different bowls, twenty ingredients, and an hour of prep, it isn't worth the effort. That's why these Protein Snickerdoodle Cookies are a staple in my rotation. They hit that classic cinnamon-sugar craving while packing in the protein without the rubbery texture you often get with protein powder baking.
These cookies come in at about 55 calories each with 4g of protein. They aren't just “good for a protein cookie”—they actually hold up to the real thing in terms of flavor and satisfaction.
If you're looking for other Cookie hits from the archive, try my:
- Old Fashioned Toll House Chocolate Chip Cookies Original Style
- High Protein Brownie Cookies
- Sugar Cake Protein Cookies
- Healthy Peanut Butter Cookies
What makes a Snickerdoodle a Snickerdoodle?
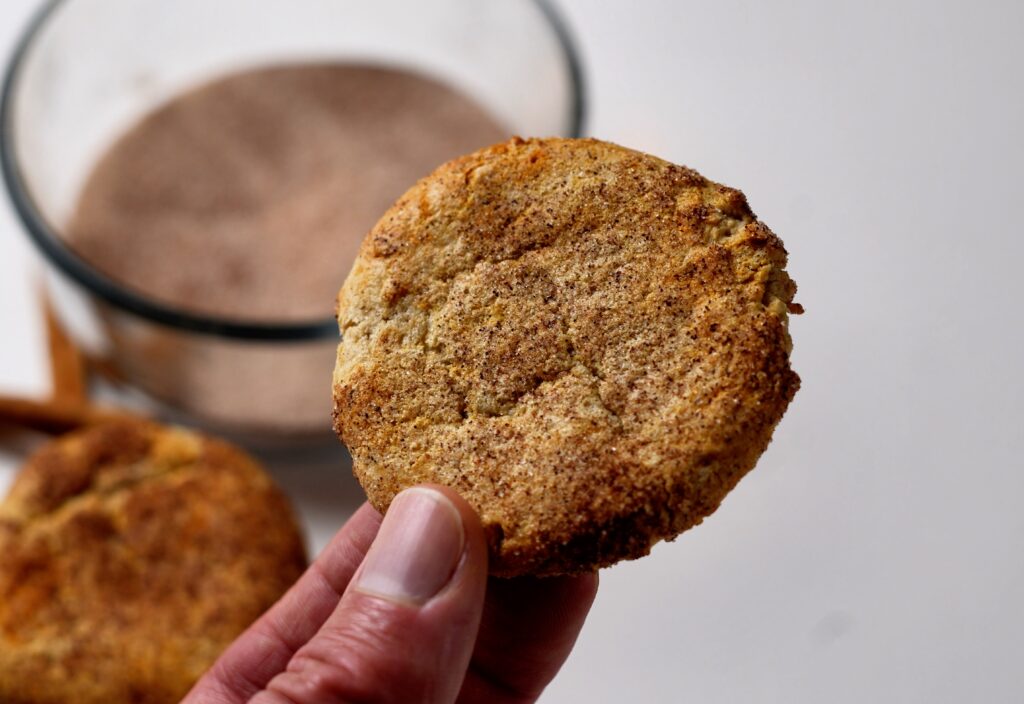
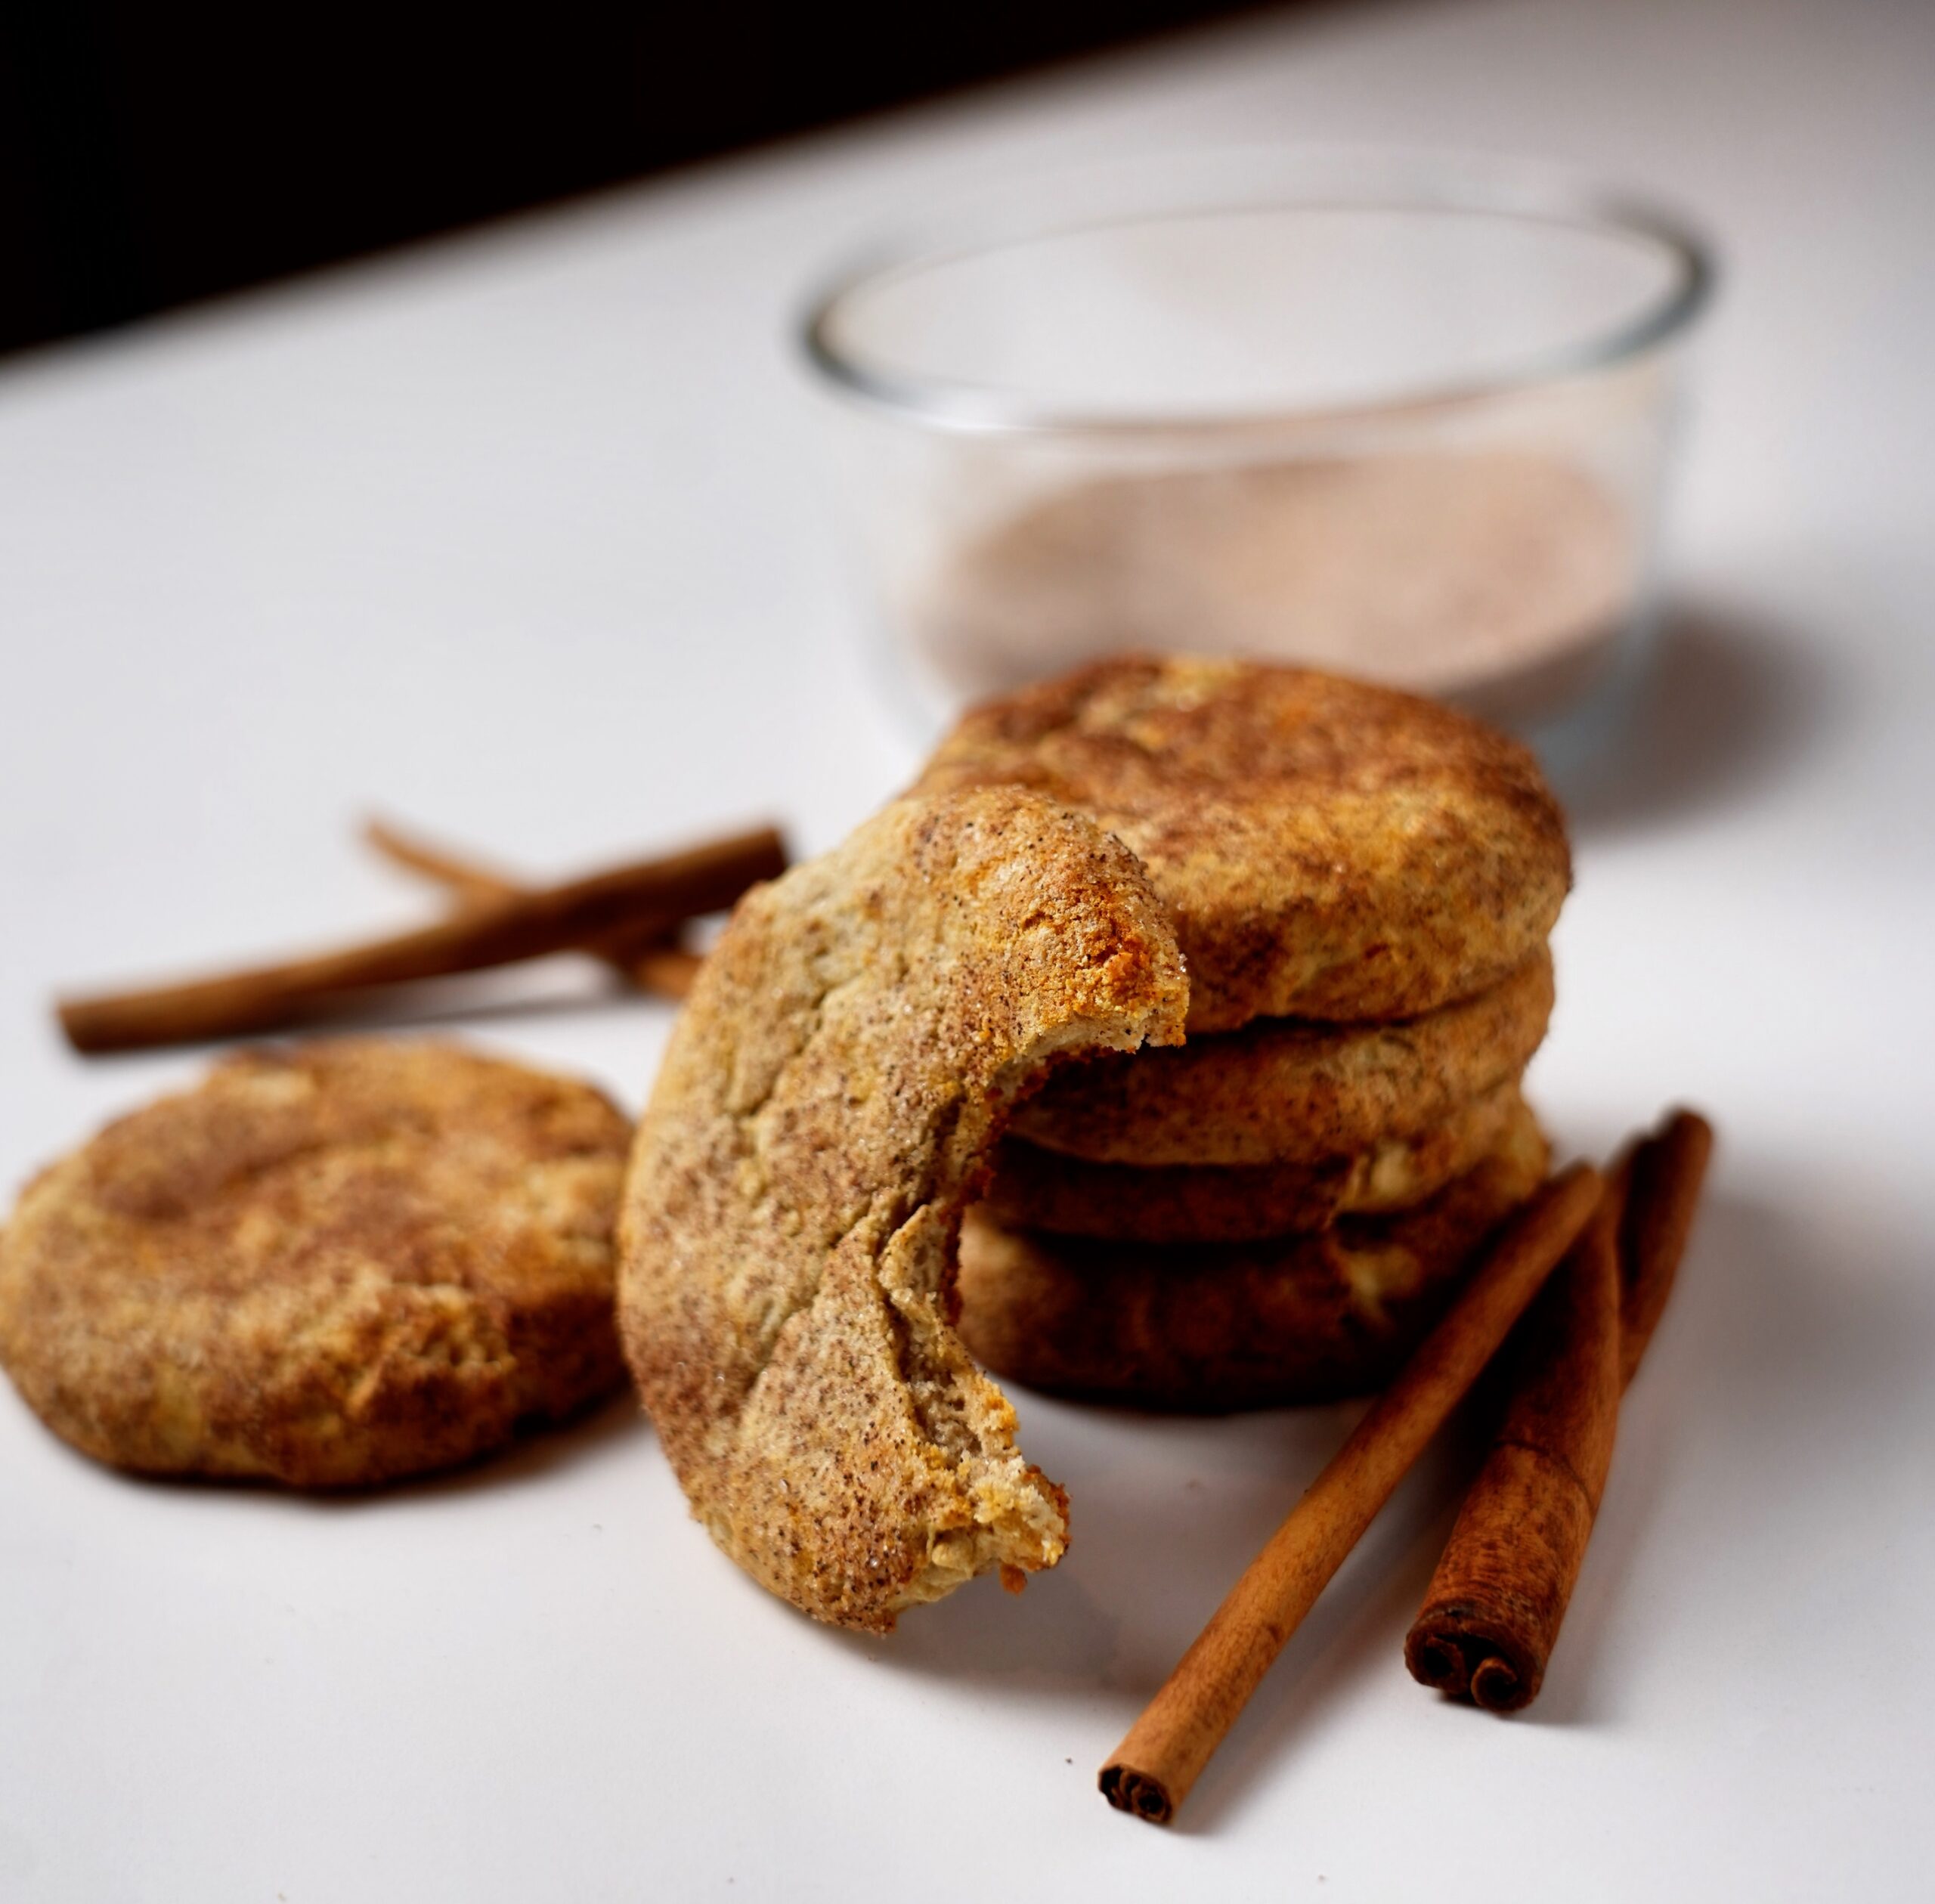
A lot of people confuse Snickerdoodles with basic cinnamon sugar cookies. They look similar, but they aren't the same. A true Snickerdoodle is defined by its texture and its taste profile. It needs to have that soft, pillowy interior, a slightly crispy edge, and—most importantly—a tangy flavor profile that keeps the sweetness from becoming cloying.
If you bake a cookie with cinnamon and sugar but leave out the acid, you've just made a cinnamon sugar cookie. The Snickerdoodle is unique because of that signature tang. It's a flavor that stands out in a crowded dessert landscape, and when you combine that with a high-protein profile, you get a treat that actually feels indulgent rather than like a forced health food.
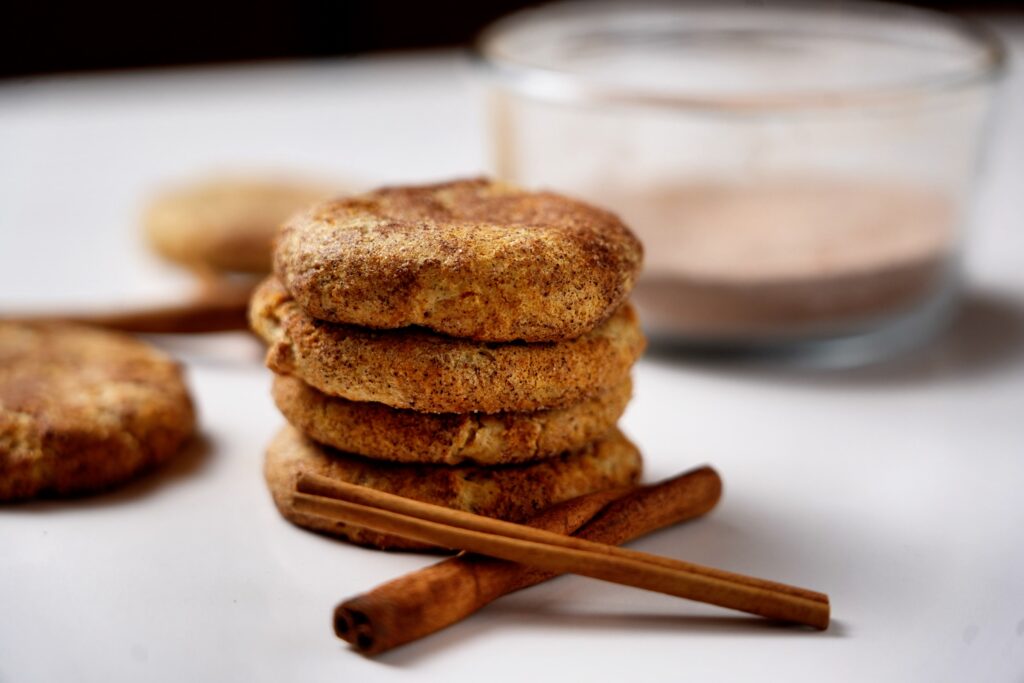
The Cream of Tartar Strategy
Snickerdoodles are defined by one specific characteristic: that tangy, slightly acidic bite that cuts through the sweetness of the cinnamon coating. Most home bakers think Snickerdoodles are just sugar cookies rolled in cinnamon, but that is incorrect. The secret is cream of tartar.
This ingredient acts as the acid that reacts with your baking soda to create lift and, more importantly, that distinct flavor profile. Without it, you are just baking a plain cinnamon cookie. My version utilizes this chemical reaction to ensure the center remains soft while the exterior gets that light, airy texture.
Why You'll Love This Recipe
- Macro-Friendly: At 55 calories per cookie, these fit into almost any nutrition plan, whether you are cutting or maintaining.
- No Rubber Texture: By focusing on the correct flour-to-protein ratio, you get a cookie that actually bites back instead of feeling like a sponge.
- Quick Setup: Since these only require a single bowl and a quick chill, you can have them prepped in ten minutes.
- Authentic Flavor: Using high-quality cinnamon, vanilla, and the correct leavening agents ensures these taste like the childhood classic.
- Gluten-Free & Low Sugar: Using almond and oat flour makes these accessible for gluten-sensitive diets without sacrificing the “melt-in-your-mouth” quality.

Key Equipment Focus
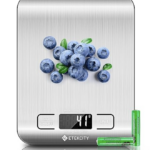
Digital Kitchen Scale: Precision is everything with high-protein baking. Using cups is a recipe for disaster because protein powder density changes by the scoop. Weighing your ingredients (especially the 30g of protein powder) is the only way to ensure your cookies don't end up dry.
Cookie Scoop Set: Uniformity is key for even baking. If your cookies are different sizes, some will burn while others remain raw in the middle. Using a scoop ensures every cookie has the exact same surface area, leading to consistent results across the batch.
Beast Blender: If you are making your own oat flour, you need a high-powered mixer or blender to ensure the grains are pulverized into a fine powder. A coarse grind will lead to a gritty cookie.
Ingredient Deep Dive & Strategy
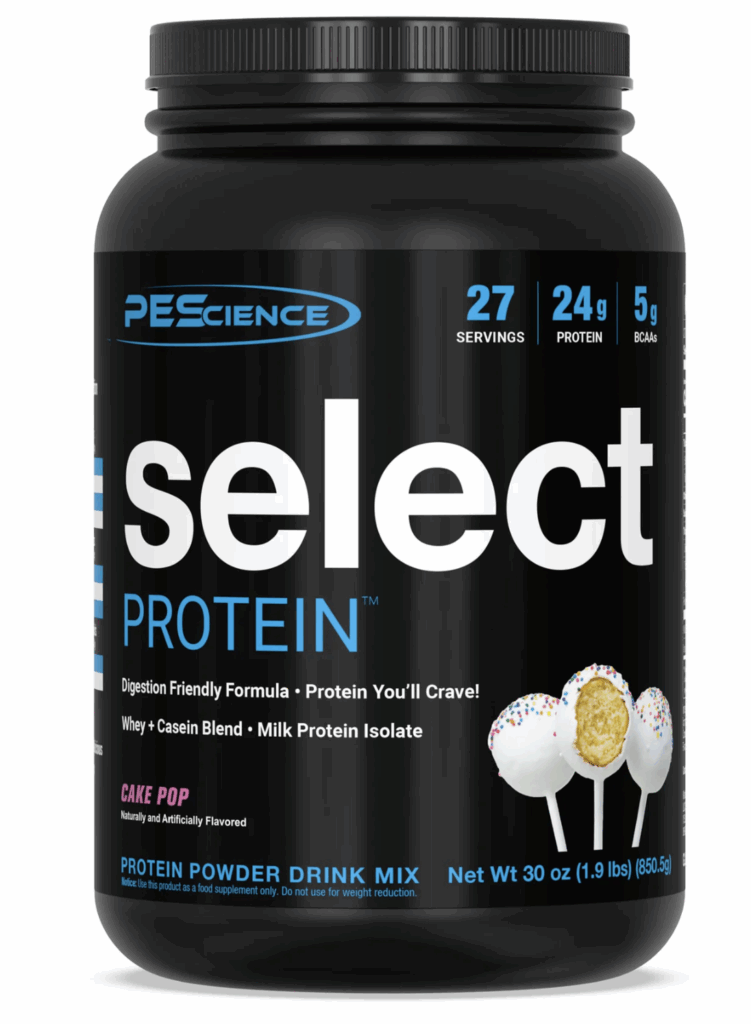
- Protein Powder: I exclusively use a Whey/Casein blend like PE Science. This blend is critical for moisture and structure. If you use 100% Whey, the cookies will turn out rubbery and dry.
- Vanilla Extract: Adding a high-quality vanilla profile helps bridge the gap between “healthy” and “indulgent,” rounding out the sharp notes of the cinnamon.
- Cream of Tartar: Do not skip this. It is the stabilizer that provides the signature tang and prevents the dough from spreading into a greasy mess.
- Egg White: This acts as the binder. It helps hold the protein powder and flour together without adding the heavy fat content of a whole egg.
- Granulated Sugar Substitute: To keep these low calorie, a granulated erythritol or monk fruit sweetener is essential. It provides the necessary volume and crunch in the coating without the insulin spike of refined white sugar.
Why PE Science is Essential for Protein Baking
PE Science Whey/Casein Blend — 10% Discount using affiliate code BAKEDLEAN —
I always talk about the importance of the whey/casein blend! In virtually all of my high-protein recipes, this blend is the fundamental component that makes the macro-friendly structure possible. The casein holds moisture and prevents the final product—whether it's a baked good or a dense protein ball—from becoming too dry or gritty.
Healthy Snickerdoodle Recipe Step by Step Instructions
1. Prep the wet base: Melt your butter in the microwave and add it to a large mixing bowl. Add the milk and egg white. Stir until well combined.
Use your Digital Kitchen Scale to weigh the butter; liquid volume matters for the final spread of the cookie.
2. Mix the dry essentials: Stir in the almond flour, oat flour, sweetener, cinnamon, 1/2 tsp of cream of tartar, and 1/4 tsp of baking soda. Whisk until a thick paste forms.
3. Incorporate the protein: Add the protein powder last. Stir until a soft cookie dough forms. It should be slightly sticky but hold its shape.
4. The Chilling Phase: Place the dough in the refrigerator for 30–60 minutes.
Pro Tip: Chilling isn't just for texture. It allows the oat flour and protein powder to fully hydrate, which prevents a “gritty” mouthfeel in the finished cookie.
5. Prepare the Coating: Preheat your oven to 350°F (175°C) and line your tray with parchment paper. In a small bowl, mix your cinnamon and extra sweetener to create the cinnamon sugar mixture.
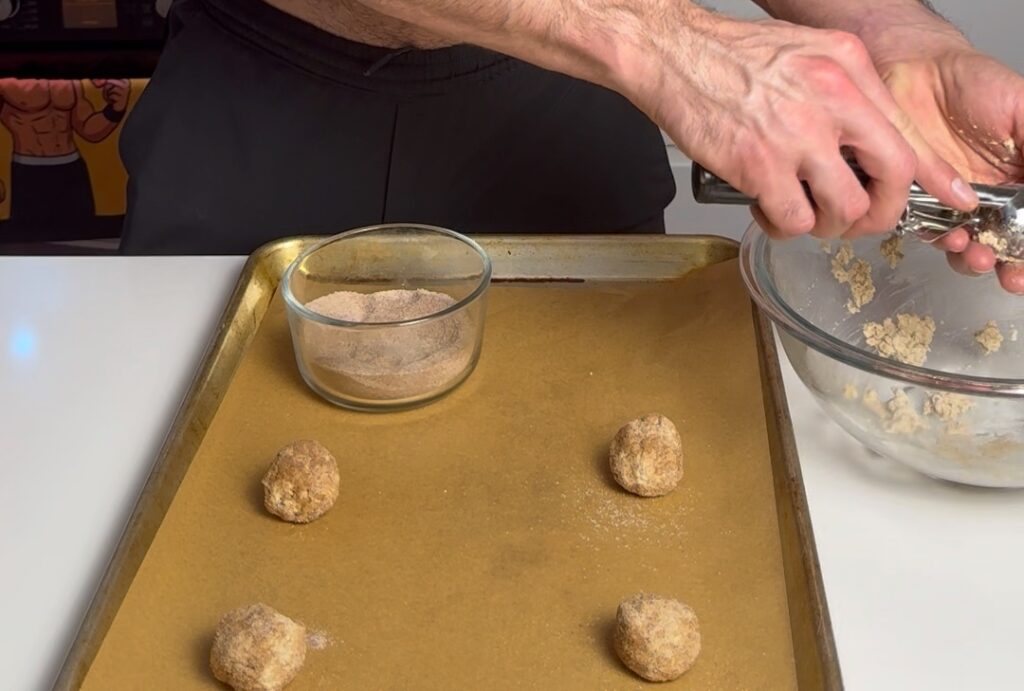
6. Roll and Coat: Use your Cookie Scoop Set to divide the dough. Roll each into a tight dough ball, then toss in the small bowl until fully coated.
7. The Final Flatten: Place each dough ball on the parchment paper and gently press down the center with your hand or the back of a spoon.
8. Bake and Set: Bake at 350°F (175°C) for 7-8 minutes. Immediately transfer to a wire rack and allow them to set for 15-20 minutes before eating.
Pro-Tips for Success
- Do Not Overbake: Protein cookies are incredibly sensitive to heat. If you bake them past the 8-minute mark, the proteins will denature and seize, resulting in a cookie that is dry, crumbly, or rubbery. Pull them out of the oven when they look slightly soft—they will continue to cook and set on the hot baking sheet.
- The Cooling Process: Allow the cookies to cool completely on the baking sheet before moving or eating. This is non-negotiable. Because of the protein structure, they need that 15–20 minute resting period to fully set. If you pull them apart while hot, they will feel undercooked or gummy, but as they cool, they firm up into the perfect Snickerdoodle texture.
Troubleshooting & FAQ
What can I use instead of cream of tartar? You can substitute the cream of tartar and baking soda with 1.5 teaspoons of baking powder, but you will lose that signature Snickerdoodle tang. Alternatively, a tiny splash of lemon juice can work as the acid.
Do I have to chill the dough? Yes. Chilling solidifies the butter and hydrates the dry ingredients. If you skip this, your cookies will spread too much and become thin, greasy wafers.
Can I make this recipe vegan? To make these vegan, you must replace the egg white with a flax egg (1 tbsp ground flax + 3 tbsp water) and use a plant-based protein powder. Note that plant protein absorbs much more liquid, so you may need to add an extra tsp of milk.
Can I use homemade oat flour? Absolutely. Just pulse rolled oats in a Beast Blender until they reach a fine, flour-like consistency. Make sure to weigh it after grinding, as volume will change.
Are they gluten-free? As written with almond and oat flour, yes. Just ensure your oat flour is certified gluten-free if you are highly sensitive.
Can I freeze the dough? Yes. You can freeze the rolled balls (before coating). When ready to bake, let them thaw for 10 minutes, roll in the sugar, and bake.
Substitutions
| Component | Swap Options |
| Butter | Light butter, coconut oil, or ghee |
| All-Purpose Flour | Oat flour (may be slightly drier) |
| Egg White | 1 tbsp unsweetened applesauce (binding is weaker) |
| Protein Powder | Do not swap; must be Whey/Casein blend |
Storage & Reheating
Store these cookies in an airtight container at room temperature for up to 4 days. If you need them to last longer, keep them in the fridge for up to 7 days. They are best enjoyed at room temperature or slightly chilled.
You Might Also Like
If you want more cookie recipes, check these out:
- High Protein Mint Chocolate Chip Cookie Dough
- Giant Protein Chocolate Chip Cookie
- 3 Ingredient Pineapple Protein Cookie
The Final Verdict & Share
These are the easiest way to satisfy a craving without derailing your macros. They're soft, perfectly spiced, and require minimal cleanup. Get your ingredients ready, weigh them out, and get baking—your future self will thank you for having these in the fridge!
Health Conscious Protein Snickerdoodle Cookies (High-Protein Recipe)
Ingredients
- 3 tbsp butter, melted
- 20 g almond flour
- 10 g oat flour
- 30 g protein powder (vanilla or unflavored)
- 30 g regular sugar substitute (granulated)
- 1/4 tsp cinnamon
- 1/2 tsp cream of tartar
- 1/4 tsp baking soda
- 1 tbsp milk of choice
- 1 tbsp egg white
- 25 g granulated sugar substitute
- 1/2 tsp cinnamon


Method
- Melt the butter in the microwave and add it to a large mixing bowl.
- Add the milk and egg white to the bowl. Stir until well combined.
- Mix in the all-purpose flour, sugar substitute, cinnamon, cream of tartar, and baking soda. Stir until a thick paste forms.
- Add the protein powder last and mix until a soft cookie dough forms.
- Place the dough in the refrigerator for 30–60 minutes to firm up.
- Preheat your oven to 350°F (175°C) and line a baking sheet with parchment paper.
- Divide the chilled dough into 6 equal pieces and roll them into balls.
- In a small bowl, mix the sugar substitute and cinnamon for the coating.
- Roll each dough ball in the cinnamon-sugar mixture and place them on the prepared baking sheet.
- Gently press down the center of each cookie with your hand or the back of a spoon to prevent excessive puffing.
- Bake at 350°F for 7 minutes.
- Transfer the cookies to a cooling rack and allow them to set for 15–20 minutes before eating.
Nutrition
Notes
Pro-Tips for Success
- Do Not Overbake: Protein cookies are incredibly sensitive to heat. If you bake them past the 8-minute mark, the proteins will denature and seize, resulting in a cookie that is dry, crumbly, or rubbery. Pull them out of the oven when they look slightly soft—they will continue to cook and set on the hot baking sheet.
- The Cooling Process: Allow the cookies to cool completely on the baking sheet before moving or eating. This is non-negotiable. Because of the protein structure, they need that 15–20 minute resting period to fully set. If you pull them apart while hot, they will feel undercooked or gummy, but as they cool, they firm up into the perfect Snickerdoodle texture.


