
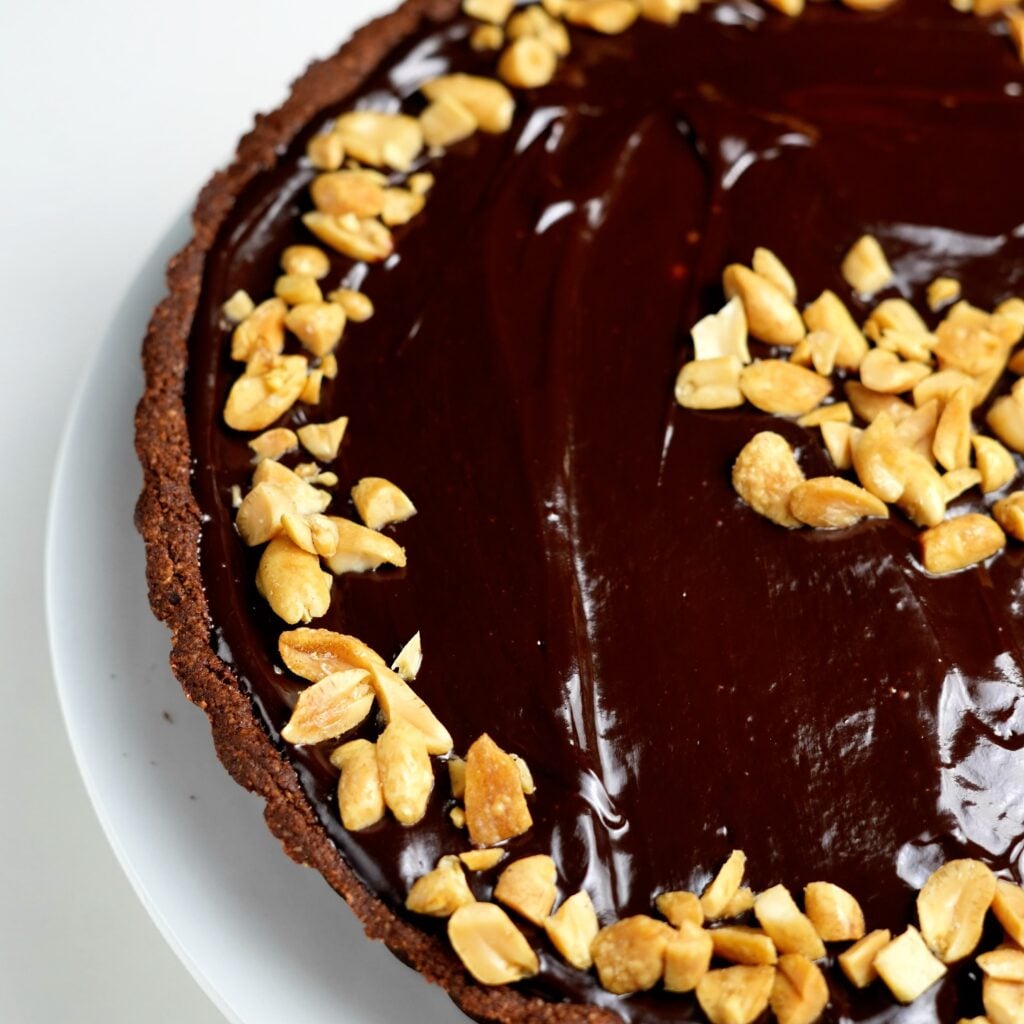
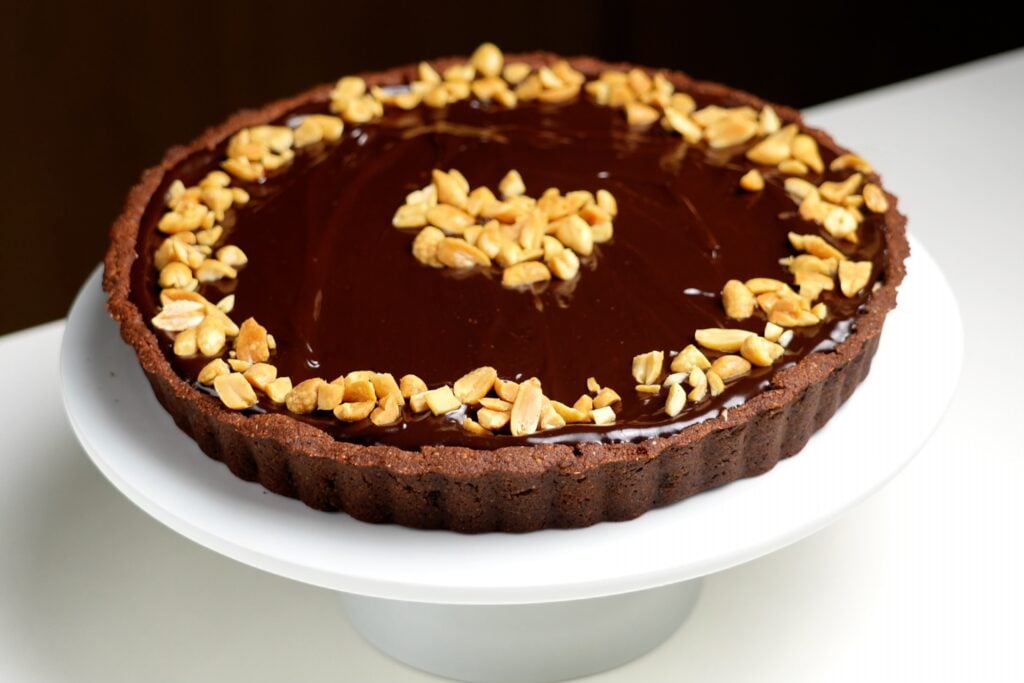
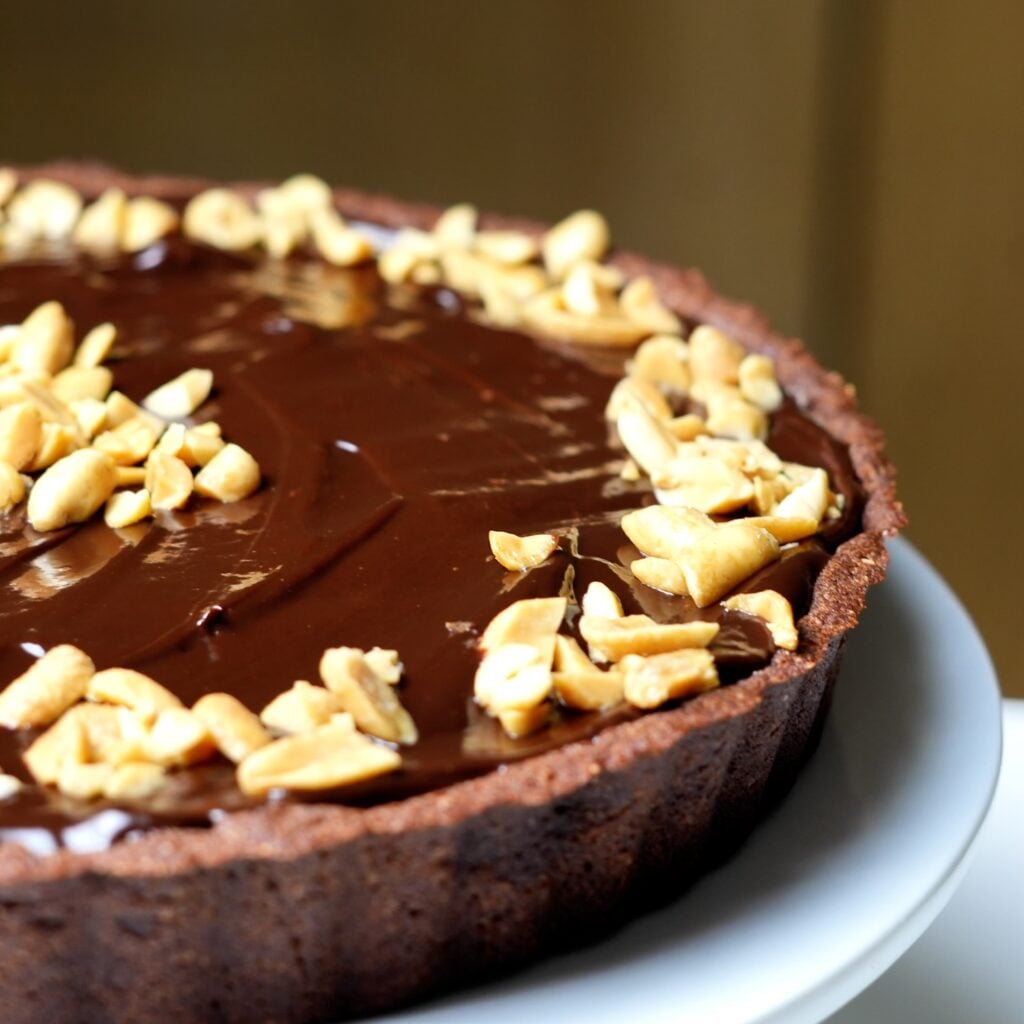
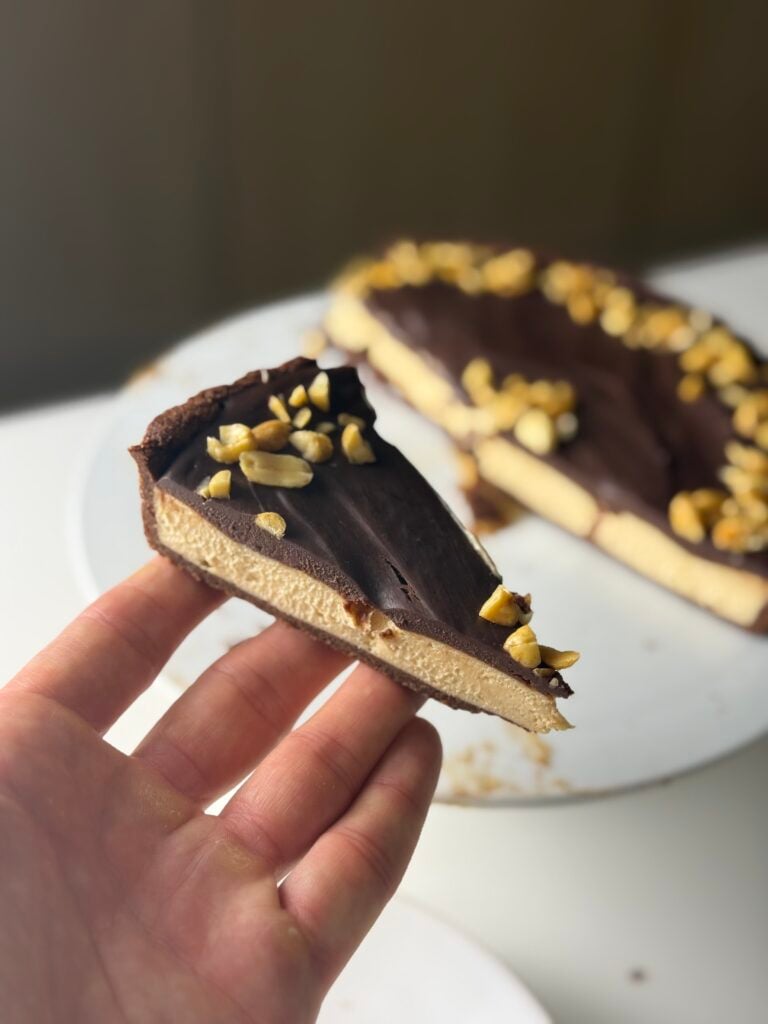
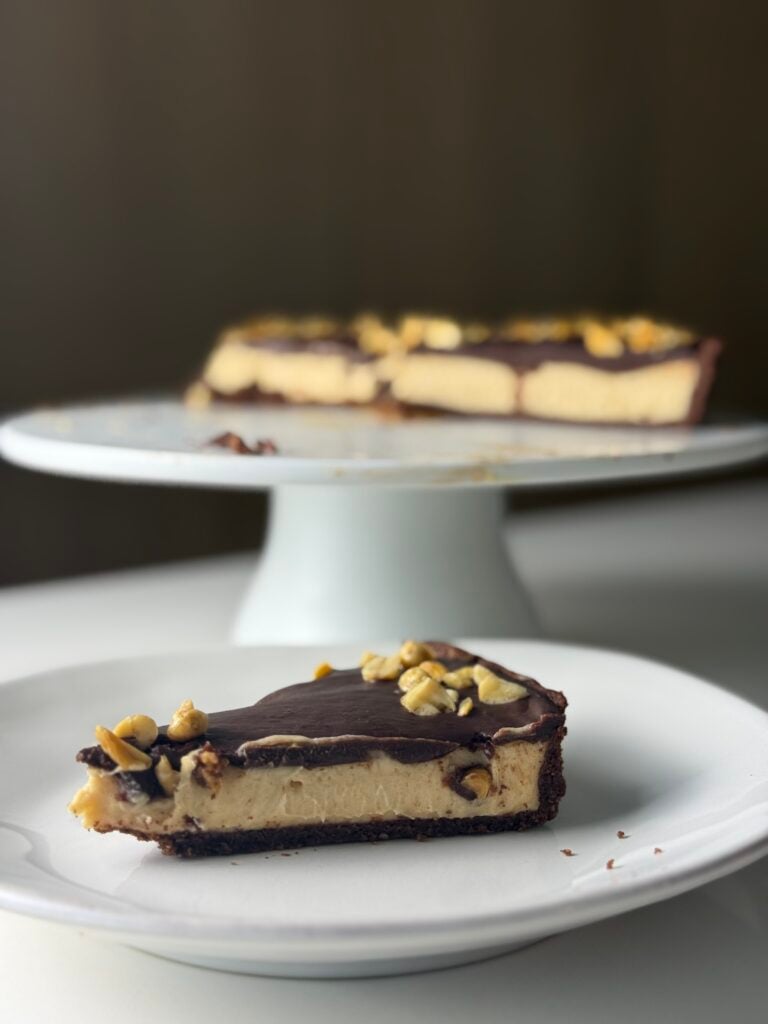
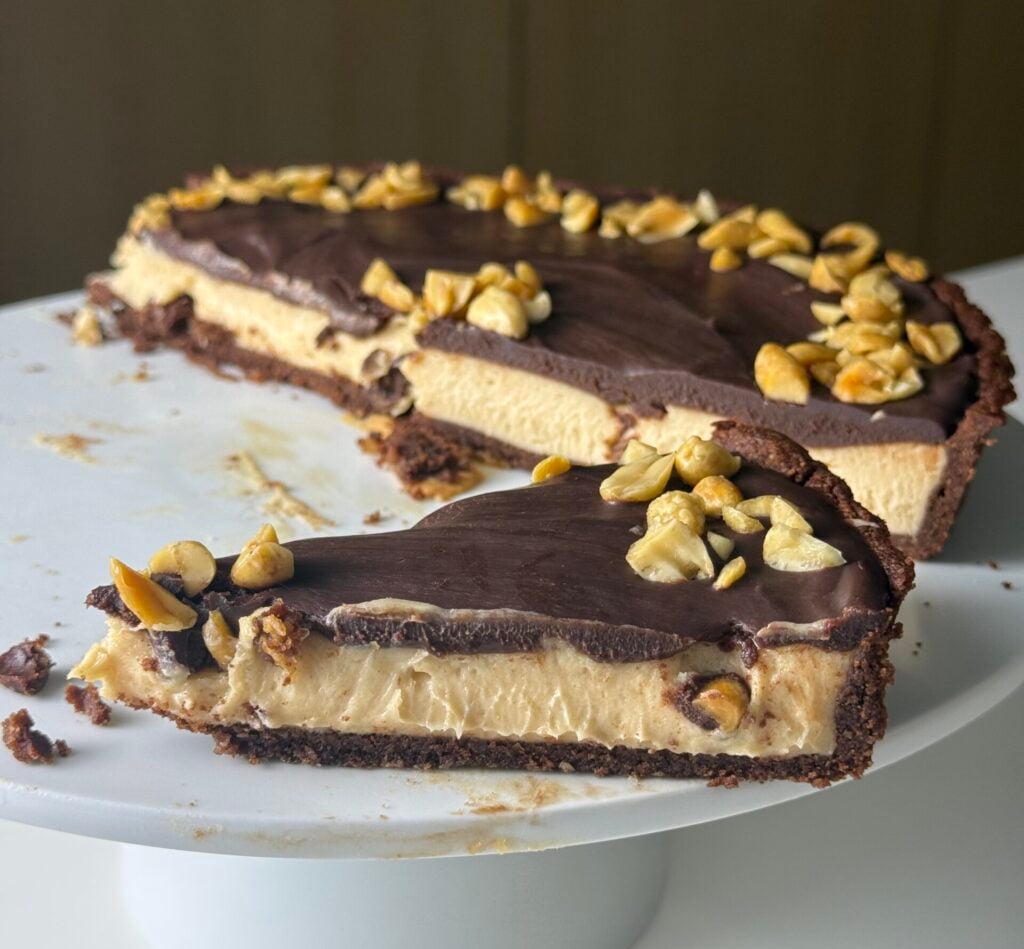
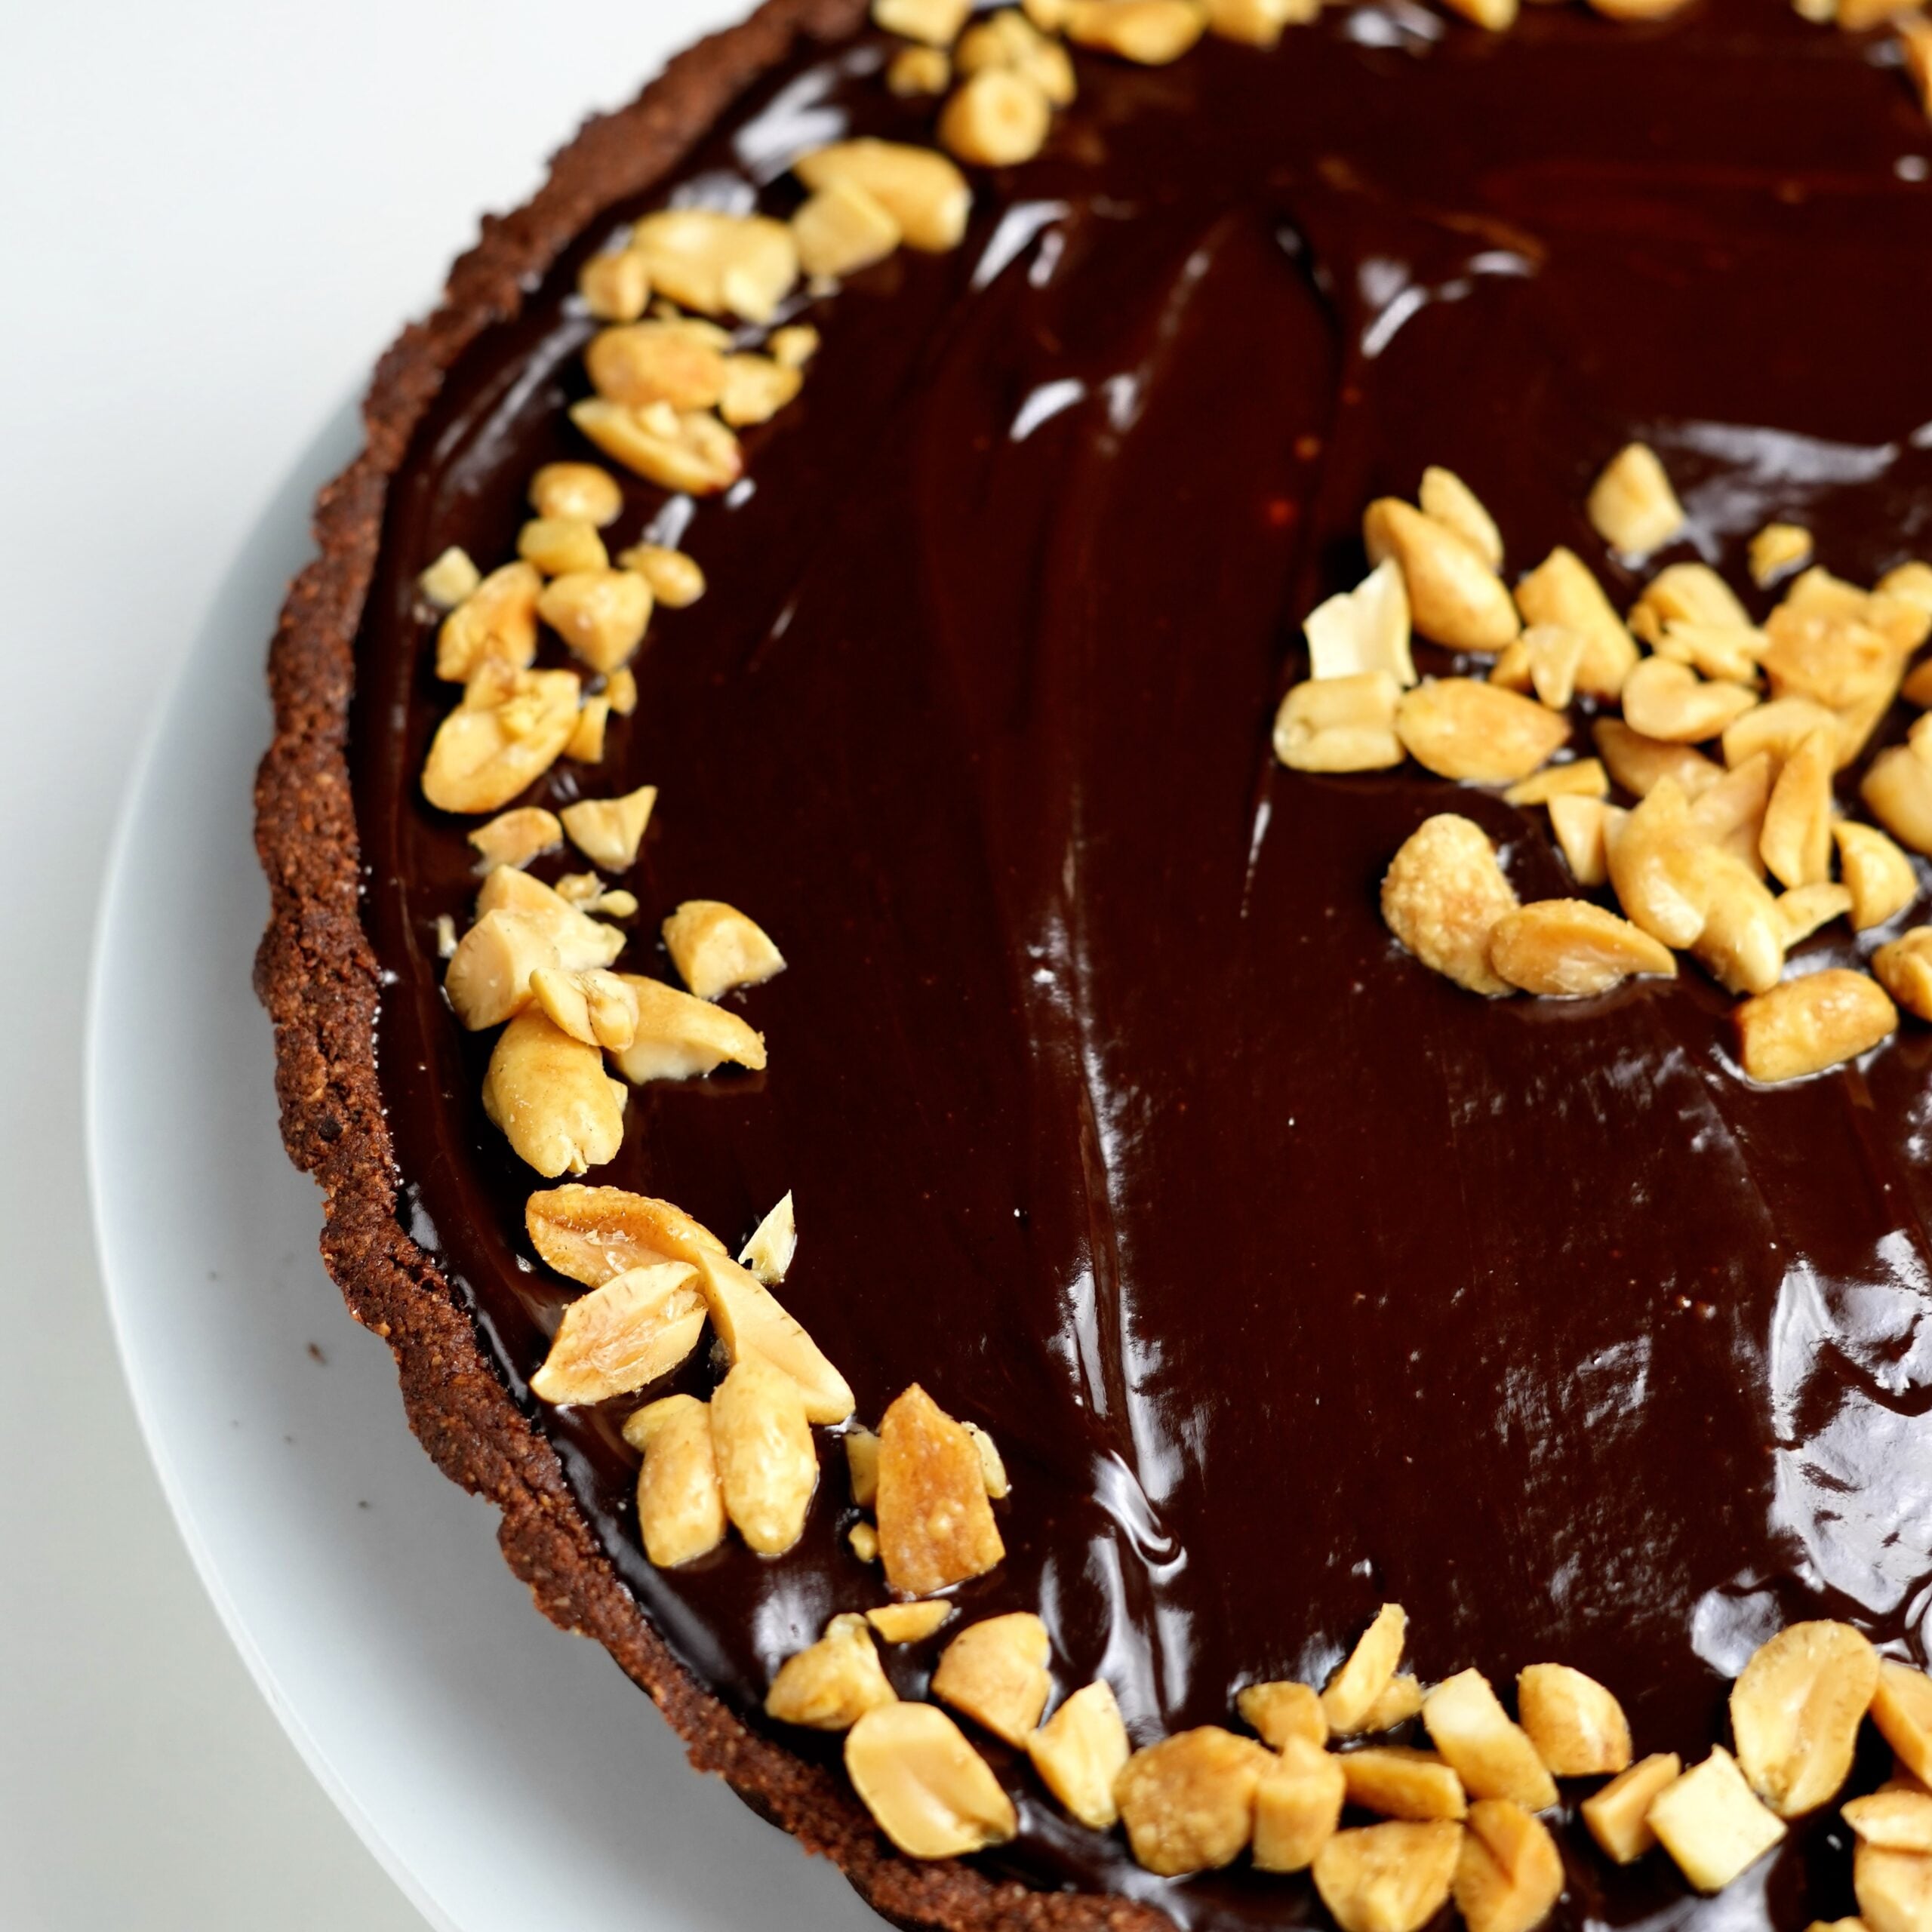
This chocolate peanut butter tart has three layers I really love together: a chocolate almond flour crust, a thick peanut butter cream cheese filling, and a smooth layer of chocolate ganache.
It looks like one of those desserts that takes forever to make, but each part is pretty simple. The crust only bakes for about 10–12 minutes, the peanut butter filling is no-bake, and the ganache is just chocolate and heavy cream.
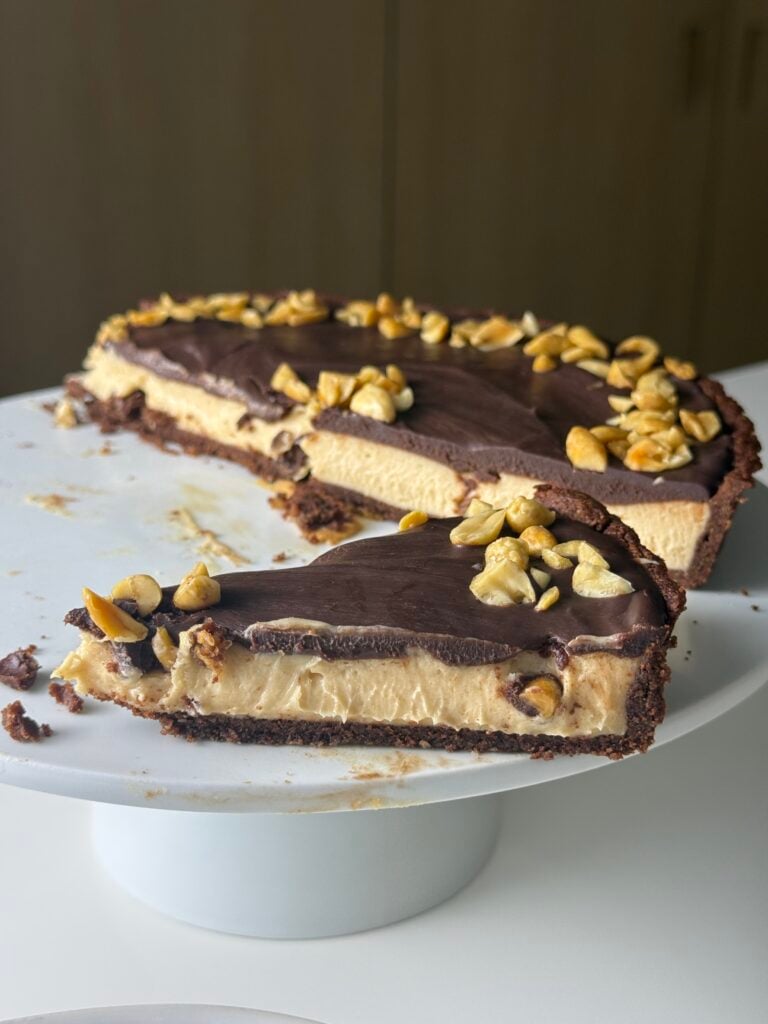
The finished tart is rich, creamy, and very chocolate-peanut-butter-forward. The crust has a slightly crumbly chocolate texture, the center stays soft and creamy, and the ganache firms up enough in the refrigerator to give you really nice layers when you slice it.
Try These Next
The chocolate crust in this recipe also works on its own. You can find the full recipe for my Gluten Free Chocolate Tart Crust Almond Flour Tart Shell.
If chocolate and peanut butter is your favorite combination, try my Chocolate Peanut Butter Protein Balls Recipe (Easy And Healthy) or Chewy Chocolate Peanut Butter Chip Cookies (Vintage Recipe).
For a completely different peanut butter dessert, there is also my High Protein Peanut Butter Pie.
Why You'll Love This Chocolate Peanut Butter Tart
Chocolate and peanut butter in every slice: You get chocolate from both the cocoa crust and ganache with a thick peanut butter layer between them.
Easy make-ahead dessert: The tart needs to chill anyway, which makes it a good dessert to prepare before a dinner or party.
No complicated pastry crust: This chocolate tart shell is made with almond flour and does not require traditional pastry techniques.
Creamy peanut butter filling: Whipped cream keeps the peanut butter and cream cheese layer soft instead of making it feel like a block of cheesecake.
Simple chocolate ganache: You only need chocolate chips and heavy cream.
Looks impressive when sliced: Once completely chilled, you get three really distinct layers.
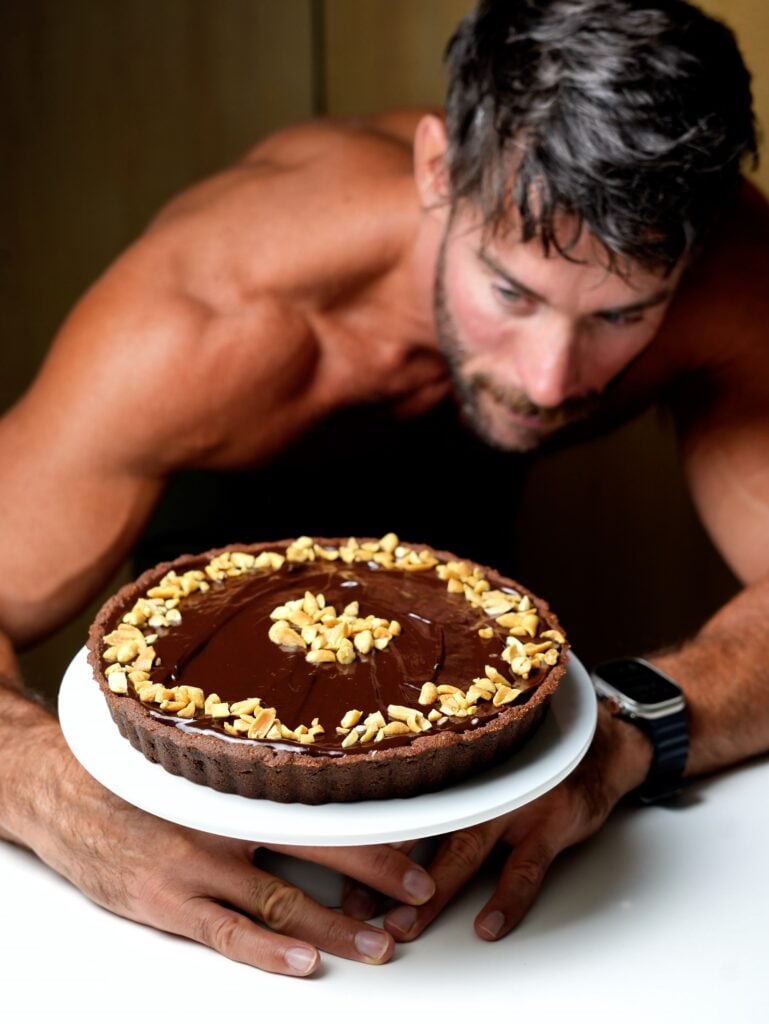
What Does This Chocolate Peanut Butter Tart Taste Like?
The easiest comparison is a really rich chocolate peanut butter cup in tart form.
The crust has a deep cocoa flavor and a slightly nutty taste from the almond flour. It is more tender and crumbly than a standard flour pastry crust.
The filling is where most of the peanut butter flavor comes through. Cream cheese gives it some tang, powdered sugar sweetens it, and whipped cream keeps it from becoming overly dense.
Then there is the ganache.
That top layer adds enough chocolate to balance all of the peanut butter without turning the entire tart into a chocolate dessert.
The chopped peanuts on top are optional, but I like the extra crunch against all of those creamy layers.
Ingredients
Chocolate Almond Flour Tart Crust
- 130g almond flour
- 35g unsweetened cocoa powder
- 3 tablespoons monk fruit sweetener or sugar
- Pinch of salt
- 1 large egg yolk
- 45g unsalted butter or shortening, softened
- 1 tablespoon cold water, only if needed
Peanut Butter Filling
- 1 cup heavy whipping cream
- 1 cup powdered sugar
- 1 cup peanut butter
- 1 block (8 ounces) cream cheese, softened
Chocolate Ganache
- 4 ounces chocolate chips
- ½ cup heavy cream
- Chopped peanuts, for topping
Ingredient Notes
Almond Flour
Almond flour is the base of the chocolate tart crust.
Use a finely ground almond flour rather than a coarse almond meal. A finer flour gives you a smoother tart shell that is easier to press together and slice once baked.
Because there is no wheat flour in this crust, it will behave differently from traditional pastry dough. It can crack while you roll or transfer it.
That is completely manageable.
Just patch any cracks directly in the tart pan with extra pieces of dough.
Unsweetened Cocoa Powder
The cocoa powder gives you chocolate flavor all the way through the crust.
Whisk it thoroughly with the almond flour before adding the wet ingredients. Cocoa powder likes to form little clumps, and it is easier to break them apart while everything is still dry.
Regular unsweetened cocoa powder works well here.
Monk Fruit Sweetener or Sugar
Either monk fruit sweetener or regular granulated sugar can be used in the crust.
The filling already contains powdered sugar, so using monk fruit in the crust is an easy way to reduce some of the added sugar if that matters to you.
Use whichever version you prefer.
Egg Yolk
This recipe uses one egg yolk rather than a whole egg.
It helps bind the almond flour crust without adding as much extra liquid.
Unsalted Butter
The softened butter brings the crust together and adds richness.
You can also use shortening as listed in the recipe.
Make sure the butter is soft enough to work into the dry ingredients but not melted.
Peanut Butter
Use one cup of creamy peanut butter for the filling.
A traditional smooth, no-stir peanut butter will give you the most predictable texture because the oil stays evenly mixed.
Natural peanut butter can separate and may create a looser filling depending on the brand.
Cream Cheese
Use one standard 8-ounce block of cream cheese.
Let it soften before mixing. This makes it much easier to beat smooth with the peanut butter and powdered sugar.
Cold cream cheese can leave little lumps in the filling.
Heavy Whipping Cream
Heavy whipping cream is used twice in this recipe.
One cup gets whipped for the peanut butter filling, and another ½ cup is heated for the ganache.
For the filling, whip the cream until it can hold stiff peaks. That whipped cream is what gives the peanut butter layer its lighter texture.
Powdered Sugar
Powdered sugar sweetens the peanut butter filling while dissolving much more easily than granulated sugar.
It also helps give the filling some body.
Chocolate Chips
The chocolate you choose matters because the ganache contains only chocolate and heavy cream.
I like semisweet chocolate here because the peanut butter filling is already sweet.
Milk chocolate will make the final tart sweeter, while darker chocolate will give you more contrast with the filling.
Chopped Peanuts
The peanuts on top are optional, but they add some needed texture to an otherwise very creamy dessert.
I like chopping them fairly small so you still get clean slices.
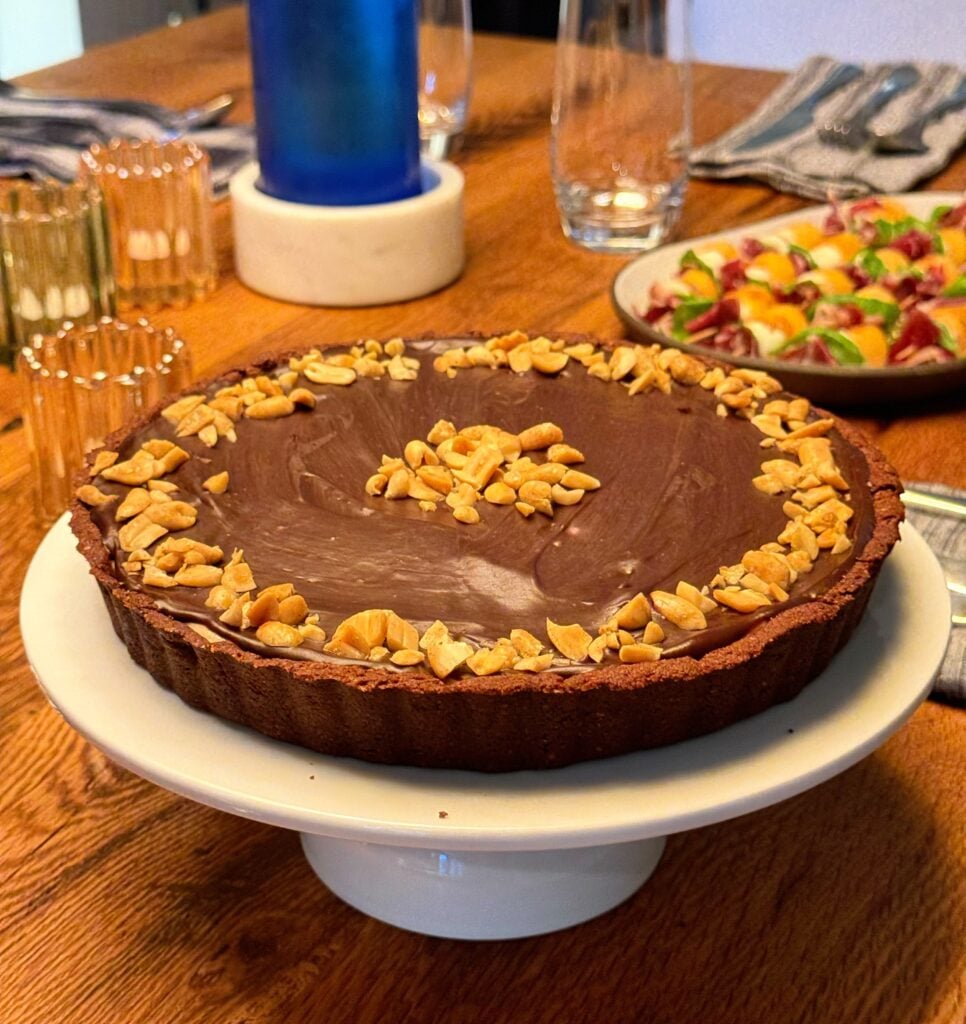
Why This Chocolate Peanut Butter Tart Works
This tart is really about the contrast between the three layers.
The chocolate tart crust gives the dessert a firmer base. The peanut butter filling is thick but soft. The ganache creates a smooth chocolate layer that firms up after chilling.
None of the individual components is particularly difficult.
The biggest thing is temperature.
The crust should be completely cool before you add the filling.
The ganache should cool slightly before it goes over the peanut butter layer.
And the assembled tart needs enough time in the refrigerator for everything to firm up before slicing.
Trying to rush those steps is where this recipe can get messy.
Chocolate Almond Flour Crust vs. Cookie Crust
A lot of chocolate peanut butter tart recipes use crushed chocolate cookies, Oreos, or graham crackers for the crust.
This one does not.
I use a baked chocolate almond flour tart shell instead.
The texture is closer to a tender chocolate pastry than a cookie crumb crust. It is slightly crumbly but still sturdy enough to hold the peanut butter filling and ganache once it has cooled.
I also like that you get a real tart shell around the sides rather than just a layer of crumbs pressed into the bottom.
If you want to use the crust for something else later, save my Gluten Free Chocolate Tart Crust Almond Flour Tart Shell.
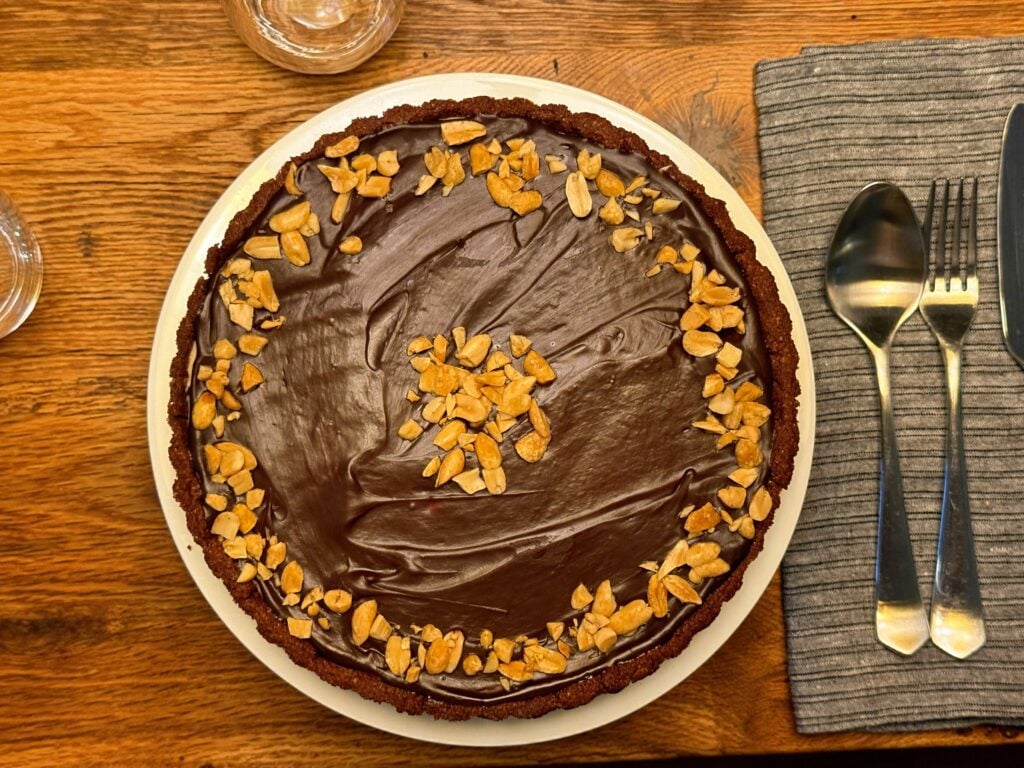
Equipment
Mixing Bowl
You will use several bowls throughout the recipe for the crust, whipped cream, peanut butter filling, and ganache.
Whisk
A whisk works well for breaking up the cocoa powder and combining the dry ingredients before you make the crust.
Pastry Cutter or Fork
Use a pastry cutter or fork to work the softened butter and egg yolk into the almond flour mixture.
9-Inch Tart Pan
A 9-inch tart pan with a removable bottom makes this much easier to serve.
Once the tart is cold, you can lift the outer ring away and transfer the tart to a serving plate.
Electric Mixer
You will need either a hand mixer or stand mixer to whip the heavy cream and make the peanut butter filling smooth.
Silicone Spatula
A spatula makes it easier to fold the whipped cream into the peanut butter mixture without knocking out all of the air.
It is also useful for spreading the filling and ganache into even layers.
Tools I Use for This Recipe
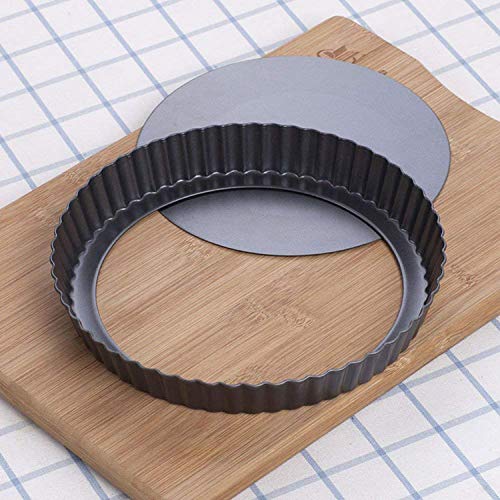
RICHSC-PAN 9-Inch Tart Pan with Removable Bottom
The recipe-specific pan size, with a removable bottom that helps release and serve the chilled tart cleanly.

SKIPPY Creamy Peanut Butter (28 oz)
A suggested conventional creamy peanut butter option for a smooth, stable filling; results may vary by brand.
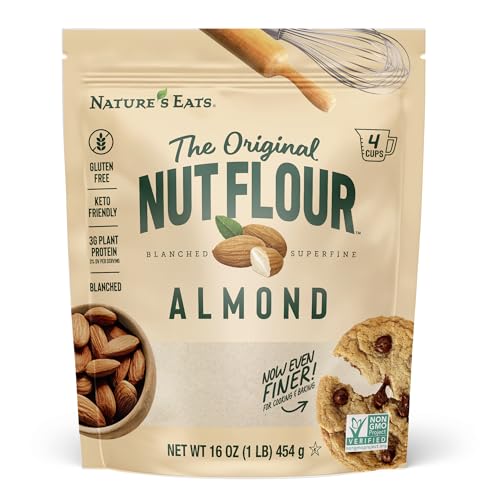
Nature's Eats Superfine Almond Flour
A suggested finely sifted almond flour option for the tender chocolate tart crust; texture may vary by brand.
This post contains affiliate links. As an Amazon Associate, I earn from qualifying purchases.
How to Make Chocolate Peanut Butter Tart
1. Make the Chocolate Tart Crust
Preheat the oven to 350°F (175°C).
Add the almond flour, cocoa powder, sweetener, and salt to a mixing bowl.
Whisk until everything is evenly combined and there are no large clumps of cocoa powder.
Add the softened butter and egg yolk.
Use a pastry cutter or fork to work the ingredients together until a soft, crumbly dough forms.
The dough should hold together when you press some of it between your fingers.
If it is still too dry, add cold water a teaspoon at a time.
You may not need the full tablespoon.
2. Chill the Dough
Wrap the dough tightly in plastic wrap and refrigerate it for 10 minutes.
Do not skip this short chilling period.
The dough becomes easier to roll and handle once the butter has firmed slightly.
3. Roll the Tart Crust
Place the chilled dough on a lightly floured or parchment-lined work surface.
Roll it to approximately ⅛-inch thick.
Transfer the dough carefully into a 9-inch tart pan.
Because this is an almond flour crust, it may crack during the transfer.
Just patch any cracks with extra pieces of dough and press everything together with your fingers.
You want an even layer across the bottom and sides of the pan.
4. Bake the Chocolate Tart Shell
Prick the bottom of the crust several times with a fork.
Bake for 10–12 minutes.
The surface should look matte and dry rather than wet or shiny.
The crust may still feel somewhat delicate when it first comes out of the oven.
Let it cool completely in the tart pan.
It firms considerably as it cools.
How Do You Know When the Chocolate Tart Crust Is Done?
Do not wait for an almond flour chocolate crust to become very dark or hard in the oven.
It is already dark from the cocoa powder, which makes visual browning difficult to judge.
Instead, look at the surface.
The crust should lose its wet appearance and look dry and matte.
The edges should also feel set.
Remember that the crust continues firming as it cools, so overbaking it in an attempt to make it hard can leave you with a dry crust later.
Make the Peanut Butter Filling
5. Whip the Cream
Add 1 cup of heavy whipping cream to a clean mixing bowl.
Beat until stiff peaks form.
When you lift the beaters out, the whipped cream should hold its shape rather than immediately folding over.
Set it aside while you make the peanut butter mixture.
6. Beat the Cream Cheese and Peanut Butter
In a separate bowl, beat the softened cream cheese until smooth.
Add the powdered sugar and peanut butter.
Continue beating until everything is completely combined and creamy.
Scrape down the sides and bottom of the bowl as needed.
7. Fold in the Whipped Cream
Add the whipped cream to the peanut butter mixture.
Fold gently until the filling is evenly combined.
You do not need to aggressively beat it at this point.
Folding preserves some of the air you whipped into the cream and keeps the filling softer.
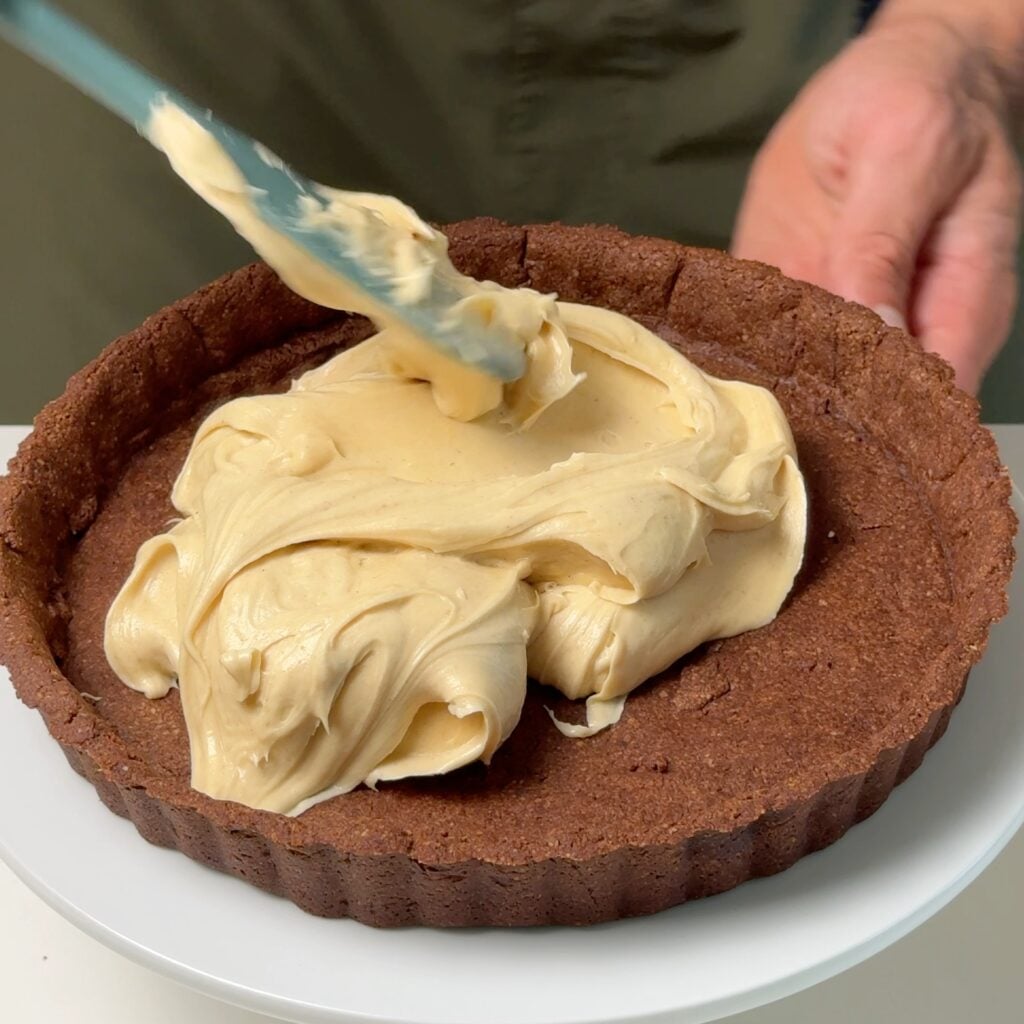
8. Fill the Tart Shell
Make sure the chocolate tart shell is completely cool.
Spoon the peanut butter filling into the crust and spread it into an even layer.
Smooth the surface with a spatula.
Place the tart in the refrigerator while you make the chocolate ganache.
What Is the Peanut Butter Tart Filling Made Of?
The peanut butter filling is made with four ingredients:
- Heavy whipping cream
- Powdered sugar
- Creamy peanut butter
- Cream cheese
It is similar to a no-bake peanut butter cheesecake filling, but folding in whipped cream keeps it lighter and softer.
There are no eggs in the filling and it does not need to be baked.
That is why it is especially important to let the baked chocolate crust cool before adding it.
Make the Chocolate Ganache
9. Heat the Cream
Place 4 ounces of chocolate chips in a heat-safe bowl.
Heat ½ cup of heavy cream until it is hot but not boiling.
You can do this gently in a small saucepan or in the microwave.
10. Pour the Cream Over the Chocolate
Pour the hot cream directly over the chocolate chips.
Let the mixture sit untouched for about 2–3 minutes.
This gives the chocolate time to soften before you stir it.
11. Stir Until Smooth
Begin stirring from the center of the bowl.
Continue until the chocolate and cream come together into a smooth, glossy ganache.
There should not be any unmelted chocolate pieces remaining.
12. Cool the Ganache Slightly
Do not immediately pour very hot ganache over the peanut butter filling.
Let it sit for several minutes.
It should still be fluid enough to spread easily but no longer hot enough to melt the filling underneath.
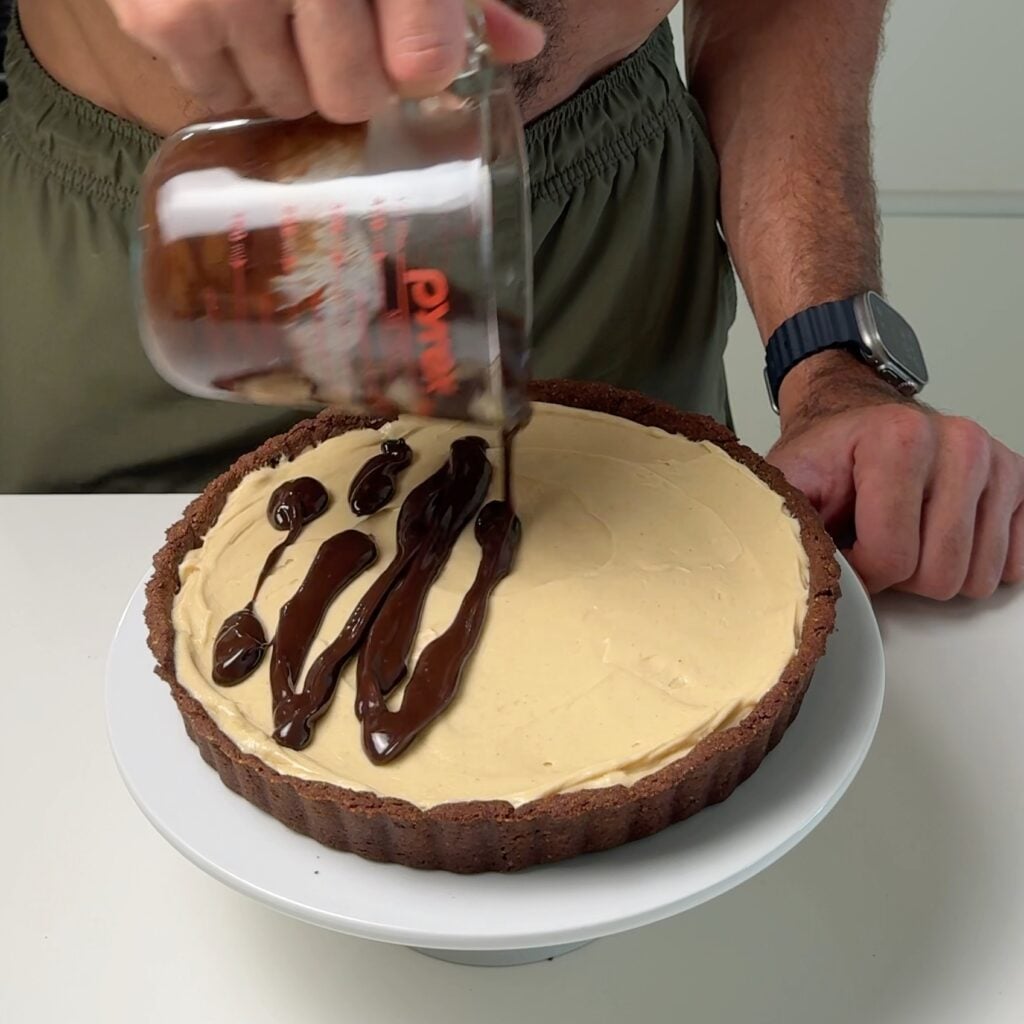
13. Top the Tart
Pour the ganache over the chilled peanut butter layer.
Use a spatula to gently spread it from edge to edge.
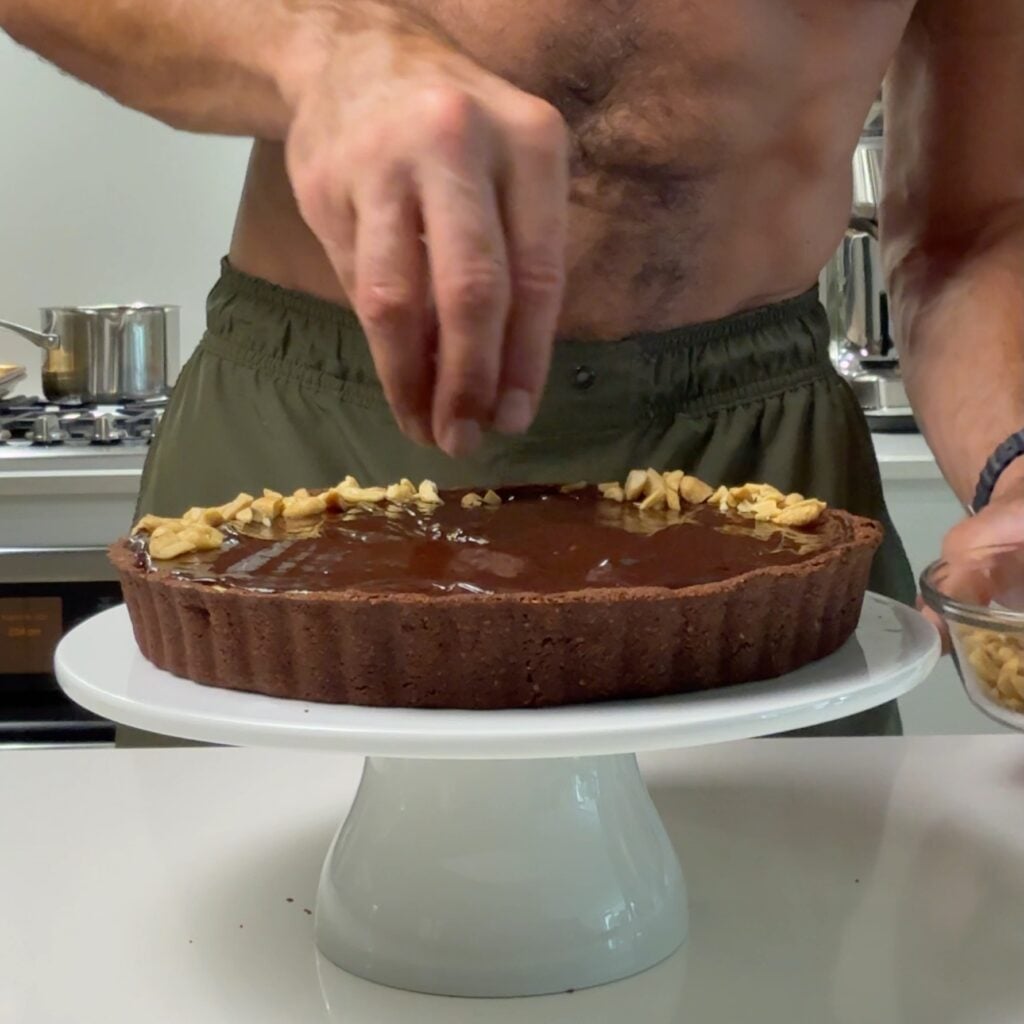
Finish with chopped peanuts.
Chill the Chocolate Peanut Butter Tart
Refrigerate the assembled tart for at least 2 hours before slicing.
This gives the peanut butter filling time to firm and allows the ganache to set.
If you have the time, this is a great dessert to make a day ahead.
A completely chilled tart is much easier to remove from the pan and gives you cleaner slices.
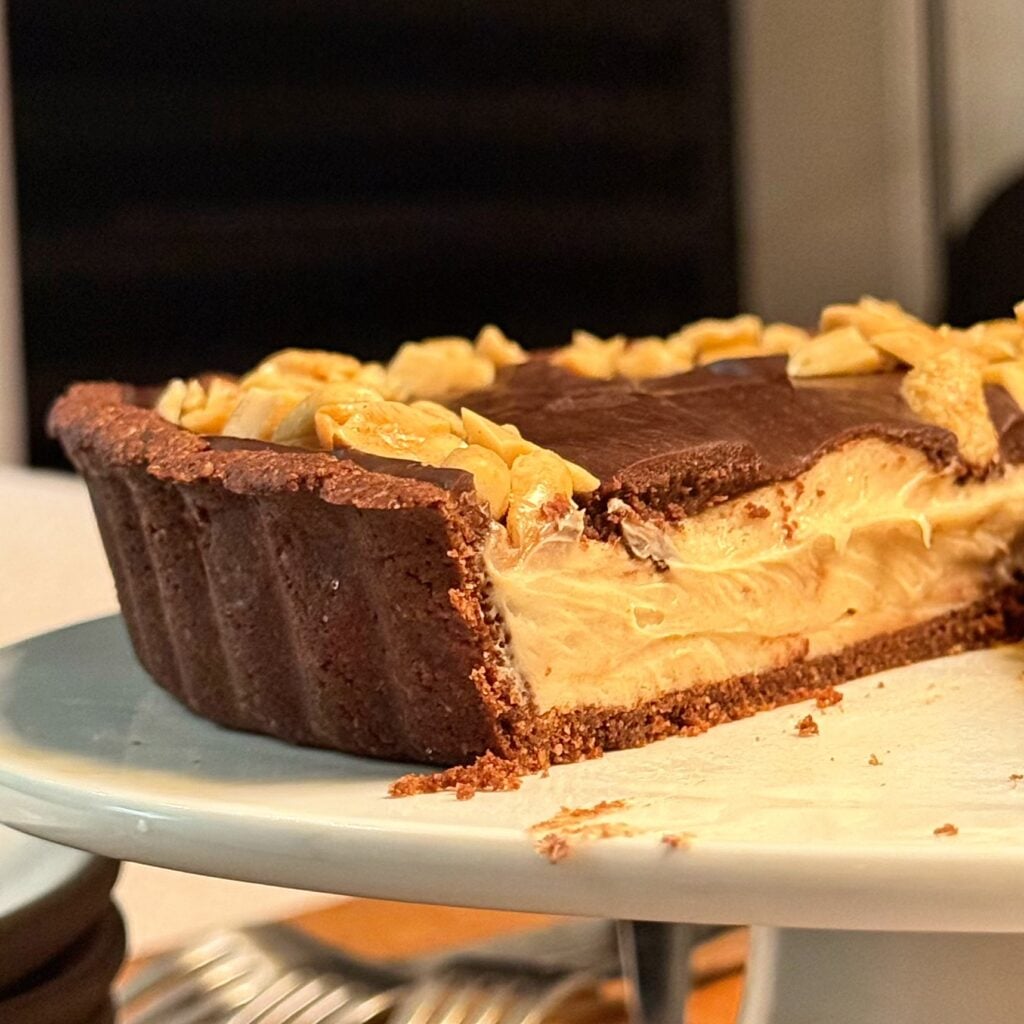
How to Get Clean Slices
Use a sharp knife.
Run the blade under hot water, wipe it completely dry, and make your first cut.
Wipe the blade between each slice.
The warm knife moves through the chilled ganache and peanut butter filling much more cleanly.
Do not let the tart sit at room temperature for a long time before slicing. The filling gets softer as it warms.
Do I Need a Tart Pan?
A tart pan with a removable bottom is the easiest option and is what I use for this recipe.
The removable ring makes it much easier to show the clean chocolate crust around the outside.
I have not tested this exact recipe in a springform pan or regular pie plate, so I would not claim the bake and release will be exactly the same.
If you want the same finished look you see in my photos, use a 9-inch tart pan.
Tart vs. Pie: What Is the Difference?
The terms get used pretty loosely, especially with chocolate peanut butter desserts.
The main difference here is the pan and crust.
A tart is typically shallower than a pie and is often baked in a straight-sided pan with a removable bottom.
This recipe also uses a firm chocolate almond flour tart shell rather than a traditional flaky pie pastry or crumb crust.
The filling itself is very similar to something you could find in a peanut butter pie.
So if you are searching for a chocolate peanut butter pie, the flavors will feel very familiar. The tart pan just gives this dessert a thinner profile and cleaner presentation.
Can I Make Chocolate Peanut Butter Tart Ahead of Time?
Yes.
This is actually one of the best things about the recipe.
You can make the entire tart the day before you plan to serve it and keep it refrigerated.
That gives the filling and ganache plenty of time to firm up.
You can also make the chocolate crust ahead of time, let it cool completely, and then add the filling later.
For a dinner or holiday dessert, I would rather make this ahead than try to assemble it immediately before serving.
Can Chocolate Peanut Butter Tart Be Frozen?
Yes, you can freeze the finished tart.
For individual servings, slice the tart after it has chilled completely.
Wrap the slices tightly and place them in an airtight freezer-safe container.
Thaw the slices in the refrigerator before serving.
Freezing can slightly change the texture of cream-based fillings, so I still prefer the tart freshly refrigerated when possible.
Substitutions
Can I Use Sugar Instead of Monk Fruit?
Yes.
The crust can be made with 3 tablespoons of monk fruit sweetener or regular granulated sugar.
Can I Use Shortening Instead of Butter?
Yes.
The crust recipe allows either softened unsalted butter or shortening.
The flavor will be slightly different because butter contributes more flavor to the crust.
Can I Use Milk Chocolate?
Yes.
Milk chocolate will create a sweeter ganache.
Semisweet chocolate gives you more contrast with the sweet peanut butter filling.
Can I Use Dark Chocolate?
You can use darker chocolate if you prefer a less-sweet topping.
Just keep in mind that different chocolates can produce slightly different ganache textures.
Can I Use Natural Peanut Butter?
Natural peanut butter varies significantly between brands.
Because the oil can separate, it may make the filling softer than a traditional no-stir creamy peanut butter.
I would use a smooth, emulsified peanut butter when you want the most predictable result.
Can I Use a Graham Cracker or Oreo Crust?
A crumb crust would pair well with these flavors, but it would be a different recipe.
I specifically developed this tart with the baked chocolate almond flour shell.
If you want the crust shown here, follow the recipe as written.
Can I Make This Tart Gluten-Free?
The tart crust is made with almond flour rather than wheat flour.
However, whether the full tart qualifies as gluten-free depends on the exact brands of chocolate, peanut butter, powdered sugar, and other packaged ingredients you use.
Check your labels when you need the dessert to meet a strict gluten-free requirement.
Can I Make This Dairy-Free or Vegan?
Not as written.
The recipe contains butter, cream cheese, heavy whipping cream, and egg yolk.
There are dairy-free and vegan alternatives to many of those ingredients, but I have not tested a full vegan version of this tart.
Swapping several major ingredients at once would likely change both the texture of the crust and how firmly the filling sets.
Frequently Asked Questions
Why Did My Chocolate Tart Crust Crack?
Some cracking is normal with an almond flour tart crust because there is no gluten holding the dough together.
Patch cracks directly in the pan with small pieces of extra dough.
Press them firmly into place before baking.
Do I Really Need to Chill the Tart Dough?
Yes.
It only needs about 10 minutes, but chilling makes the dough easier to roll and transfer.
It also firms the softened butter before baking.
Why Is My Tart Crust Crumbly?
If the raw dough will not hold together when pressed, it probably needs a little more moisture.
Add cold water one teaspoon at a time.
Do not automatically add the full tablespoon.
Why Is My Peanut Butter Filling Too Soft?
First make sure the whipped cream reached stiff peaks.
The cream cheese should also be softened rather than melted or warm.
Once assembled, the filling needs time in the refrigerator to firm.
Give the tart at least two hours of chilling time before judging the final texture.
Why Did My Ganache Turn Grainy?
Very high heat can cause problems with chocolate.
Heat the cream until hot but do not aggressively boil it.
Pour it over the chocolate, wait a few minutes, and then stir slowly until smooth.
Why Did the Ganache Melt My Peanut Butter Filling?
The ganache was probably still too hot.
Let it cool slightly before pouring it over the chilled filling.
It should be fluid, but not steaming hot.
How Long Is Chocolate Peanut Butter Tart Good in the Refrigerator?
Store the tart covered in the refrigerator for up to 4 days.
Keep it chilled until close to serving time.
Can I Leave Chocolate Peanut Butter Tart at Room Temperature?
Because the filling contains cream cheese and whipped cream, this is a refrigerated dessert.
Bring it out when you are ready to slice and serve rather than leaving it on the counter for an extended period.
What Kind of Chocolate Is Best for the Ganache?
I like semisweet chocolate because the peanut butter filling is already sweet.
Milk chocolate creates a sweeter peanut butter cup flavor.
Dark chocolate gives the dessert more contrast.
Can I Make Mini Chocolate Peanut Butter Tarts?
The same flavor combination would work well as mini tarts, but I have not tested the baking time or yield in smaller tart pans.
The crust would need to be divided and baked for less time than the full 9-inch version.
For this exact tested recipe, stick with the 9-inch tart pan.
Storage
Cover the tart and store it in the refrigerator for up to 4 days.
Keep it cold for the best texture.
If you are storing individual slices, place them in an airtight container so the filling does not absorb refrigerator odors.
For longer storage, freeze individual slices tightly wrapped and thaw them overnight in the refrigerator.
You Might Also Like
For another chocolate and peanut butter dessert, try my Chocolate Peanut Butter Protein Balls Recipe (Easy And Healthy).
You may also like:
- Chewy Chocolate Peanut Butter Chip Cookies (Vintage Recipe)
- High Protein Peanut Butter Pie
- Gluten Free Chocolate Tart Crust Almond Flour Tart Shell
Final Thoughts
Chocolate and peanut butter is one of those combinations where I do not think you need to overcomplicate things.
This tart has chocolate on the bottom, peanut butter in the middle, and more chocolate on top.
The almond flour crust makes it a little different from the typical Oreo or graham cracker crust, and I really like how it holds up against the soft filling.
The biggest thing is just giving every layer time to cool.
Bake the crust, let it cool completely, add the filling, let the ganache cool before pouring it on, and then give the whole tart a couple of hours in the refrigerator.
After that, it is basically a giant chocolate peanut butter cup you can slice.
BAKE THIS NEXT
Chocolate Peanut Butter Tart with Chocolate Ganache
Ingredients
- 115 g almond flour
- 15 g oat flour
- 35 g unsweetened cocoa powder
- 3 tablespoons monk fruit sweetener or granulated sugar
- 1 pinch salt
- 1 large egg
- 45 g unsalted butter or shortening softened
- 1 cup heavy whipping cream
- 1 cup powdered sugar
- 1 cup peanut butter
- 8 ounces cream cheese softened
- 4 ounces chocolate chips
- 0.5 cup heavy cream
- 0.25 cup chopped peanuts for topping
Method
- Preheat the oven to 350°F (175°C). Line the bottom of a 9-inch tart pan with parchment paper if desired.
- Add the almond flour, oat flour, cocoa powder, sweetener, and salt to a mixing bowl. Whisk until evenly combined and break up any cocoa powder clumps.
- Add the softened butter and egg. Mix with a fork or pastry cutter until a soft, crumbly dough forms. If the dough is too dry to hold together when pressed, add cold water 1 teaspoon at a time until it comes together.
- Wrap the dough in plastic wrap and refrigerate for 10 minutes. Roll the chilled dough to approximately ⅛-inch thick.
- Transfer the dough to the tart pan and gently press it across the bottom and up the sides. Patch any cracks with additional pieces of dough. Prick the bottom of the crust several times with a fork.
- Bake for 10–12 minutes, or until the surface looks matte and dry. Let the crust cool completely in the pan.
- Add 1 cup of heavy whipping cream to a large mixing bowl and beat with an electric mixer until stiff peaks form.
- In a separate bowl, beat the softened cream cheese until smooth. Add the powdered sugar and peanut butter and continue beating until completely smooth and creamy.
- Gently fold the whipped cream into the peanut butter mixture until evenly combined. Spread the peanut butter filling evenly inside the completely cooled chocolate tart crust. Refrigerate while you prepare the ganache.
- Place the chocolate chips in a heat-safe bowl. Heat the ½ cup heavy cream until hot but not boiling, then pour the hot cream over the chocolate chips.
- Let it sit undisturbed for about 2–3 minutes, then stir until the chocolate is completely melted and the ganache is smooth and glossy.
- Let the ganache cool for several minutes so it is no longer hot but is still pourable. Pour the chocolate ganache over the peanut butter filling, gently spreading it to the edges.
- Sprinkle chopped peanuts over the top and refrigerate the tart until the filling and ganache are completely set, ideally at least 2 hours.

Leave a Reply