
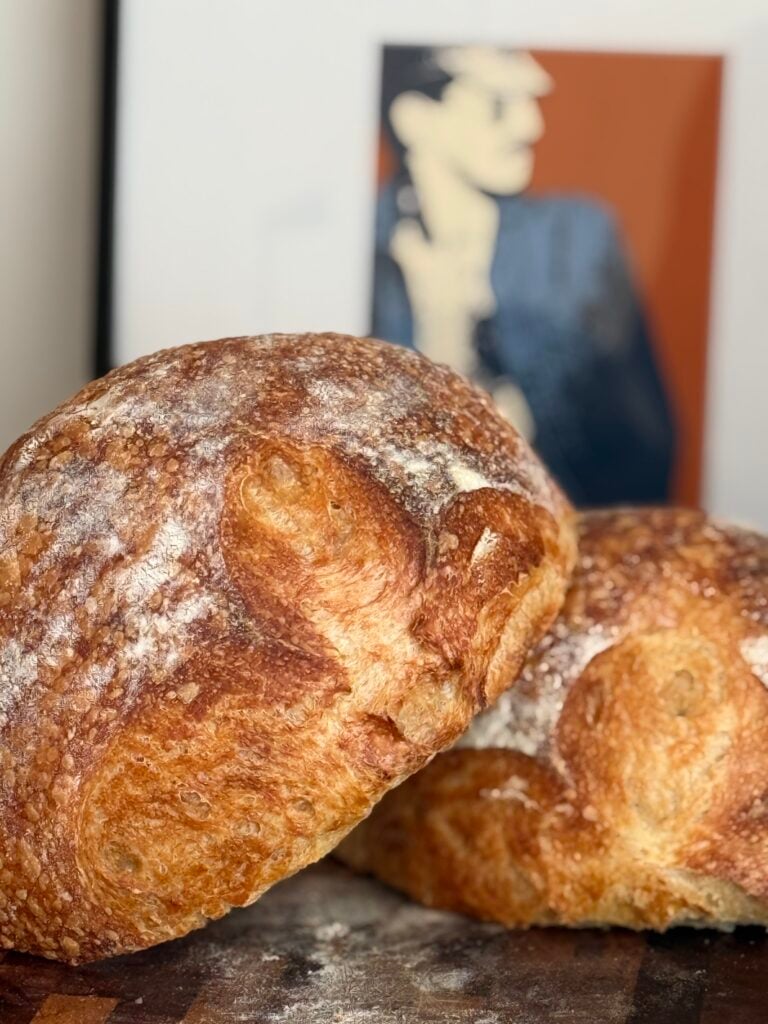
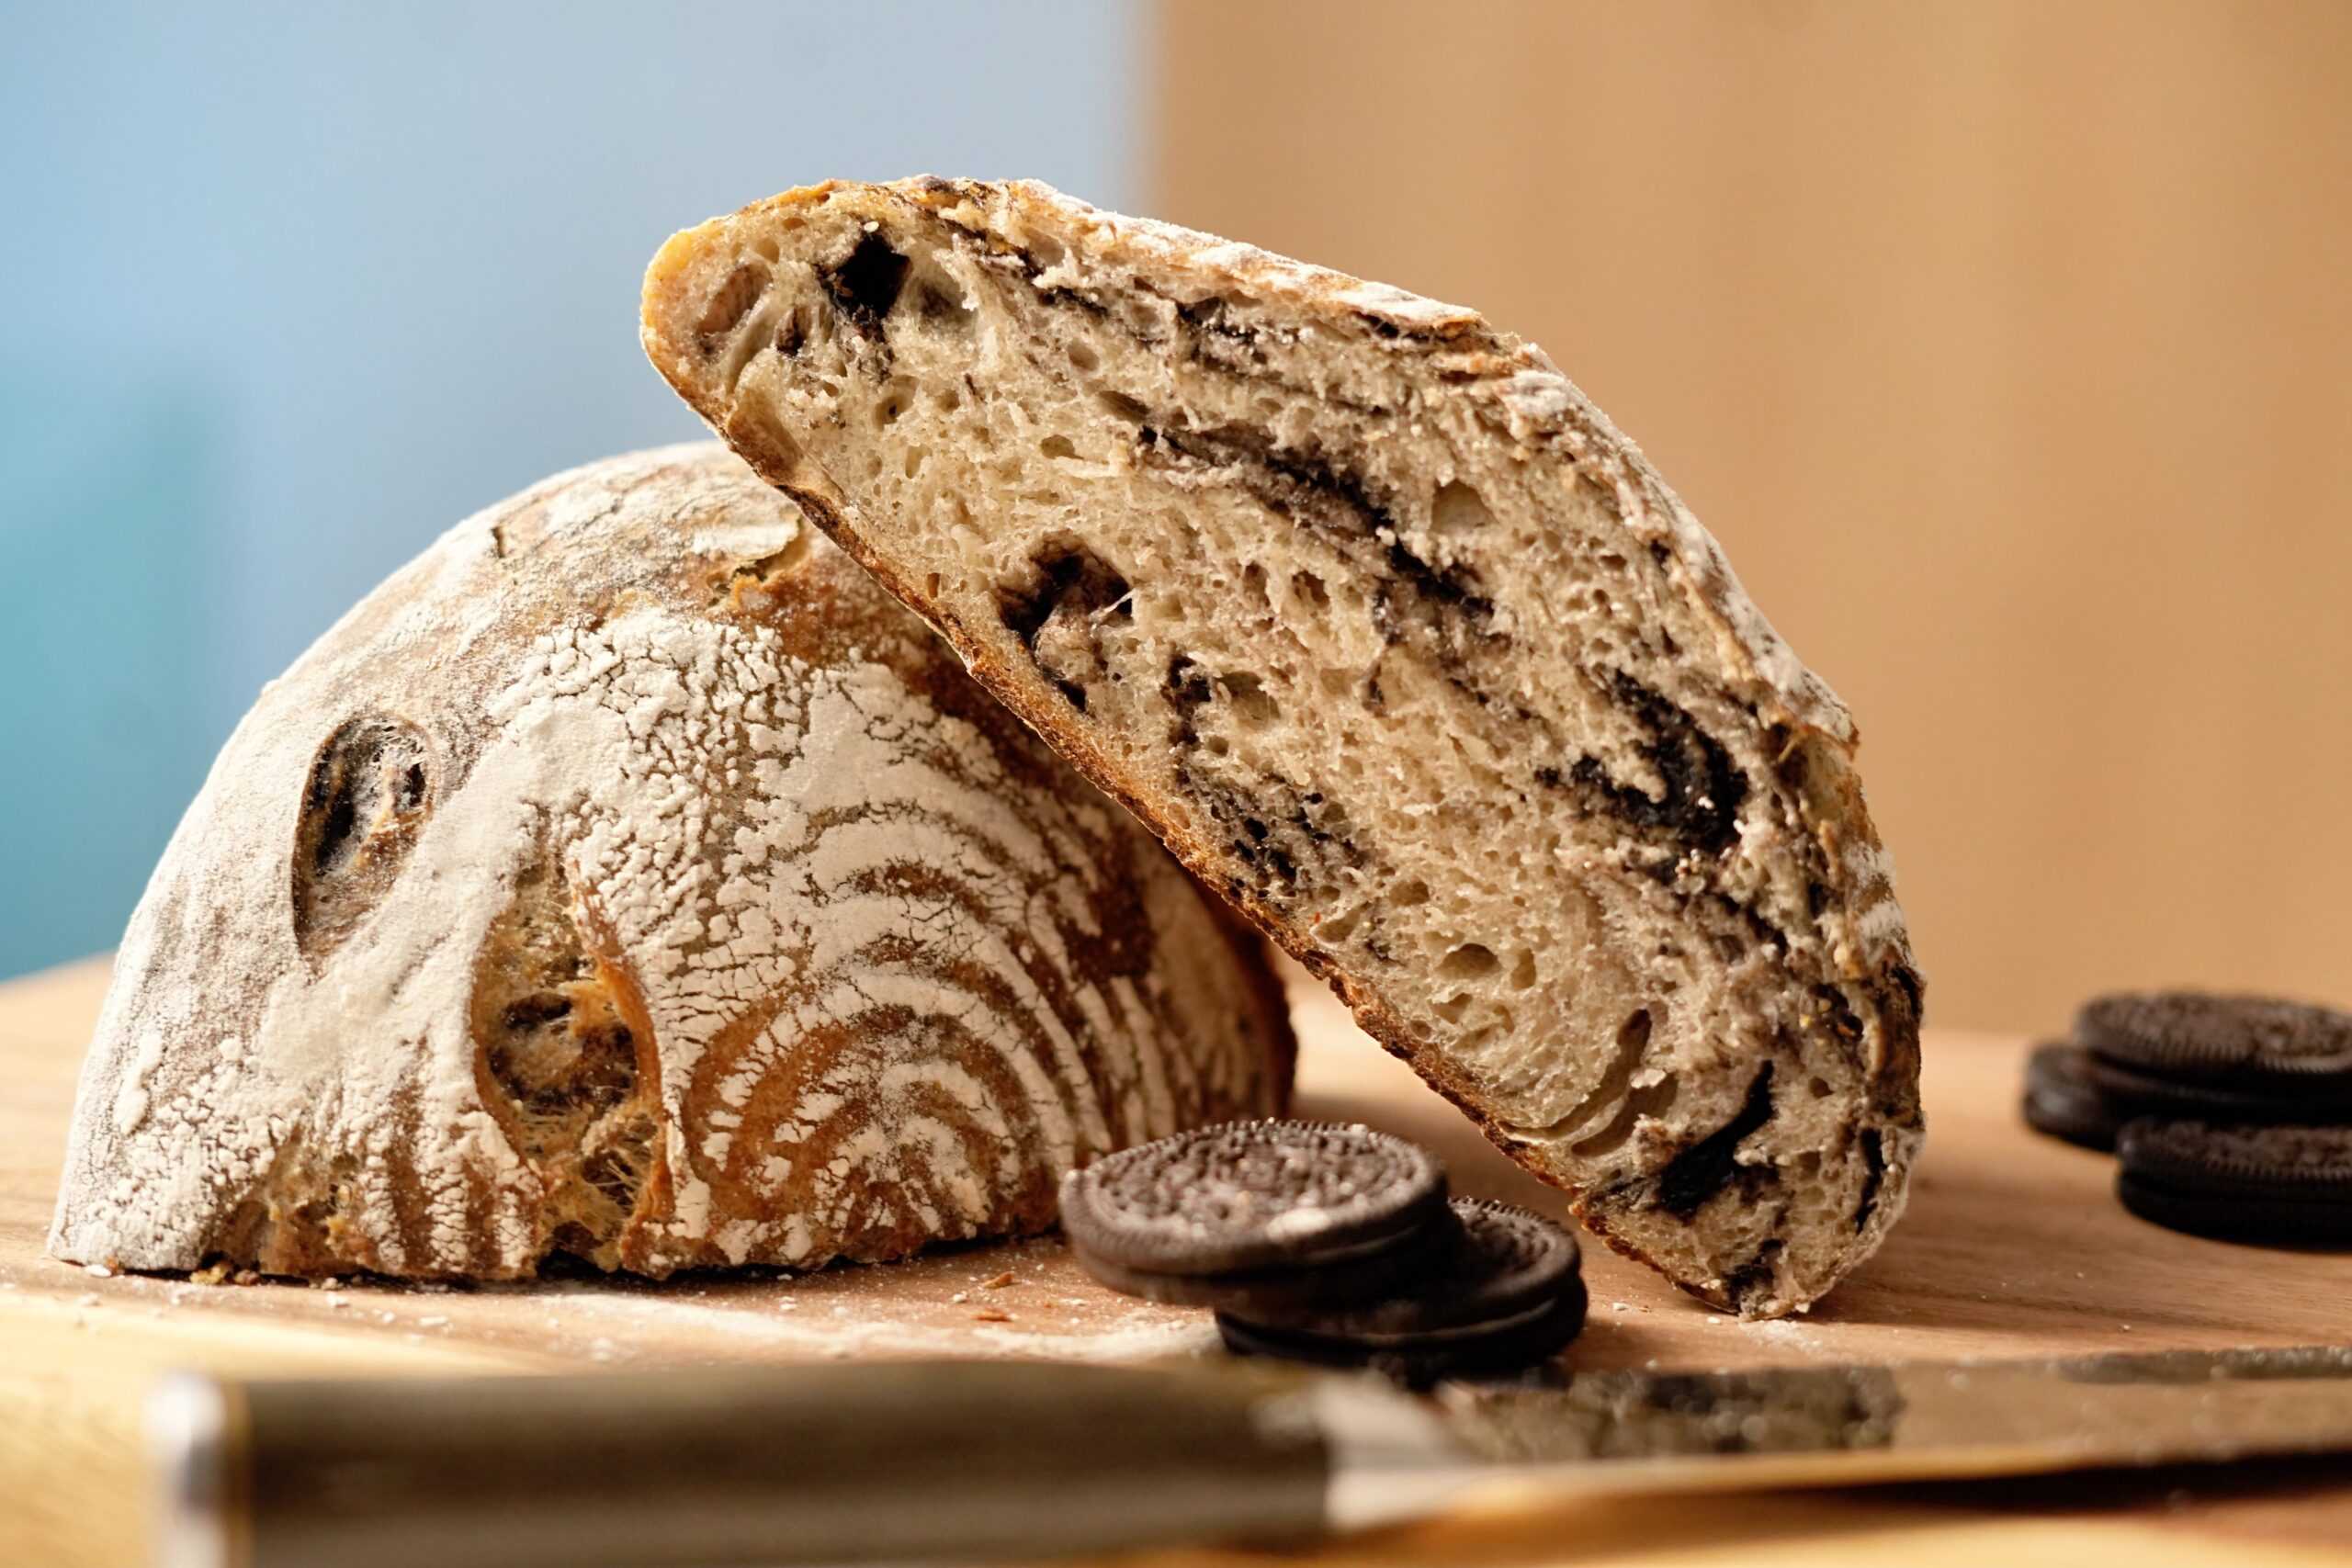
Look, I'm going to be straight with you—I am not a professional sourdough baker. If you follow those “sourdough influencers” on Instagram who spend three days scoring intricate, beautiful wheat stalks into their loaves, my bread is going to look like a disaster to them. My loaves aren't the most pretty. They aren't fancy. But while their bread is 100% carbs with a tiny bit of protein, this loaf has 50% more protein than a typical sourdough.
We are talking about nearly 100g of protein in a single loaf. I do my best with the technique, and the results are delicious, even if they don't win a beauty pageant. If you want a functional, homemade sourdough bread that actually supports your goals instead of just being a “side dish” to your eggs, this is the one.
If you're looking for other Bread hits from the archive, try these:
High Protein Cinnamon Raisin Bagels Air Fryer Recipe: If you love high-protein doughs but want a grab-and-go breakfast option, these bagels are a reliable way to hit your daily macro targets.
Porcini Caramelized Red Onion Sourdough Focaccia: A savory, flavor-packed option that uses the same long-fermentation logic for incredible depth and texture.
Orange Cranberry Sourdough: A perfect balance of tart and sweet, utilizing a similar sourdough structure for those who want a lighter, fruit-infused crumb.
The Vital Wheat Gluten Strategy
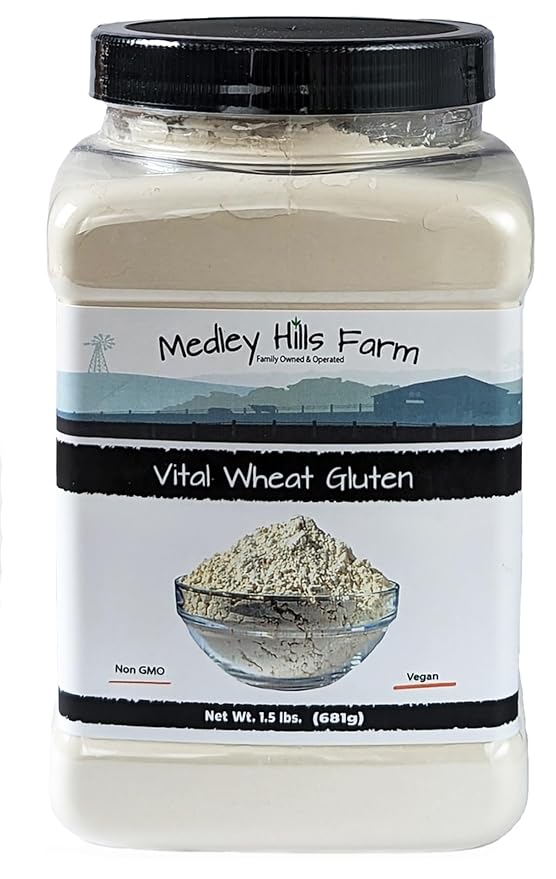
The secret to boosting the higher protein content without making a loaf of “protein powder bread” is Vital Wheat Gluten. Standard bread flour usually sits around 12% protein. By replacing just 50g of that flour with 50g of Vital Wheat Gluten, we spike the protein content of the flour mix significantly.
Vital wheat gluten is essentially the natural protein found in wheat, isolated into a powder. Because it is pure protein, it also provides incredible structure. This helps the bread hold onto those air bubbles during the long ferment, which is crucial when you're adding extra weight to the dough. If you are serious about high-protein baking, you need a bag of Vital Wheat Gluten in your pantry at all times. This isn't just about nutrition; it's about the chemistry of the crumb.
Why You'll Love This Recipe
- Massive Protein Boost: With 50% more protein than your average sourdough, this bread actually keeps you full.
- Authentic Sourdough Flavor: We still use a long fermentation process, so you get that signature tang and the gut-health benefits of real sourdough.
- Simple Technique: No fancy “laminations” or professional equipment needed—just a bowl, some folding, and a hot pot.
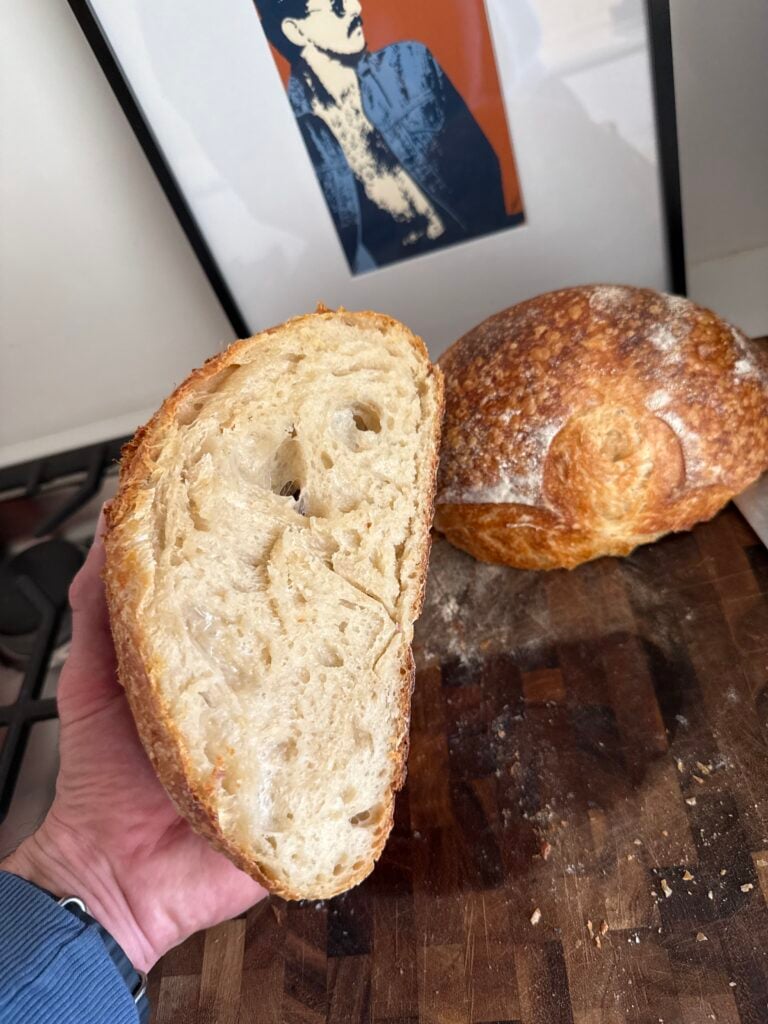
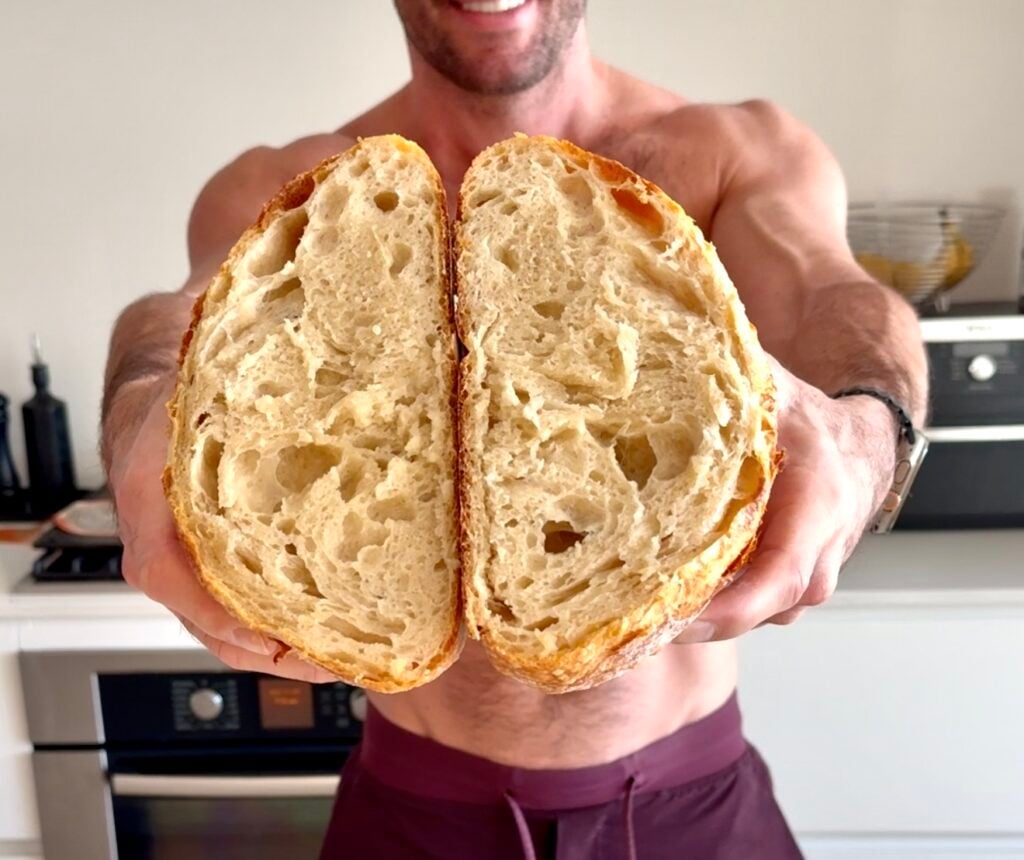
- Better Texture: Unlike many “protein breads” that are rubbery, the Vital Wheat Gluten actually improves the chew and structure of the crumb.
- Macro-Friendly Slicing: Each slice packs nearly 10g of protein, making it the perfect base for avocado toast or a high-protein sandwich.
High Protein Sourdough Bread (High-Protein Recipe)
Look, I'm going to be straight with you—I am not a professional sourdough baker. If you follow those “sourdough influencers” on Instagram who spend three days scoring intricate, beautiful wheat stalks into their loaves, my bread is going to look like a disaster to them. My loaves aren't the most pretty. They aren't fancy. But while their bread is 100% carbs with a tiny bit of protein, this loaf has 50% more protein than a typical sourdough.
We are talking about nearly 100g of protein in a single loaf. I do my best with the technique, and the results are delicious, even if they don't win a beauty pageant. If you want a functional, homemade sourdough bread that actually supports your goals instead of just being a “side dish” to your eggs, this is the one. I developed this because I was tired of bread being a “carb-only” affair; I wanted something that contributed to my daily intake rather than just empty calorie filler. This isn't just about feeding the belly; it's about feeding the muscles and ensuring that every bite counts toward your daily nutrition goals.
If you're looking for other Bread hits from the archive, try these:
- Porcini Caramelized Red Onion Sourdough Focaccia: A savory, flavor-packed option that uses the same long-fermentation logic for incredible depth and texture.
- Orange Cranberry Sourdough: A perfect balance of tart and sweet, utilizing a similar sourdough structure for those who want a lighter, fruit-infused crumb.
- High Protein Cinnamon Raisin Bagels Air Fryer Recipe: If you love high-protein doughs but want a grab-and-go breakfast option, these bagels are a reliable way to hit your daily macro targets.
The Vital Wheat Gluten Strategy
The secret to boosting the higher protein content without making a loaf of “protein powder bread” is Vital Wheat Gluten. Standard bread flour usually sits around 12% protein. By replacing just 50g of that flour with 50g of Vital Wheat Gluten, we spike the protein count of the flour mix significantly.
Vital wheat gluten is essentially the natural protein found in wheat, isolated into a powder. Because it is pure protein, it also provides incredible structure. This helps the bread hold onto those air bubbles during the long ferment, which is crucial when you're adding extra weight to the dough. If you are serious about high-protein baking, you need a bag of Vital Wheat Gluten in your pantry at all times. This isn't just about nutrition; it's about the chemistry of the crumb. When you rely on high-protein flour to build your structure, you get a bread that can actually sustain you. It's the foundational element for anyone who wants to take their homemade sourdough bread game to a level that aligns with a fitness-oriented lifestyle. You aren't just baking bread; you are creating a functional food.
Why You'll Love This Recipe
- Massive Protein Boost: With 50% more protein than your average sourdough, this bread actually keeps you full. This is the extra protein your breakfast has been missing.
- Authentic Sourdough Flavor: We still use a long fermentation process, so you get that signature tang and the gut-health benefits of real sourdough, while ensuring great results in every single loaf.
- Simple Technique: No fancy “laminations” or professional equipment needed—just a bowl, some folding, and a hot pot. It's accessible for beginners but creates a result that looks like you've been baking for years.
- Better Texture: Unlike many “protein breads” that are rubbery, the Vital Wheat Gluten actually improves the chew and structure of the crumb, preventing that dense, flat loaf issue.
- Macro-Friendly Slicing: Each slice packs nearly 10g of protein, making it the perfect base for avocado toast or a high-protein sandwich.
- Customizable: This recipe is a canvas. You can add seeds, nuts, or herbs to the dough to enhance the nutrient density even further, making it the perfect vehicle for your daily protein intake.
- Gut Health Friendly: Because we utilize a natural fermentation process, the digestibility of the grains is improved, which is a massive plus for anyone with sensitivities to standard white flour based breads.
Key Equipment Focus
To get a decent crust and rise without being a pro, you need the right gear. I don't guess measurements; I use specific tools to ensure the chemistry is correct.
Digital Kitchen Scale: Precision is everything in baking. Sourdough is about ratios, and if you're measuring by the cup, you've already lost. When baking sourdough, measuring in grams is the only way to achieve consistent, great results in a sourdough environment.
Cast Iron Dutch Oven: This is mandatory for trapping the steam escaping from the dough. Steam keeps the crust soft long enough for the bread to expand—that's the “oven spring.” Without it, your high-protein loaf will likely turn into a dense brick.
Silicone Spatula Set: These are essential for scraping down the sides of the bowl without damaging the bowl or losing dough. Using a silicone spatula allows you to manipulate the dough gently, preserving the air pockets you've worked hard to cultivate during the bulk fermentation.
Wire Rack: Letting the loaf breathe on a rack prevents the crust from becoming soggy and wrinkly from trapped steam as it cools. If you put the loaf directly on a plate, the steam will condense on the bottom, ruining your crust.
Ingredient Deep Dive & Strategy
Understanding your ingredients is the difference between a loaf that supports your health goals and a loaf that just tastes like cardboard.
The Role of Flour
When we talk about high-protein flour or strong flour, we are talking about flour with a higher gluten potential. Bread flour typically has more protein than white flour (all-purpose), which provides the base strength for the loaf. For even more extra protein and depth, you can incorporate whole grain flours like whole wheat flour or rye. While these whole grain flours contain more protein than refined white flour, they can also absorb more water, which is why we must balance our hydration carefully. Using a strong flour is non-negotiable here; weak flour won't support the structure of the loaf once you start adding protein enhancements.
Vital Wheat Gluten
This is our “protein engine.” It turns standard bread flour into a higher protein flour powerhouse while assisting with the rise. It creates the “chew” that makes sourdough satisfying. If you are looking for a higher protein flour to buy, you are looking for a strong flour with at least 12-14% protein content on the nutrition label. This is the secret to getting a bread that holds its shape and structure despite the added nutritional load.
Fat and Butter
Some recipes call for butter in the dough, which creates a softer crumb. If you decide to add butter, be aware that it can soften the gluten network. Adding a little bit of fat can actually help keep the bread fresh longer, but keep the amount modest so you don't inhibit that beautiful open crumb we all want.
Nutrition
If you are tracking your nutrition, remember that homemade sourdough bread isn't just a carb source—it's a complex food. By increasing the protein through Vital Wheat Gluten and whole grains, you are creating a bread that is far more satiating than store-bought options.
High Protein Sourdough Bread Ingredients
- 400g Bread Flour
- 50g Whole Wheat Flour
- 50g Vital Wheat Gluten
- 350g Water (room temperature)
- 75g Active Sourdough Starter
- 10g Salt
High Protein Sourdough Bread Step by Step Instructions
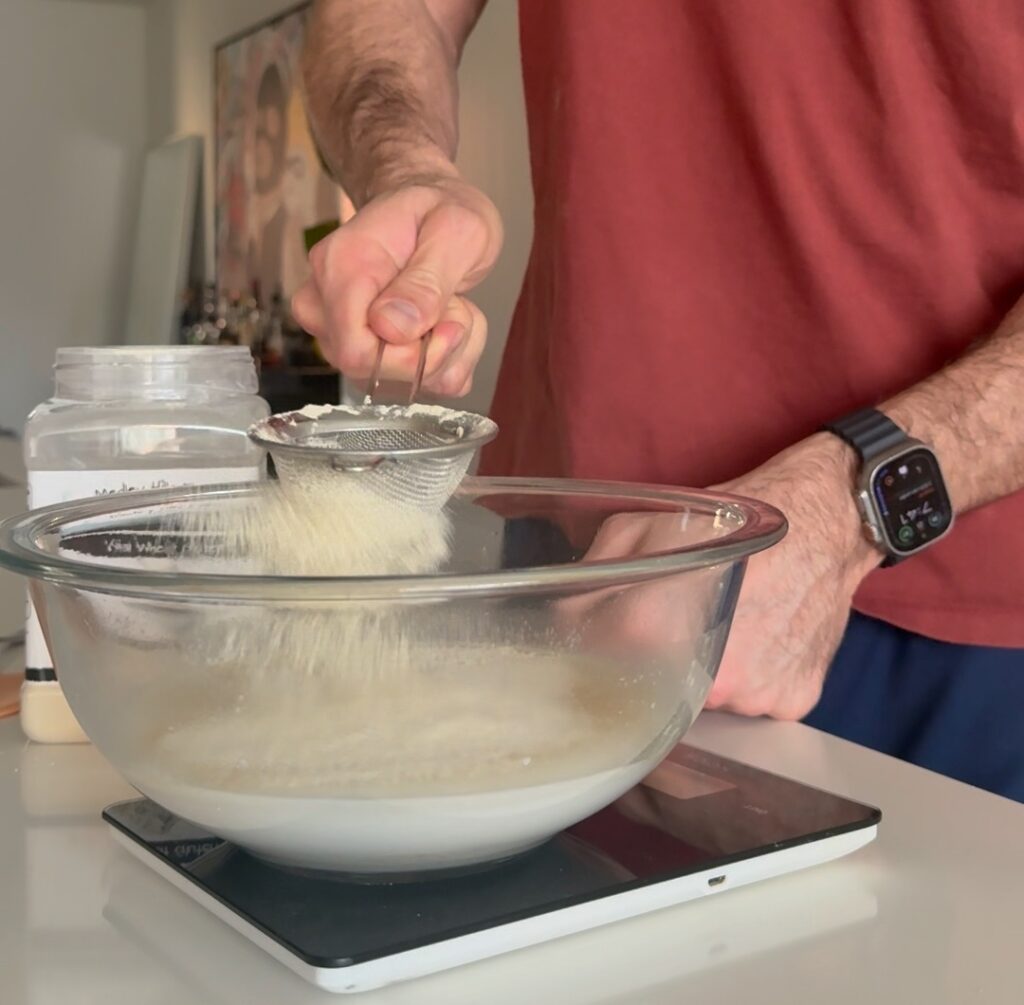
1. The Mix: In a large bowl, whisk your water and active starter together until the starter is mostly dissolved. Add the bread flour, whole wheat flour, Vital Wheat Gluten, and salt. Mix by hand or with a spatula until a shaggy dough forms and no dry flour remains.
Pro Tip: Let the dough rest for 30 minutes after mixing (autolyse) before you start folding; it makes the dough much easier to handle.
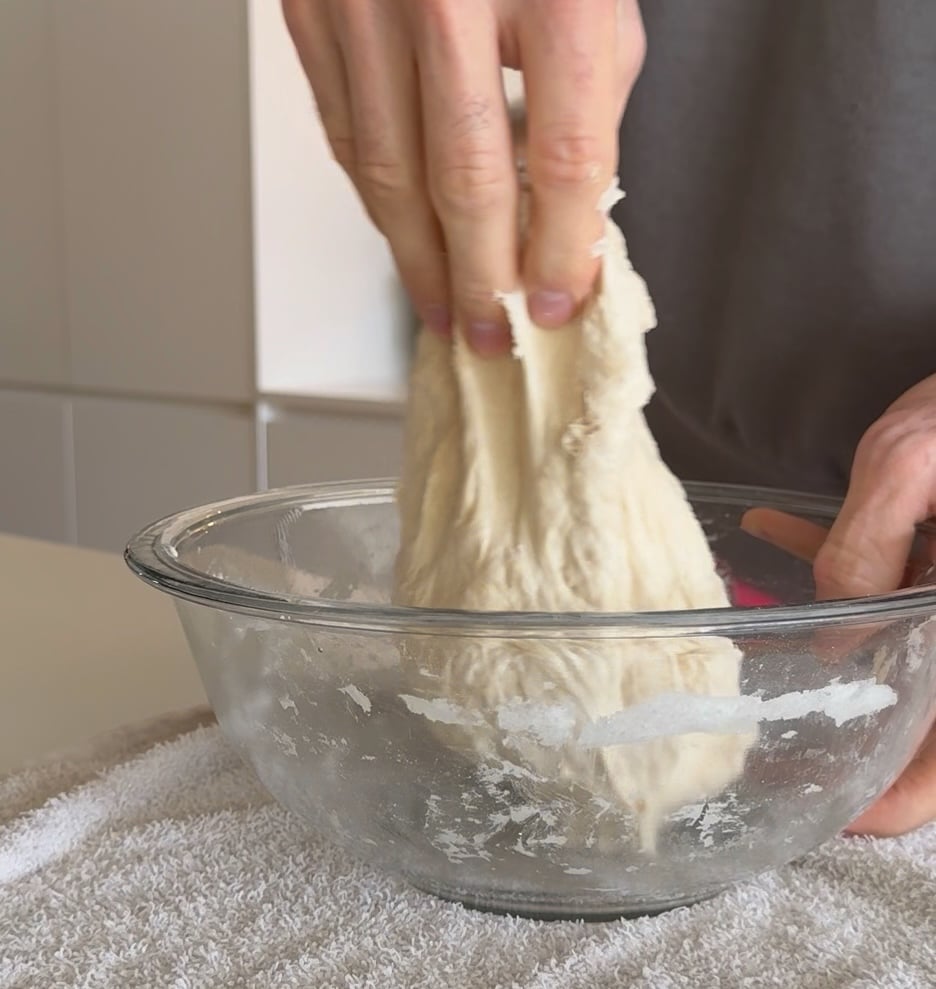
2. Stretch and Folds: Over the next 2 hours, perform 4 sets of “stretch and folds” every 30 minutes. Wet your hands, grab one side of the dough, pull it up, and fold it over itself. Rotate the bowl and repeat 4 times per set. This builds the surface tension necessary for the loaf to hold its shape during the bake.
3. Bulk Fermentation: Cover the bowl with a damp cloth and let it sit at room temperature until it has grown about 50% in size. This usually takes 6–8 hours depending on the temperature of your kitchen. If you find your house is cold, you may need to move it to a warmer spot.
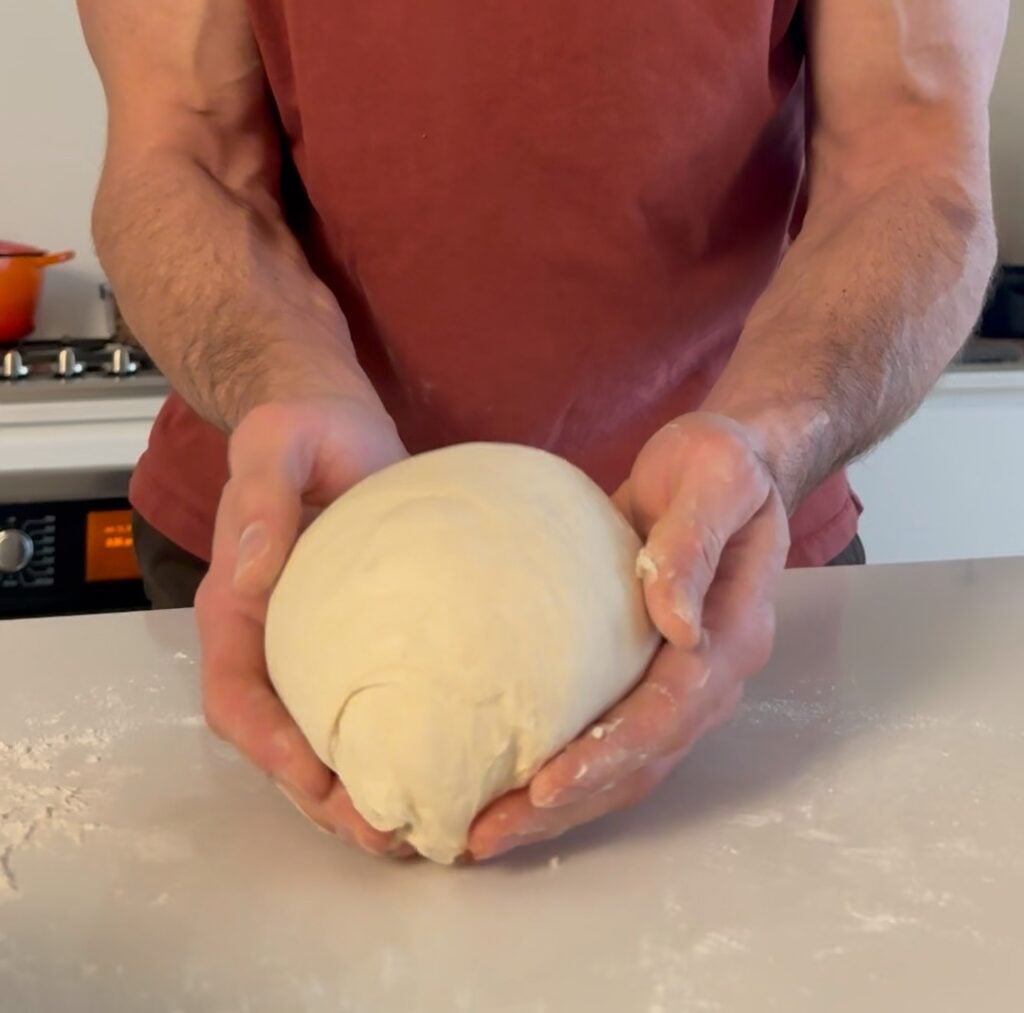
4. Shaping: Gently tip the dough onto a lightly floured surface. Fold the edges into the center to create tension, then flip it over and use your hands to tension the top of the dough into a round loaf. You want to create a smooth side that resists tearing.
Pro Tip: If the dough is sticking to your hands, lightly mist them with water instead of adding more flour. Extra flour can dry out your final loaf.
5. The Cold Proof: Place the loaf upside down in a floured banneton or a bowl lined with a floured towel. Cover and refrigerate for 12–15 hours (or overnight). The fridge does more than just hold the dough; it retards fermentation, allowing enzymes to develop complex flavors.
6. Preheat & Score: Place your Dutch oven in the oven and preheat to 450°F (230°C). Once hot, carefully flip the cold dough onto parchment paper. Score the top with a sharp knife or razor to allow for expansion.
7. The Bake: Carefully place the dough (and parchment) into the hot Dutch oven. Cover with the lid and bake for 30 minutes.
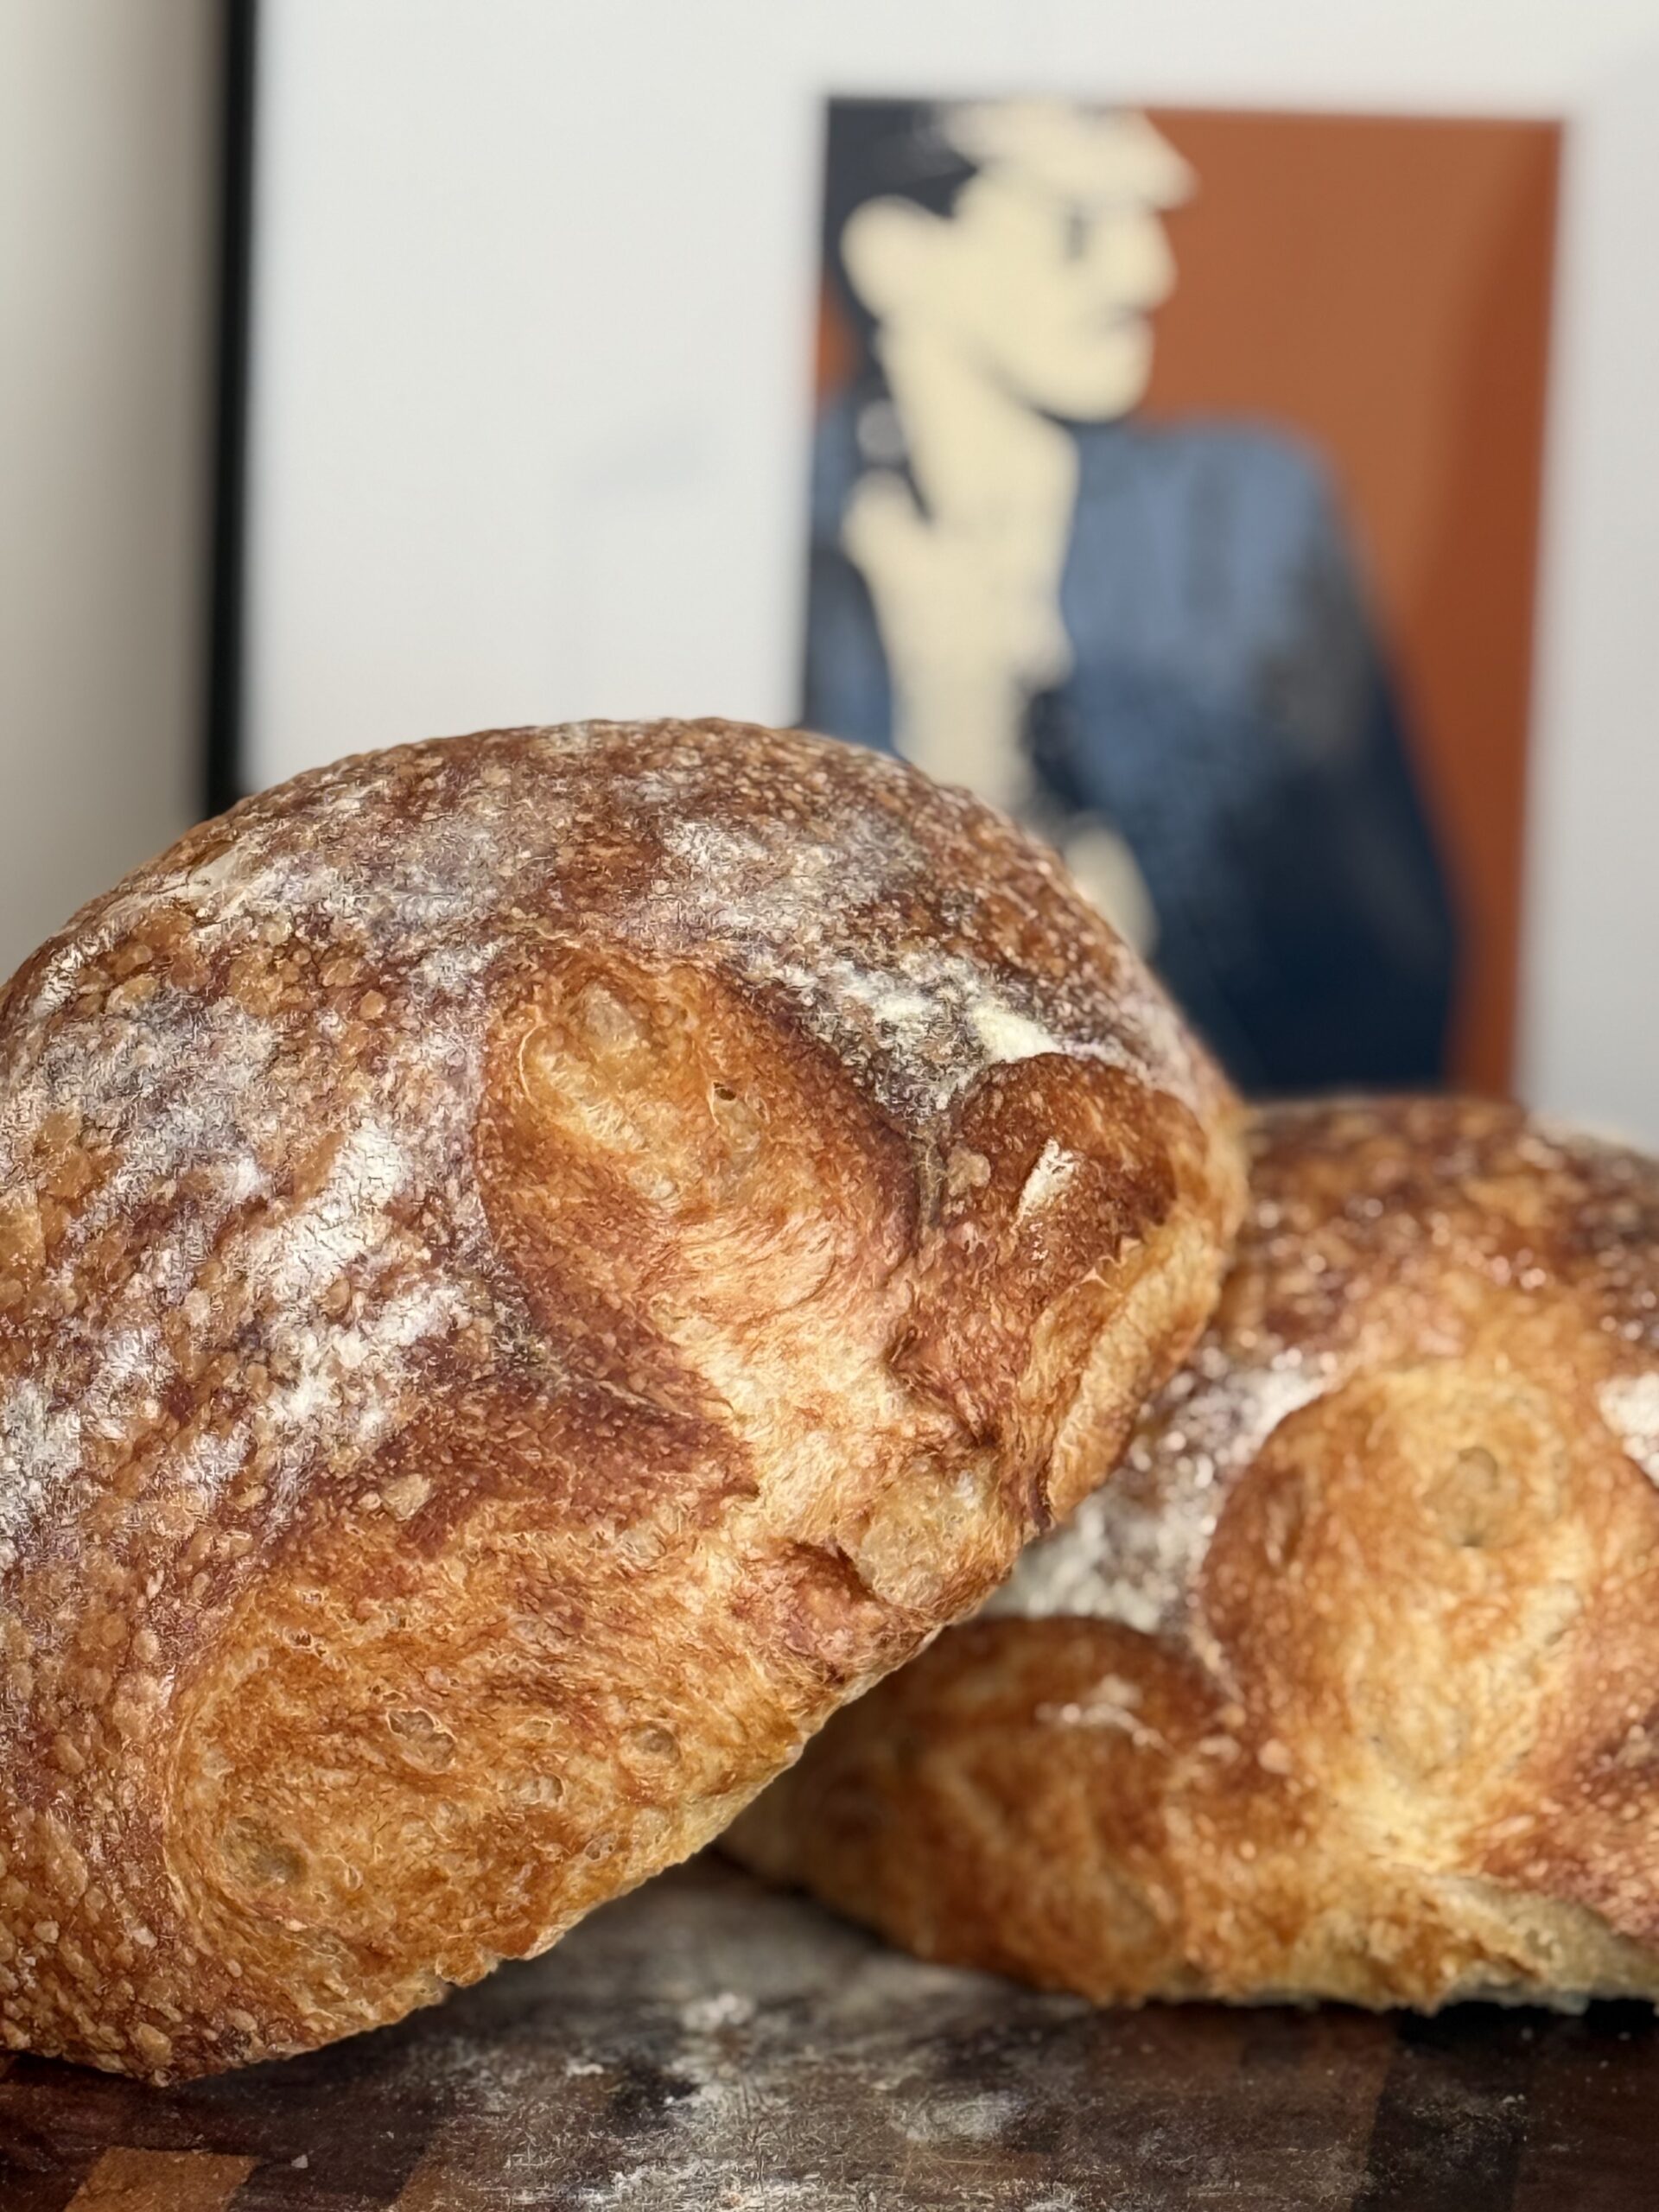
8. The Finish: Remove the lid, reduce the oven temperature to 425°F (220°C), and bake for another 20–25 minutes until the crust is deep golden brown.
Pro Tip: Internal temperature should reach at least 205°F (96°C) for the perfect texture.
9. The Rest: You MUST let the bread cool for at least 2 hours on a wire rack before slicing. Cutting too early releases steam and makes the inside gummy.est for 30 minutes after mixing (autolyse) before you start folding; it makes the dough much easier to handle.
Troubleshooting & FAQ
- Why is my bread so dense? High-protein doughs can be heavier. If it's dense, you likely underproofed it (didn't let it rise long enough during bulk ferment) or your starter wasn't active enough.
- The dough is way too sticky to handle! Sourdough is naturally hydrated, but if it feels like soup, try adding an extra 10–20g of flour next time. Also, make sure you are wetting your hands during folds to maintain surface tension.
- I don't have a Dutch oven. You can use a heavy pot with a lid, but it must be oven-safe to 450°F. If you have no lid, you'll need to place a pan of water at the bottom of the oven to create steam.
- Can I use 100% Vital Wheat Gluten? Absolutely not. You would end up with a piece of rubber. It needs the starch from the bread flour to create the actual “bread” texture.
- Why did my crust get too dark? Every oven is different. If it's browning too fast after you take the lid off, drop the temp to 400°F for the final stretch.
- How do I know if the starter is ready? Your starter should be bubbly and smell slightly fruity/yeasty. If it's flat, it won't give you the rise you need for great results.
- Can I bake this directly out of the fridge? Yes, you should! Taking the dough straight from the fridge to the oven gives it a better “oven spring.”
- What if I don't use whole grain flours? You can use 100% bread flour, but you will lose some of the depth of flavor and the added fiber/protein benefits of whole wheat flour.
- Why does the surface tension matter? It's the key to the oven spring. If your loaf doesn't have surface tension, it will spread outwards rather than rising upwards, leading to a flat bread.
- Can I add nuts or seeds? Absolutely. Add them during the shaping phase to ensure they are evenly distributed without tearing the dough structure.
Substitutions Table
| Component | Swap Options |
| Bread Flour | All-Purpose Flour (will have slightly less structure) |
| Vital Wheat Gluten | Cannot be swapped 1:1; omitting it will revert this to standard sourdough |
| Starter | 7g Instant Yeast + 40g Water + 40g Flour (for a non-sourdough version) |
| Water | Unsweetened Almond Milk (for a slightly softer crumb) |
Storage & Reheating
- Counter: Store in a paper bag or bread box for up to 3 days. Do not use plastic, or the crust will go soft.
- Freezer: Slice the loaf first, then freeze in a freezer-safe bag. It stays fresh for 3 months.
- Reheating: For frozen slices, pop them directly into the toaster. For a whole loaf, spray with a little water and bake at 350°F (175°C) for 10 minutes to revive the crust.
You Might Also Like
- Porcini Caramelized Red Onion Sourdough Focaccia
- Orange Cranberry Sourdough
- Gluten Free High Protein Bagels
The Final Verdict & Share
This isn't about having the prettiest loaf on the block; it's about eating bread that actually fuels your body. Pick up your Vital Wheat Gluten and stop settling for empty carbs. Tag me in your “ugly but macro-perfect” loaf photos—I want to see them!
Nutrition Note
Note: The nutrition information provided here is an estimate based on the ingredients used. If you are tracking macros, always recalculate based on the specific brand of flour and starter hydration you use.
High Protein Sourdough Bread
Ingredients
- 400 g Bread Flour
- 50 g Whole Wheat Flour
- 50 g Vital Wheat Gluten
- 10 g Salt
- 350 g Water room temperature
- 75 g Active Sourdough Starter 100% hydration


Method
- In a large bowl, whisk your water and active starter together until the starter is mostly dissolved. Add the bread flour, whole wheat flour, Vital Wheat Gluten, and salt. Mix by hand or with a spatula until a shaggy dough forms and no dry flour remains. Let the dough rest for 30 minutes after mixing (autolyse) before you start folding.
- Over the next 2 hours, perform 4 sets of “stretch and folds” every 30 minutes. Wet your hands, grab one side of the dough, pull it up, and fold it over itself. Rotate the bowl and repeat 4 times per set. This builds the surface tension necessary for the loaf to hold its shape during the bake.
- Cover the bowl with a damp cloth and let it sit at room temperature until it has grown about 50% in size (6–8 hours).
- Gently tip the dough onto a lightly floured surface. Fold the edges into the center to create tension, then flip it over and use your hands to tension the top of the dough into a round loaf. You want to create a smooth side that resists tearing.
- Place the loaf upside down in a floured banneton or a bowl lined with a floured towel. Cover and refrigerate for 12–15 hours.
- Place your Dutch oven in the oven and preheat to 450°F (230°C). Once hot, carefully flip the cold dough onto parchment paper. Score the top with a sharp knife or razor to allow for expansion.
- Carefully place the dough (and parchment) into the hot Dutch oven. Cover with the lid and bake for 30 minutes.
- Remove the lid, reduce the oven temperature to 425°F (220°C), and bake for another 20–25 minutes until the crust is deep golden brown.
- Remove the bread and let it cool for at least 2 hours on a wire rack before slicing.
Nutrition
Notes
Tried this recipe?
Mention or tag @bakedlean!Related Posts

2 responses to “High Protein Sourdough Bread (High-Protein Recipe)”


So good! I used a 10 grain whole wheat blend because that's what I had on hand. I also used a loaf pan because I don't fool with heavy DOs anymore. I did bulk fermentation in the loaf pan overnight and then baked first thing in the morning. Still super tangy and peefectly proved. I'm never making another loaf without vital wheat gluten again!!
Amazing


Leave a Reply