
If you are a fan of that classic cinnamon-sugar crunch but need to hit a serious protein goal, this Snickerdoodle Protein Cheesecake is the ultimate “cheat code.” Traditional cheesecakes are calorie bombs laden with fat and sugar, but this version utilizes a triple-protein threat: light cream cheese, Greek yogurt, and high-quality cinnamon protein powder.
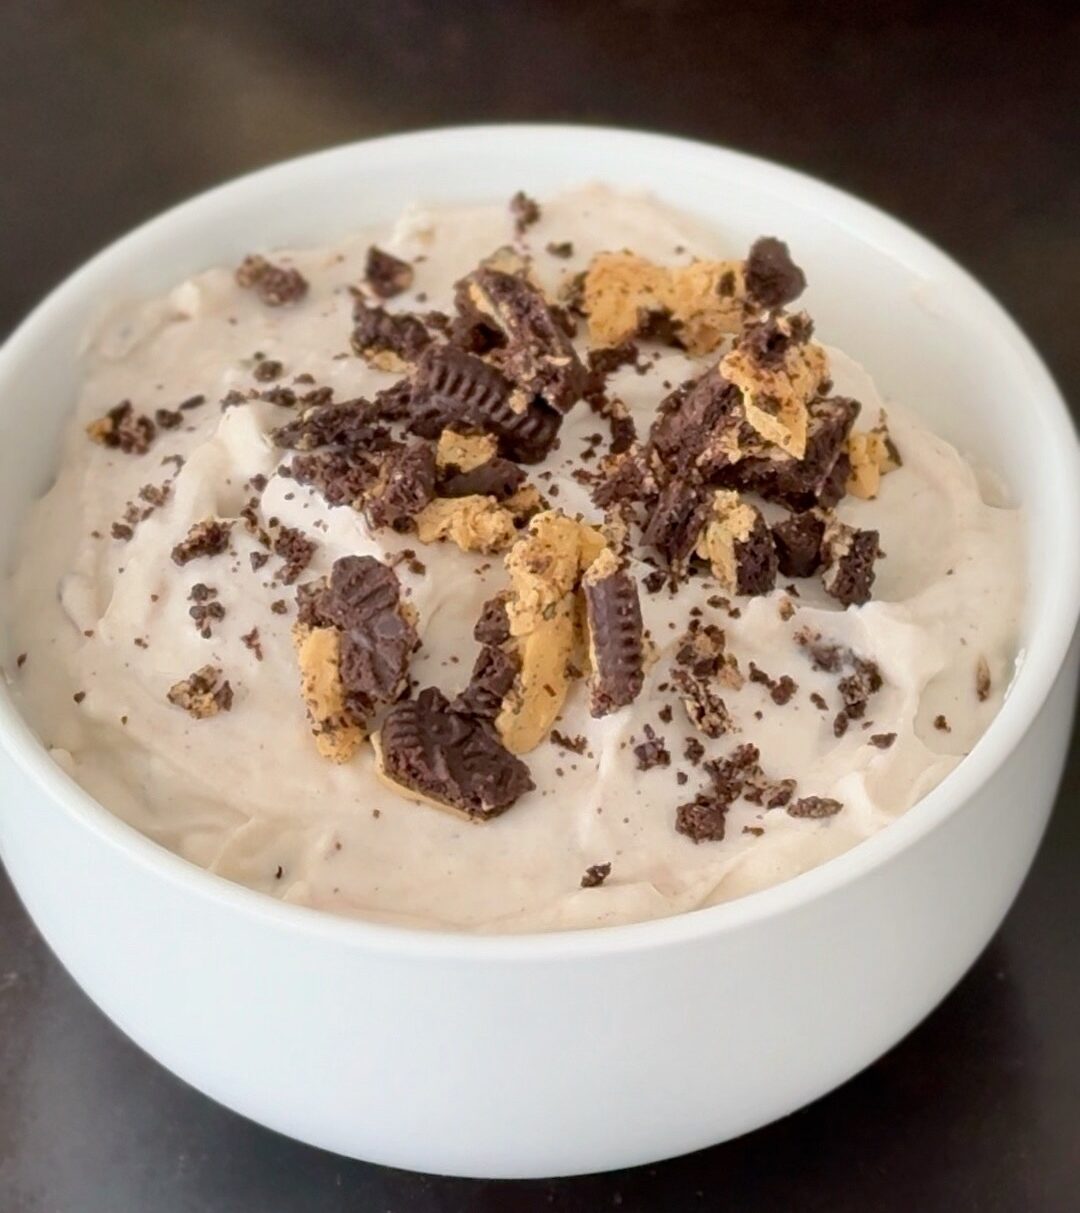
This is the perfect meal-prep dessert for when you have a massive sweet tooth but want to wake up feeling fueled rather than bloated. If you are a fan of this creamy, high-protein dessert style, you have to try my Oreo Cheesecake Protein Mousse for a no-bake fix, or my sophisticated Burnt Honey Basque Cheesecake for that iconic caramelized, custardy finish.
Why You'll Love This Recipe
- Insane Macros: Packing up to 85g of protein in one dish, this is a legitimate meal-replacement dessert for high-performance athletes or volume eaters.
- Bakery-Style Flavor: Captures the authentic snickerdoodle profile with a warm cinnamon-sugar topping and a tangy cheesecake base.
- Silky Texture: By following the specific creaming method, you avoid the “grainy” texture common in protein bakes.
- No Crust, No Hassle: This is a crustless recipe designed to keep macros lean while maximizing the creamy cheesecake volume.

The “Cheesecake Emulsion” Methodology
The secret to a professional-grade protein cheesecake is the Creaming Phase. Protein powder—especially a Whey/Casein blend—can become clumpy or “chalky” if introduced to cold liquids too quickly.
By beating the softened cream cheese before adding the other liquids, you create a stable fatty base. When the Greek yogurt and egg are added, they form a smooth emulsion. The protein powder then hydrates within this emulsion, allowing the Casein to act as a structural “binder” that sets during the bake, resulting in a dense, silky crumb rather than a watery pudding.
Key Equipment Focus: Why Quality Matters
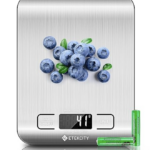
- Digital Kitchen Scale: Mandatory for accuracy. You must weigh your yogurt (100g) and cream cheese (225g) to ensure the batter isn't too runny. A difference of 20g can prevent the cheesecake from setting properly.
- Beast Blender: For an ultra-silky finish, I pulse the entire batter in my Beast Blender for 5-10 seconds. This removes every single micro-lump of cream cheese, which is nearly impossible to do by hand.
Use code BAKEDLEAN for 15% off your Beast Blender here.
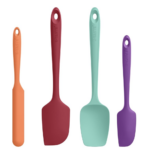
- Silicone Spatula Set: Essential for scraping the bowl. Since protein powder settles at the bottom, you need a firm spatula to ensure the mix is 100% homogenous.
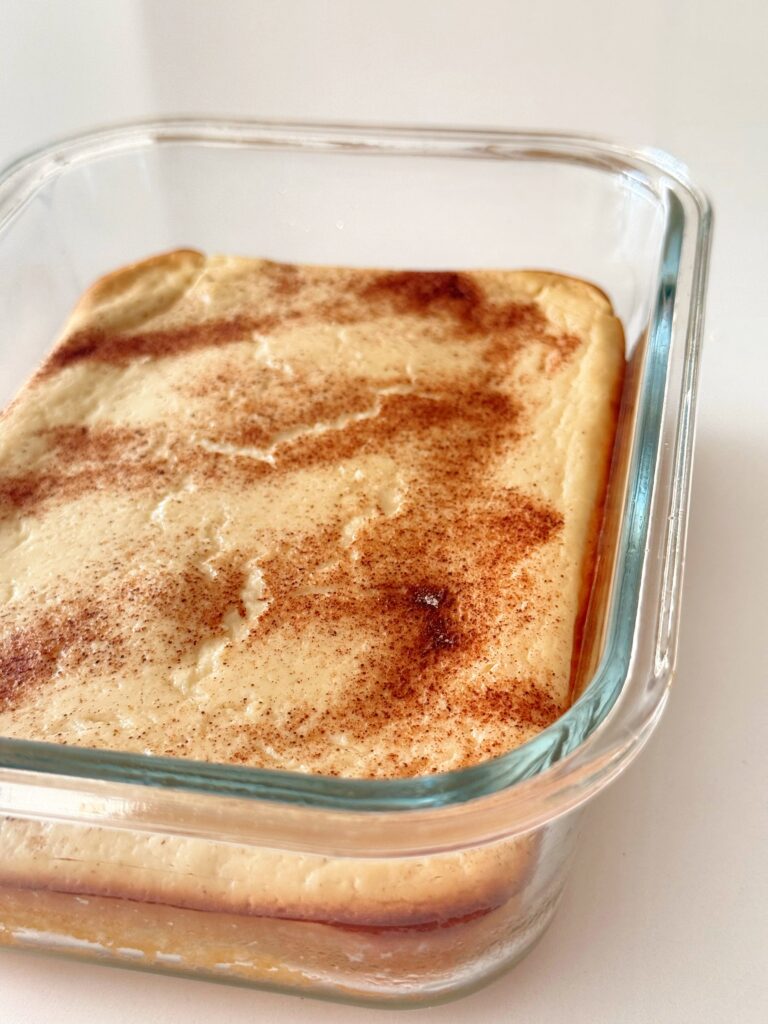
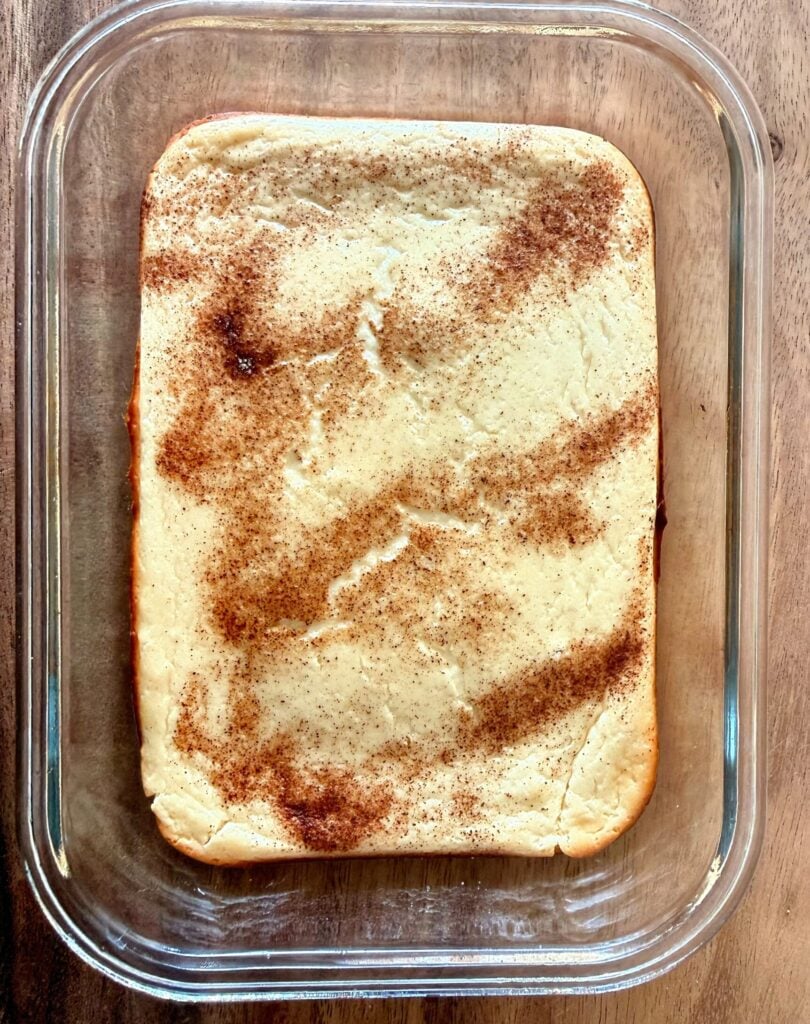
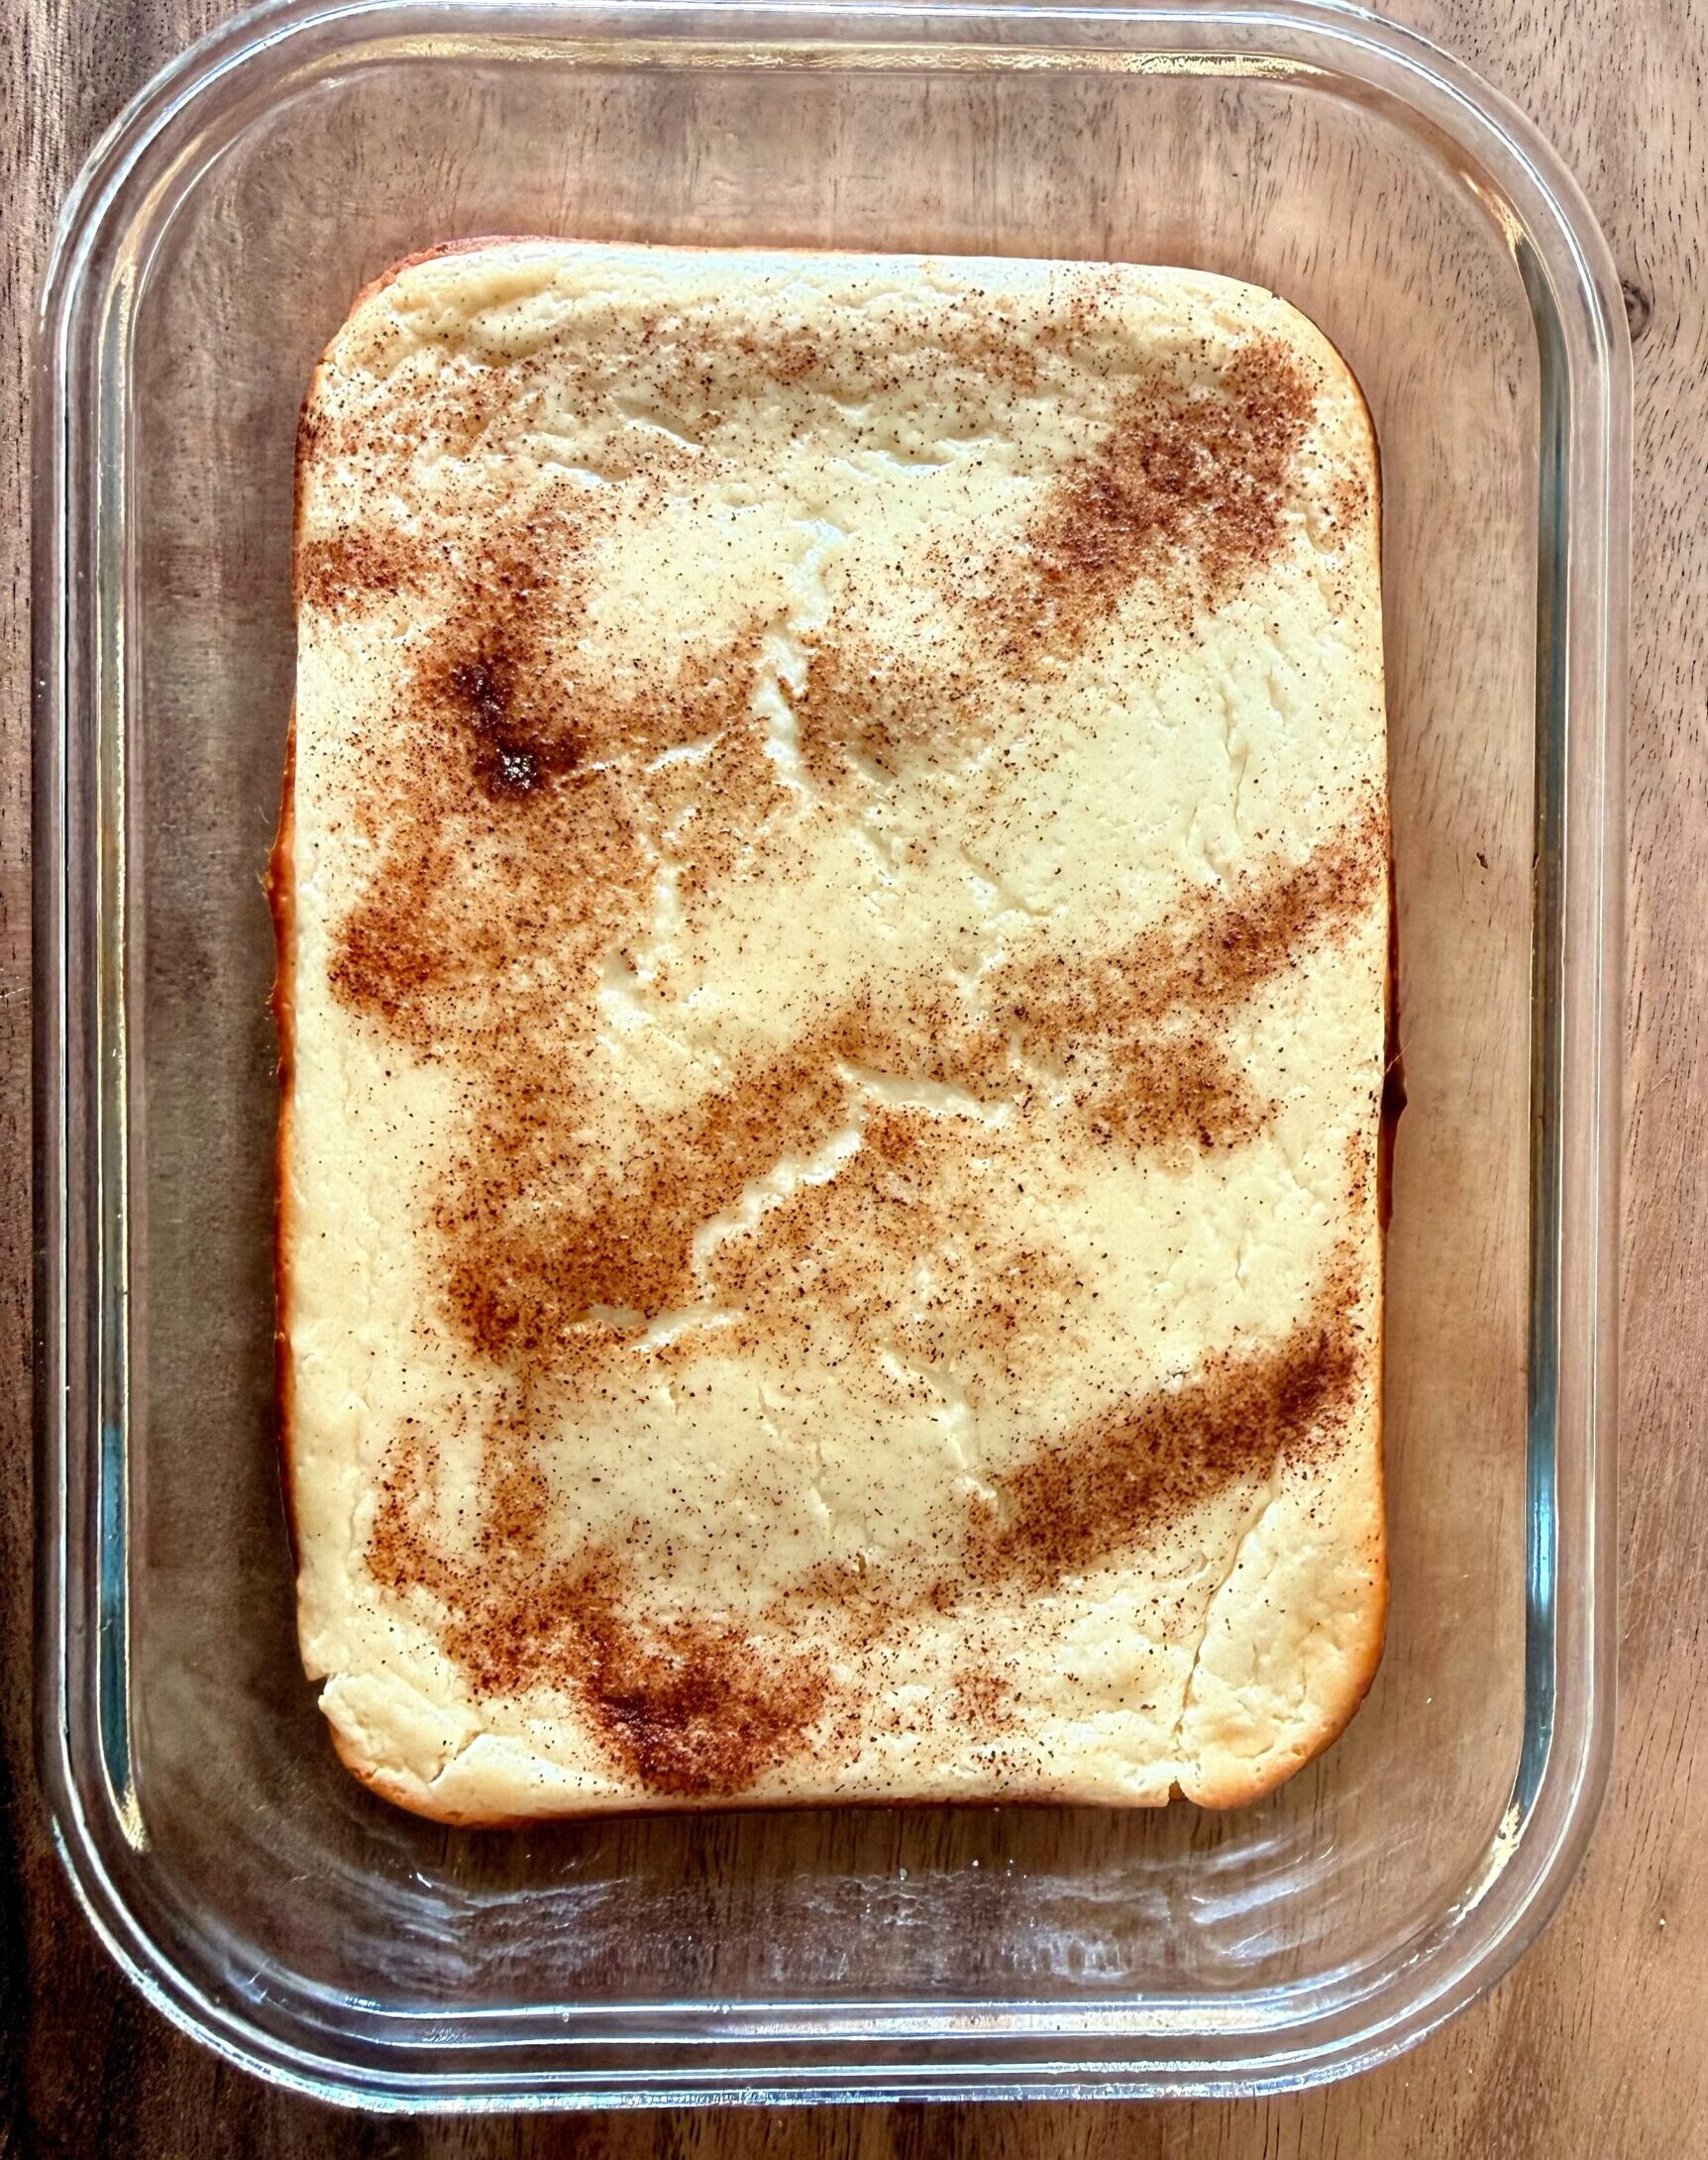
- 4 x 6 Glass Dish: Using a rectangular glass dish allows for even baking and makes it incredibly easy to slice the cheesecake into bars if you're sharing (or just want to pace yourself).
Ingredient Deep Dive & Strategy
- Light Cream Cheese (225g): This provides the essential cheesecake tang and mouthfeel. “Light” is preferred over “Fat-Free” as it contains just enough lipids to keep the texture creamy.
- Plain Greek Yogurt (100g): This adds moisture and a massive protein boost. The acidity in the yogurt helps “brighten” the flavor of the protein powder.
- PE Science Snickerdoodle Protein: A Whey/Casein blend is non-negotiable. 100% Whey protein will result in a rubbery cheesecake; the Casein in PE Science keeps the interior moist and tender.
- Granulated Monk Fruit (125g): Provides the necessary bulk for the cheesecake structure without adding a single gram of sugar.
The BakedLean Pro Tips
1. The “Jiggle” Test Pull the cheesecake out when the edges are firm but the center still has a slight jiggle (like Jell-O). It will continue to “carry-over” cook as it cools. If the center is firm in the oven, it will be dry and likely crack as it cools.
2. The Overnight Set Phase While it's tempting to eat this warm, protein cheesecakes require time for the protein molecules to fully “link” and set. Refrigerating for at least 4 hours (ideally overnight) results in a 2x improvement in texture.
Step-by-Step Instructions
- Preheat & Prep: Preheat your oven to 350°F (175°C). Lightly grease your 4 x 6 glass dish.
- Soften & Beat: In a mixing bowl, beat the softened cream cheese until completely smooth.
- The Wet Emulsion: Add the Greek yogurt, egg, and sugar substitute. Mix (or use your Beast Blender) until silky smooth.
- Incorporate Protein: Add the protein powder and a pinch of salt. Mix until no streaks remain. Scrape the sides of the bowl with your Silicone Spatula to ensure a perfect blend.
- Bake: Pour the batter into the dish. Bake for 30–35 minutes.
- Gradual Cooling: Turn off the oven and leave the door cracked for 10 minutes. This prevents the surface from cracking due to a sudden temperature drop.
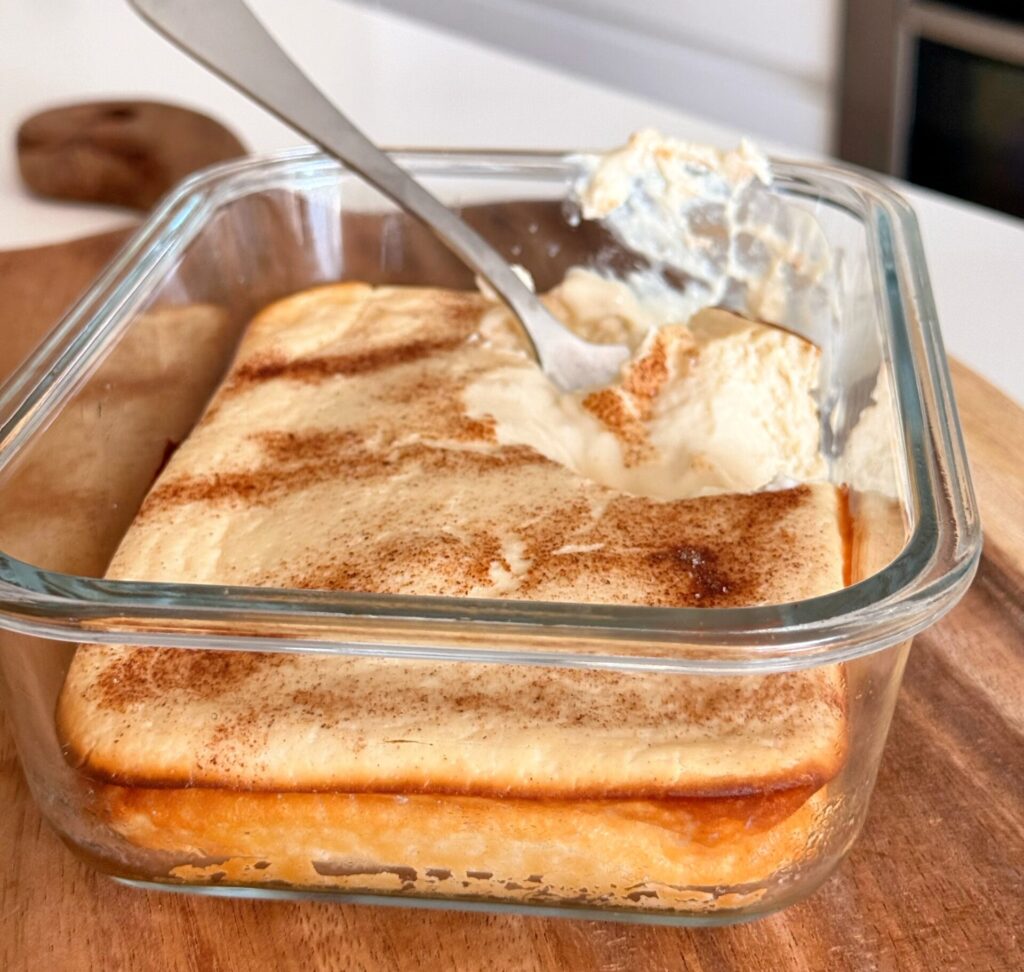
- Chill & Finish: Refrigerate for at least 1 hour. Once cooled, mix the cinnamon and extra sweetener and sprinkle generously over the top.
Troubleshooting & FAQs
- Why did my cheesecake crack? Usually caused by overbaking or a sudden temperature drop. Ensure you pull it out while the center is still jiggly and use the “cracked oven door” cooling method.
- Why is it grainy? This happens if the cream cheese was too cold when mixed. Use room-temperature ingredients and a blender for the best result.
Single-Serve Snickerdoodle Protein Cheesecake
Ingredients
- 225 g Light Cream Cheese
- 100 g Nonfat Greek Yogurt
- 60 g PE Science Snickerdoodle Protein
- 1 count Large Egg
- 125 g Sugar Substitute
Method
- Preheat oven to 350°F (175°C) and grease a 4×6 glass dish.
- Beat softened cream cheese until smooth, then add yogurt, egg, and sweetener.
- Incorporate protein powder and salt, mixing until a silky emulsion forms.
- Bake for 30-35 minutes until edges are firm but center is jiggly.
- Cool gradually with the oven door cracked for 10 minutes.
- Chill for at least 1 hour and top with cinnamon-sugar sweetener before serving.


Leave a Reply