
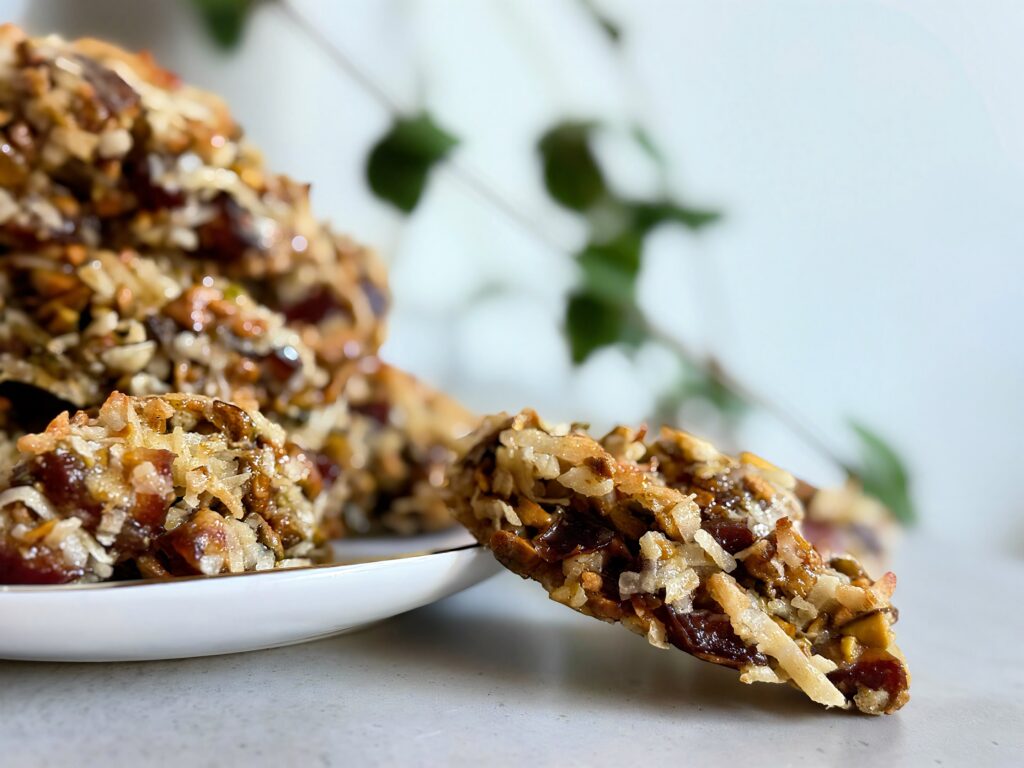
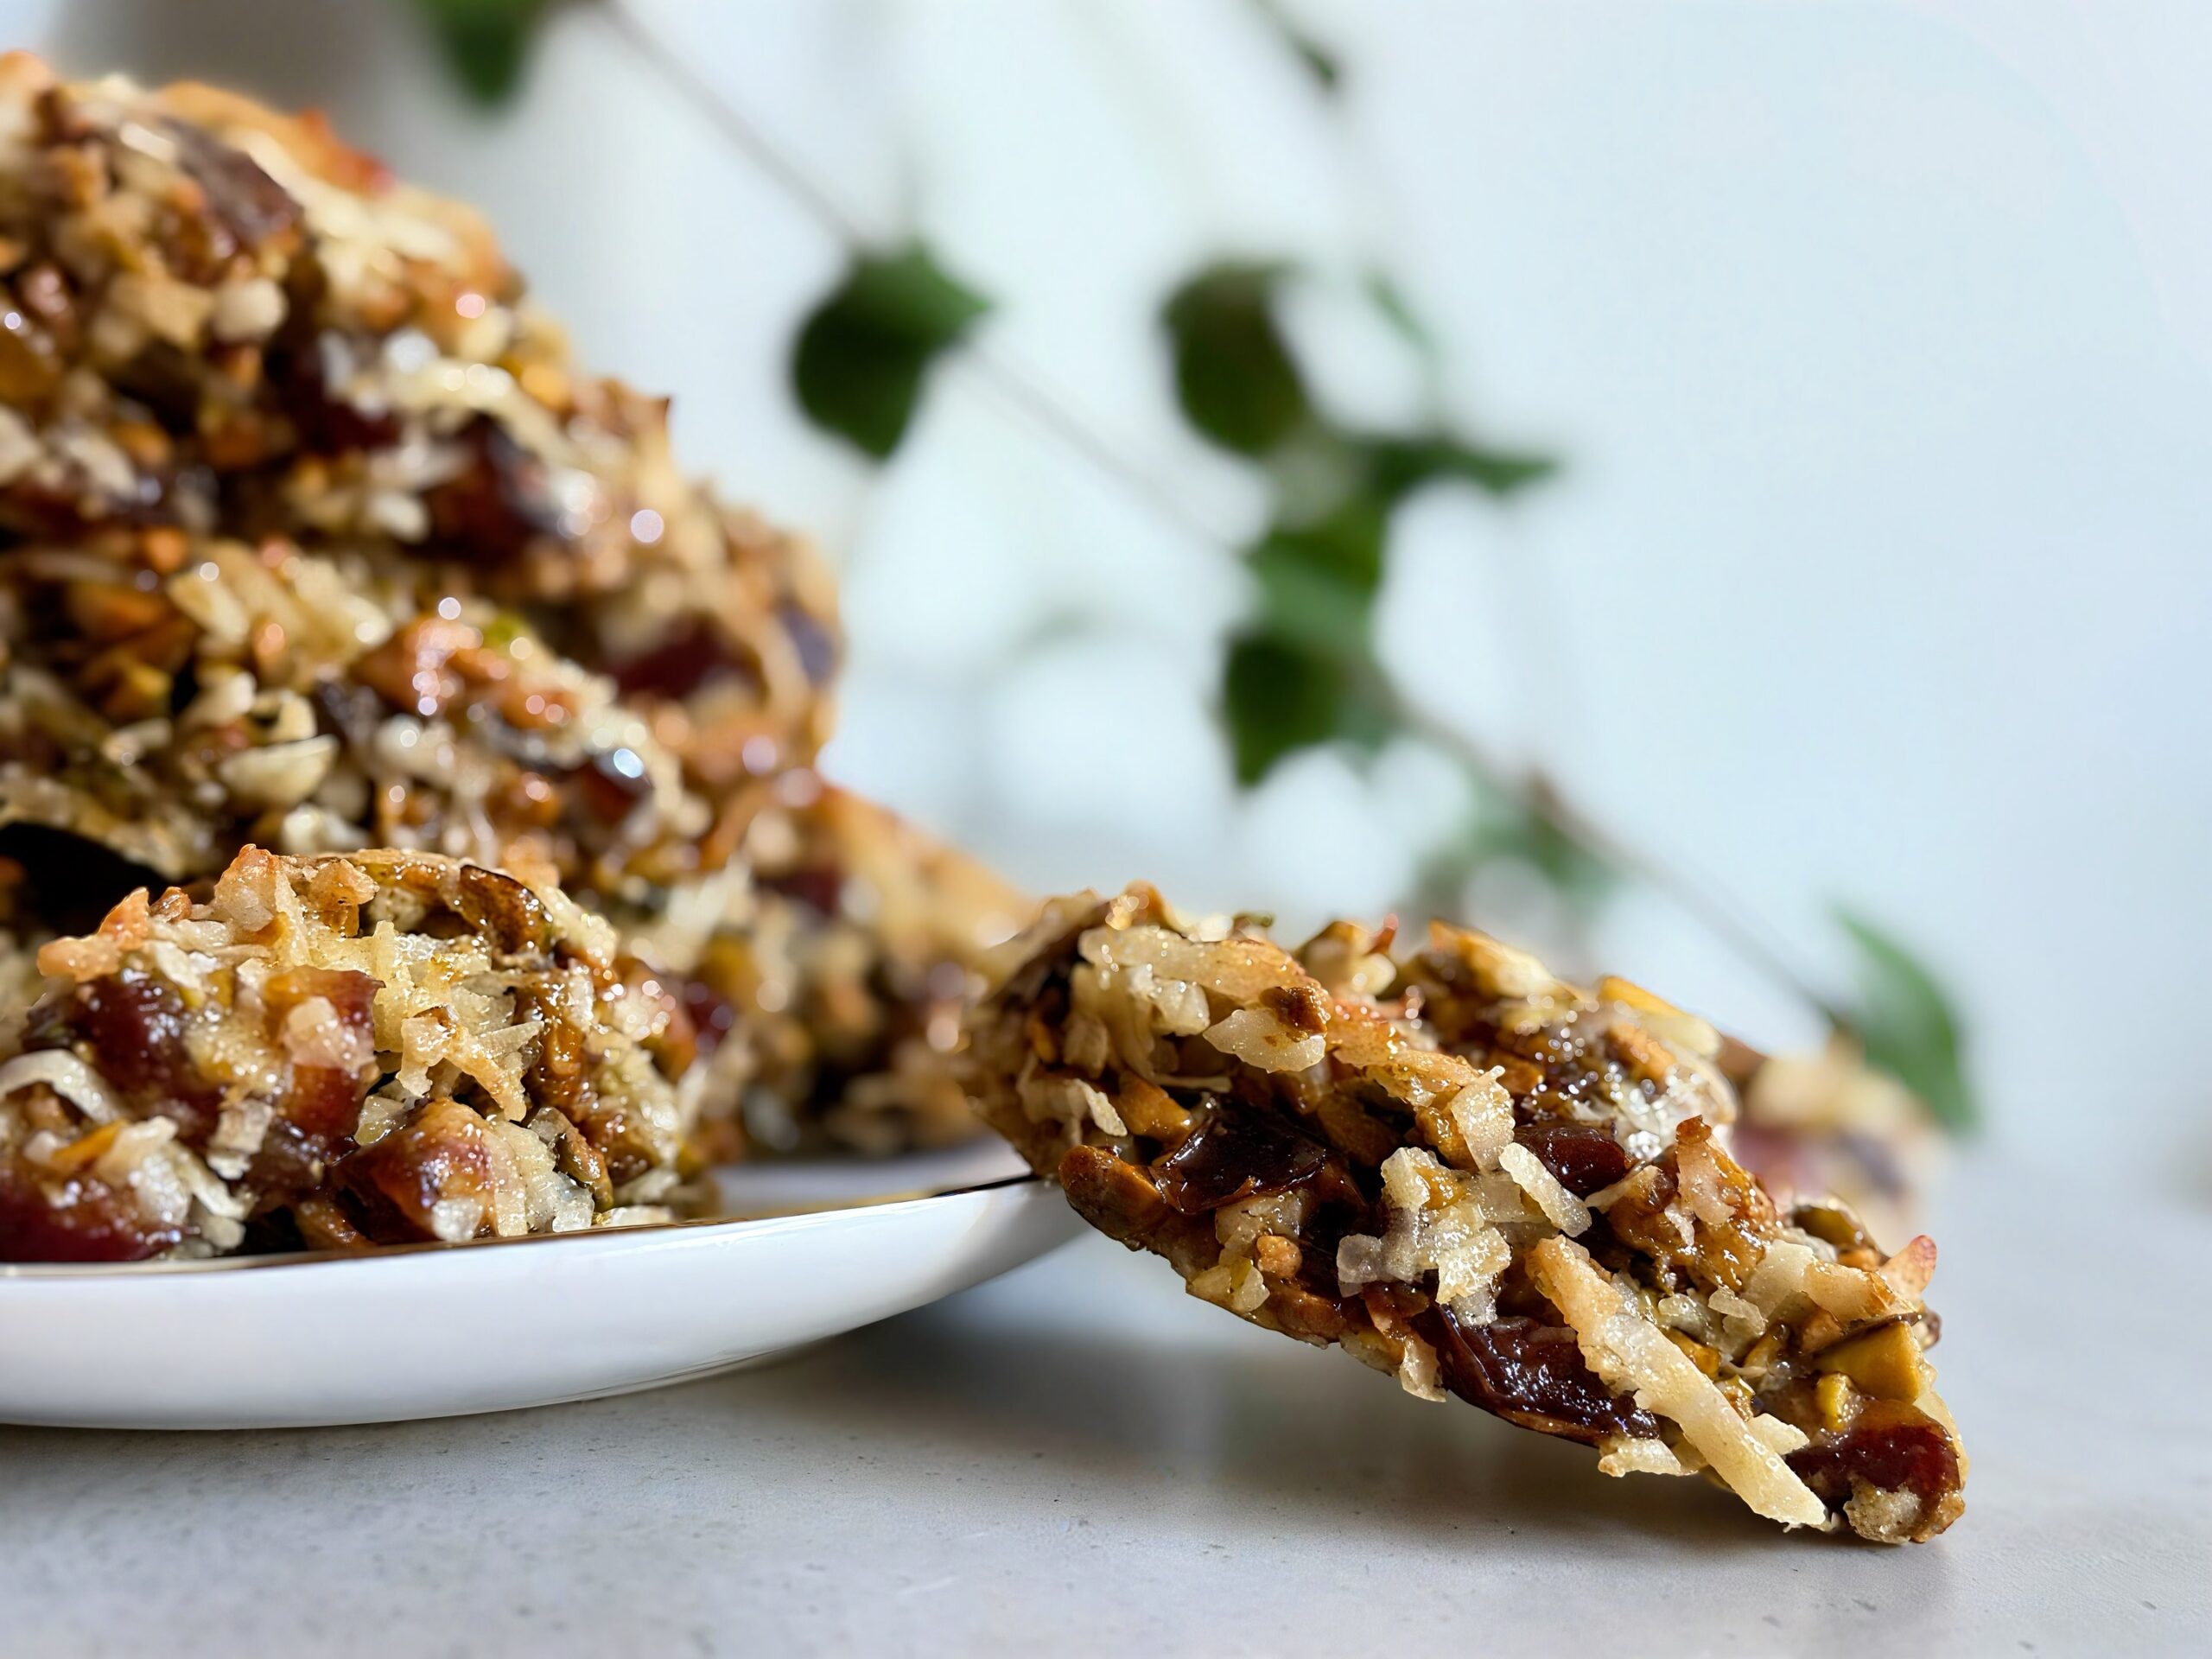
There is something special about a recipe that has survived decades inside a handwritten wooden box. These Vintage Hedgehog Cookies are a direct link to my great-grandmother's holiday kitchen. They aren't your typical buttery shortbread or sugar cookie; they are dense and chewy, with sweetness from dates, coconut, and brown sugar.
I love these because they represent a different era of baking—one where you didn't need a stand mixer or a bag of flour to create something decadent. They land somewhere between a chewy macaroon and a soft caramel candy. If you're looking for a holiday cookie that stands out from the usual sea of gingerbread, these “hedgehogs” are exactly what your dessert tray is missing.
If you enjoy recipes with a bit of history, you should also check out The Carter Cookie: A Classic Peanut-Packed Vintage Treat or my Old-Fashioned Raisin Filled Cookies. If you are looking for a softer texture, Grandma's Authentic Vintage Gumdrop Cookies are always a crowd favorite. And for a modern, high-protein contrast to these vintage sweets, my Giant High-Protein Chocolate Chip Cookie is the ultimate single-serve treat.
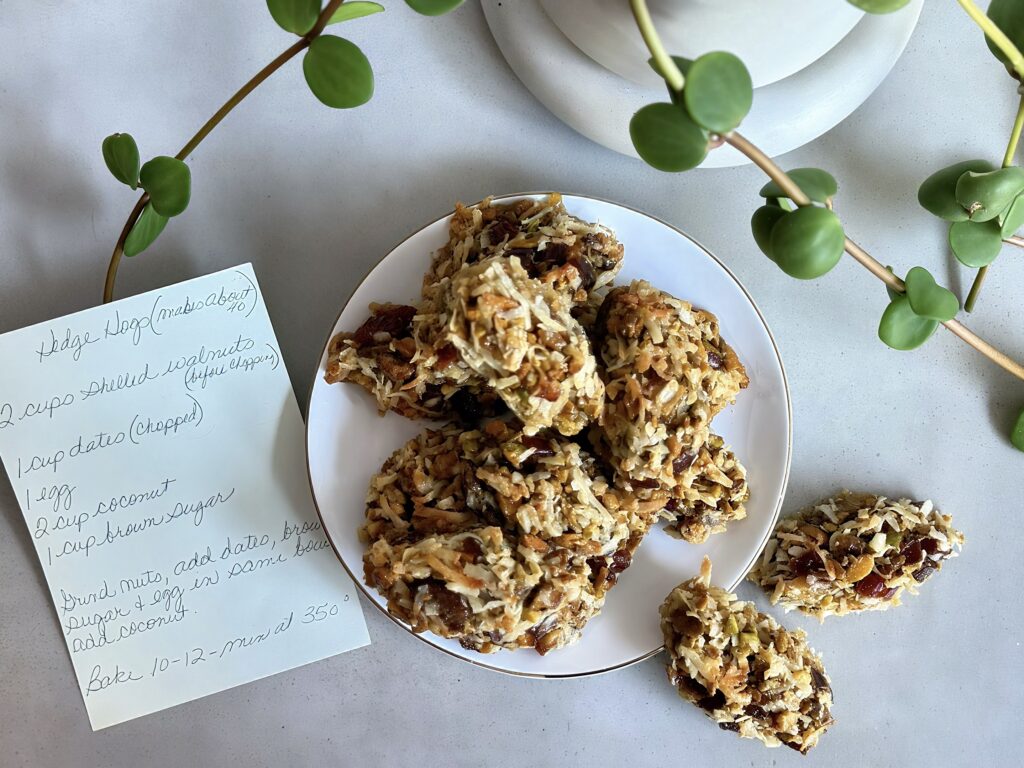
Why You'll Love This Recipe
Hand-Shaped: No fancy tools required; just roll, shape, and bake.
Five-Ingredient Simplicity: No flour, no butter, no oil—just real, whole ingredients.
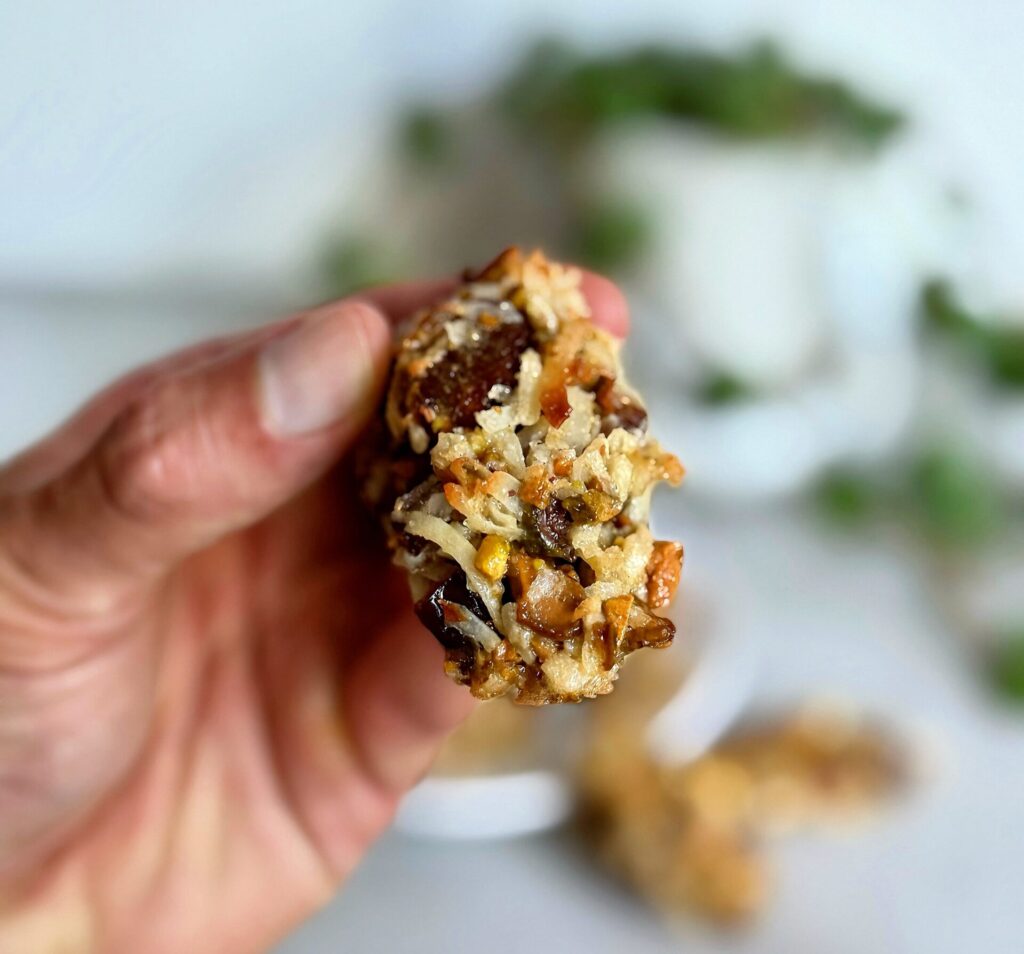
Unique Texture: A crunchy, toasted exterior with a center that's as chewy as a date-nut caramel.
Naturally Sweet: The deep, rich sweetness comes from the dates and packed brown sugar.
The Heirloom Method
The “magic” of this recipe is in how the ingredients work together. Without flour or butter, finely chopped walnuts and shredded coconut help the mixture hold together, while the egg and melted brown sugar also contribute structure and chew. The name “Hedgehog” comes from the shredded coconut and chopped nuts that poke out like little quills as the cookies bake and toast.
Equipment
This recipe barely requires equipment, which is part of its charm.
These basics keep everything consistent:
- Mixing bowl
- Baking sheet
- Parchment paper
- Measuring cups and spoons
- Wire rack
Ingredient Deep Dive & Strategy
The Walnuts (2 Cups)
Don't just rough-chop these. You want to pulse them in a food processor or chop them until they look like coarse crumbs. This creates the “flour” base for the cookie. If the pieces are too big, the cookies will crumble.
The Dates (1 Cup)
Use high-quality, soft dates. They act as the “fudge” in this recipe. Ensure they are finely diced so they distribute evenly throughout the dough for a consistent chew.
The Coconut (2 Cups)
If your mixture feels too sticky to handle at first, let it rest for 5 minutes. Shredded coconut is highly absorbent and needs a moment to soak up the moisture from the egg.
Ingredients
- 2 cups shelled walnuts (before chopping)
- 1 cup dates, chopped
- 1 large egg
- 2 cups shredded coconut
- 1 cup brown sugar, packed
Tools I Use for This Recipe
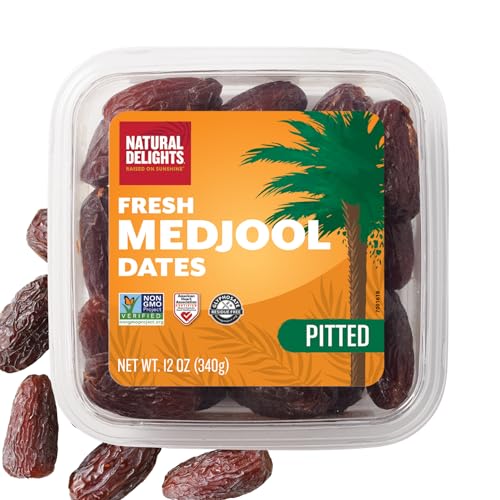
Natural Delights Pitted Medjool Dates, 12 oz
A suggested pitted-date option that saves prep time; date size and moisture can vary, so the cookie mixture may need a brief rest before shaping.

Diamond of California Shelled Walnuts, 32 oz
Provides the two cups of walnuts that give these heirloom cookies their dense, nutty texture.

Baker's Angel Flake Sweetened Coconut, 2-Pack
A suggested shredded-coconut option for the chewy texture; sweetness and moisture may vary by brand.
This post contains affiliate links. As an Amazon Associate, I earn from qualifying purchases.
Instructions
1. Prep the Oven
Preheat your oven to 350°F (175°C). Line a large baking sheet with parchment paper.
2. Create the Nut Base
Finely chop or pulse your 2 cups of shelled walnuts until they resemble coarse crumbs. Place them in a large mixing bowl.
3. The Sticky Mix
Stir in 1 cup of chopped dates, 1 cup of packed brown sugar, and 1 large egg. Mix with a sturdy spoon until the batter is evenly combined and very sticky.
4. Fold and Rest
Fold in 2 cups of shredded coconut. The mixture will thicken as the coconut begins to absorb the egg. If it's too loose to shape, let it sit for 5 minutes.
5. Shape the Hedgehogs
Scoop about 1 tablespoon of dough. Press and roll it between your palms into a small log or oval (like a little hedgehog body).
6. Bake
Place on the baking sheet and bake for 10–12 minutes. You are looking for the coconut edges to turn a light golden brown and the tops to look set.
7. The Firm-Up
Cool completely on a wire rack. These are delicate when warm but firm up into a chewy, candy-like texture as they reach room temperature.
Troubleshooting
- Cookies are Crumbly: This usually happens if the walnuts were left in large pieces. Finely chopped walnuts help the mixture hold together; large pieces can make the cookies more likely to crumble.
- Too Sticky to Shape: If the dough is sticking to your hands, dampen your palms slightly with water or let the dough rest for another 5 minutes to let the coconut hydrate.
- Burning on the Bottom: These have high sugar content from the dates and brown sugar. Use parchment paper and keep an eye on them at the 10-minute mark.
Storage & Reheat
Serving Tip: These are best served at room temperature to maintain that soft, candy-like chew.
Room Temp: Store in an airtight container for up to 5 days.
Freezer: These freeze beautifully. Place in a freezer bag for up to 2 months.
BAKE THIS NEXT
Vintage Hedgehog Cookies
Ingredients
- 2 cups shelled walnuts before chopping
- 1 cup dates chopped
- 1 large egg
- 2 cups shredded coconut
- 1 cup brown sugar packed
Equipment
Method
- Preheat oven to 350°F (175°C). Line a baking sheet with parchment paper.
- Grind or finely chop the walnuts and place them in a large mixing bowl.
- Add the chopped dates, brown sugar, and egg. Mix until combined.
- Stir in the coconut until evenly blended. The mixture will be sticky.
- Scoop about 1 tablespoon of mixture and press together in the palm of your hand, forming logs or oval shapes.
- Place on baking sheet, spacing slightly apart (they don't spread much).
- Bake for 10–12 minutes, until lightly golden and set.
- Cool completely before serving. Cookies will firm up as they cool.

Leave a Reply