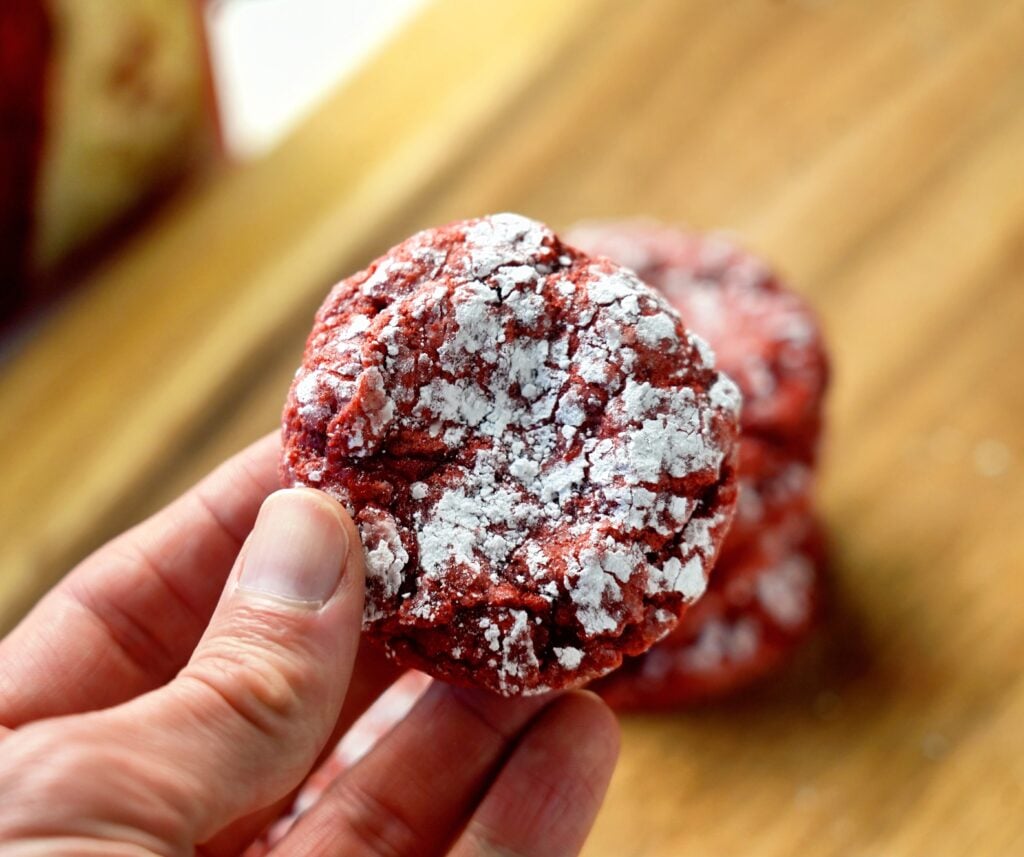
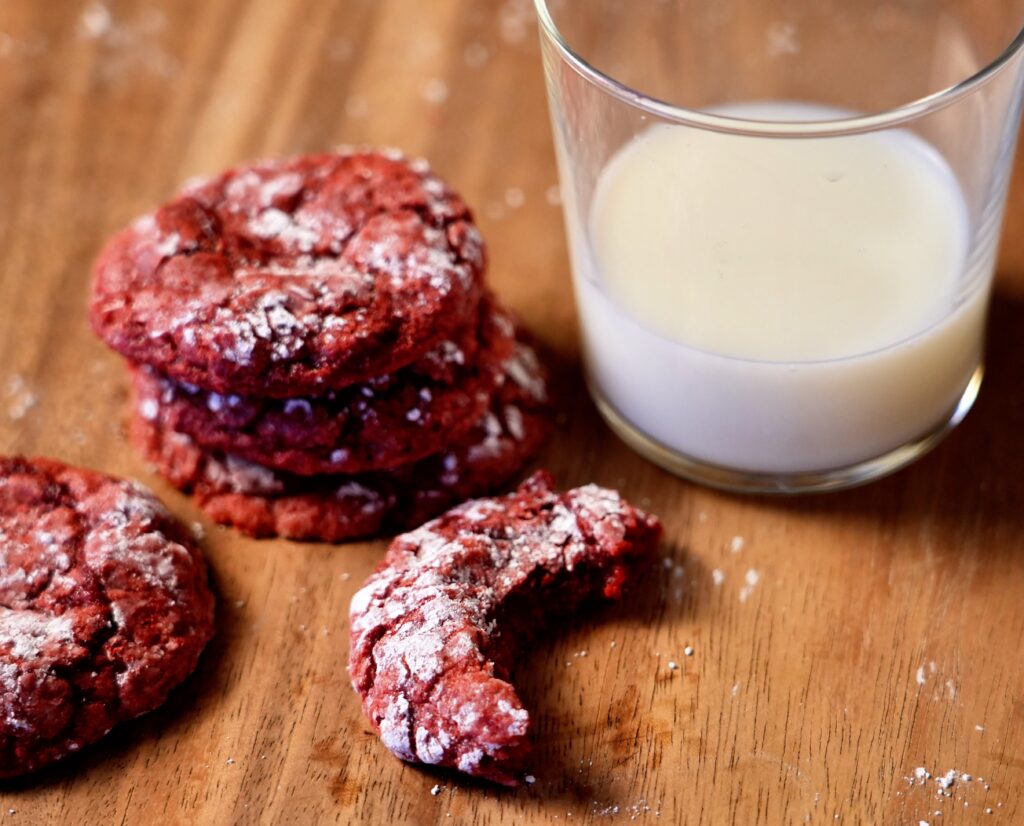
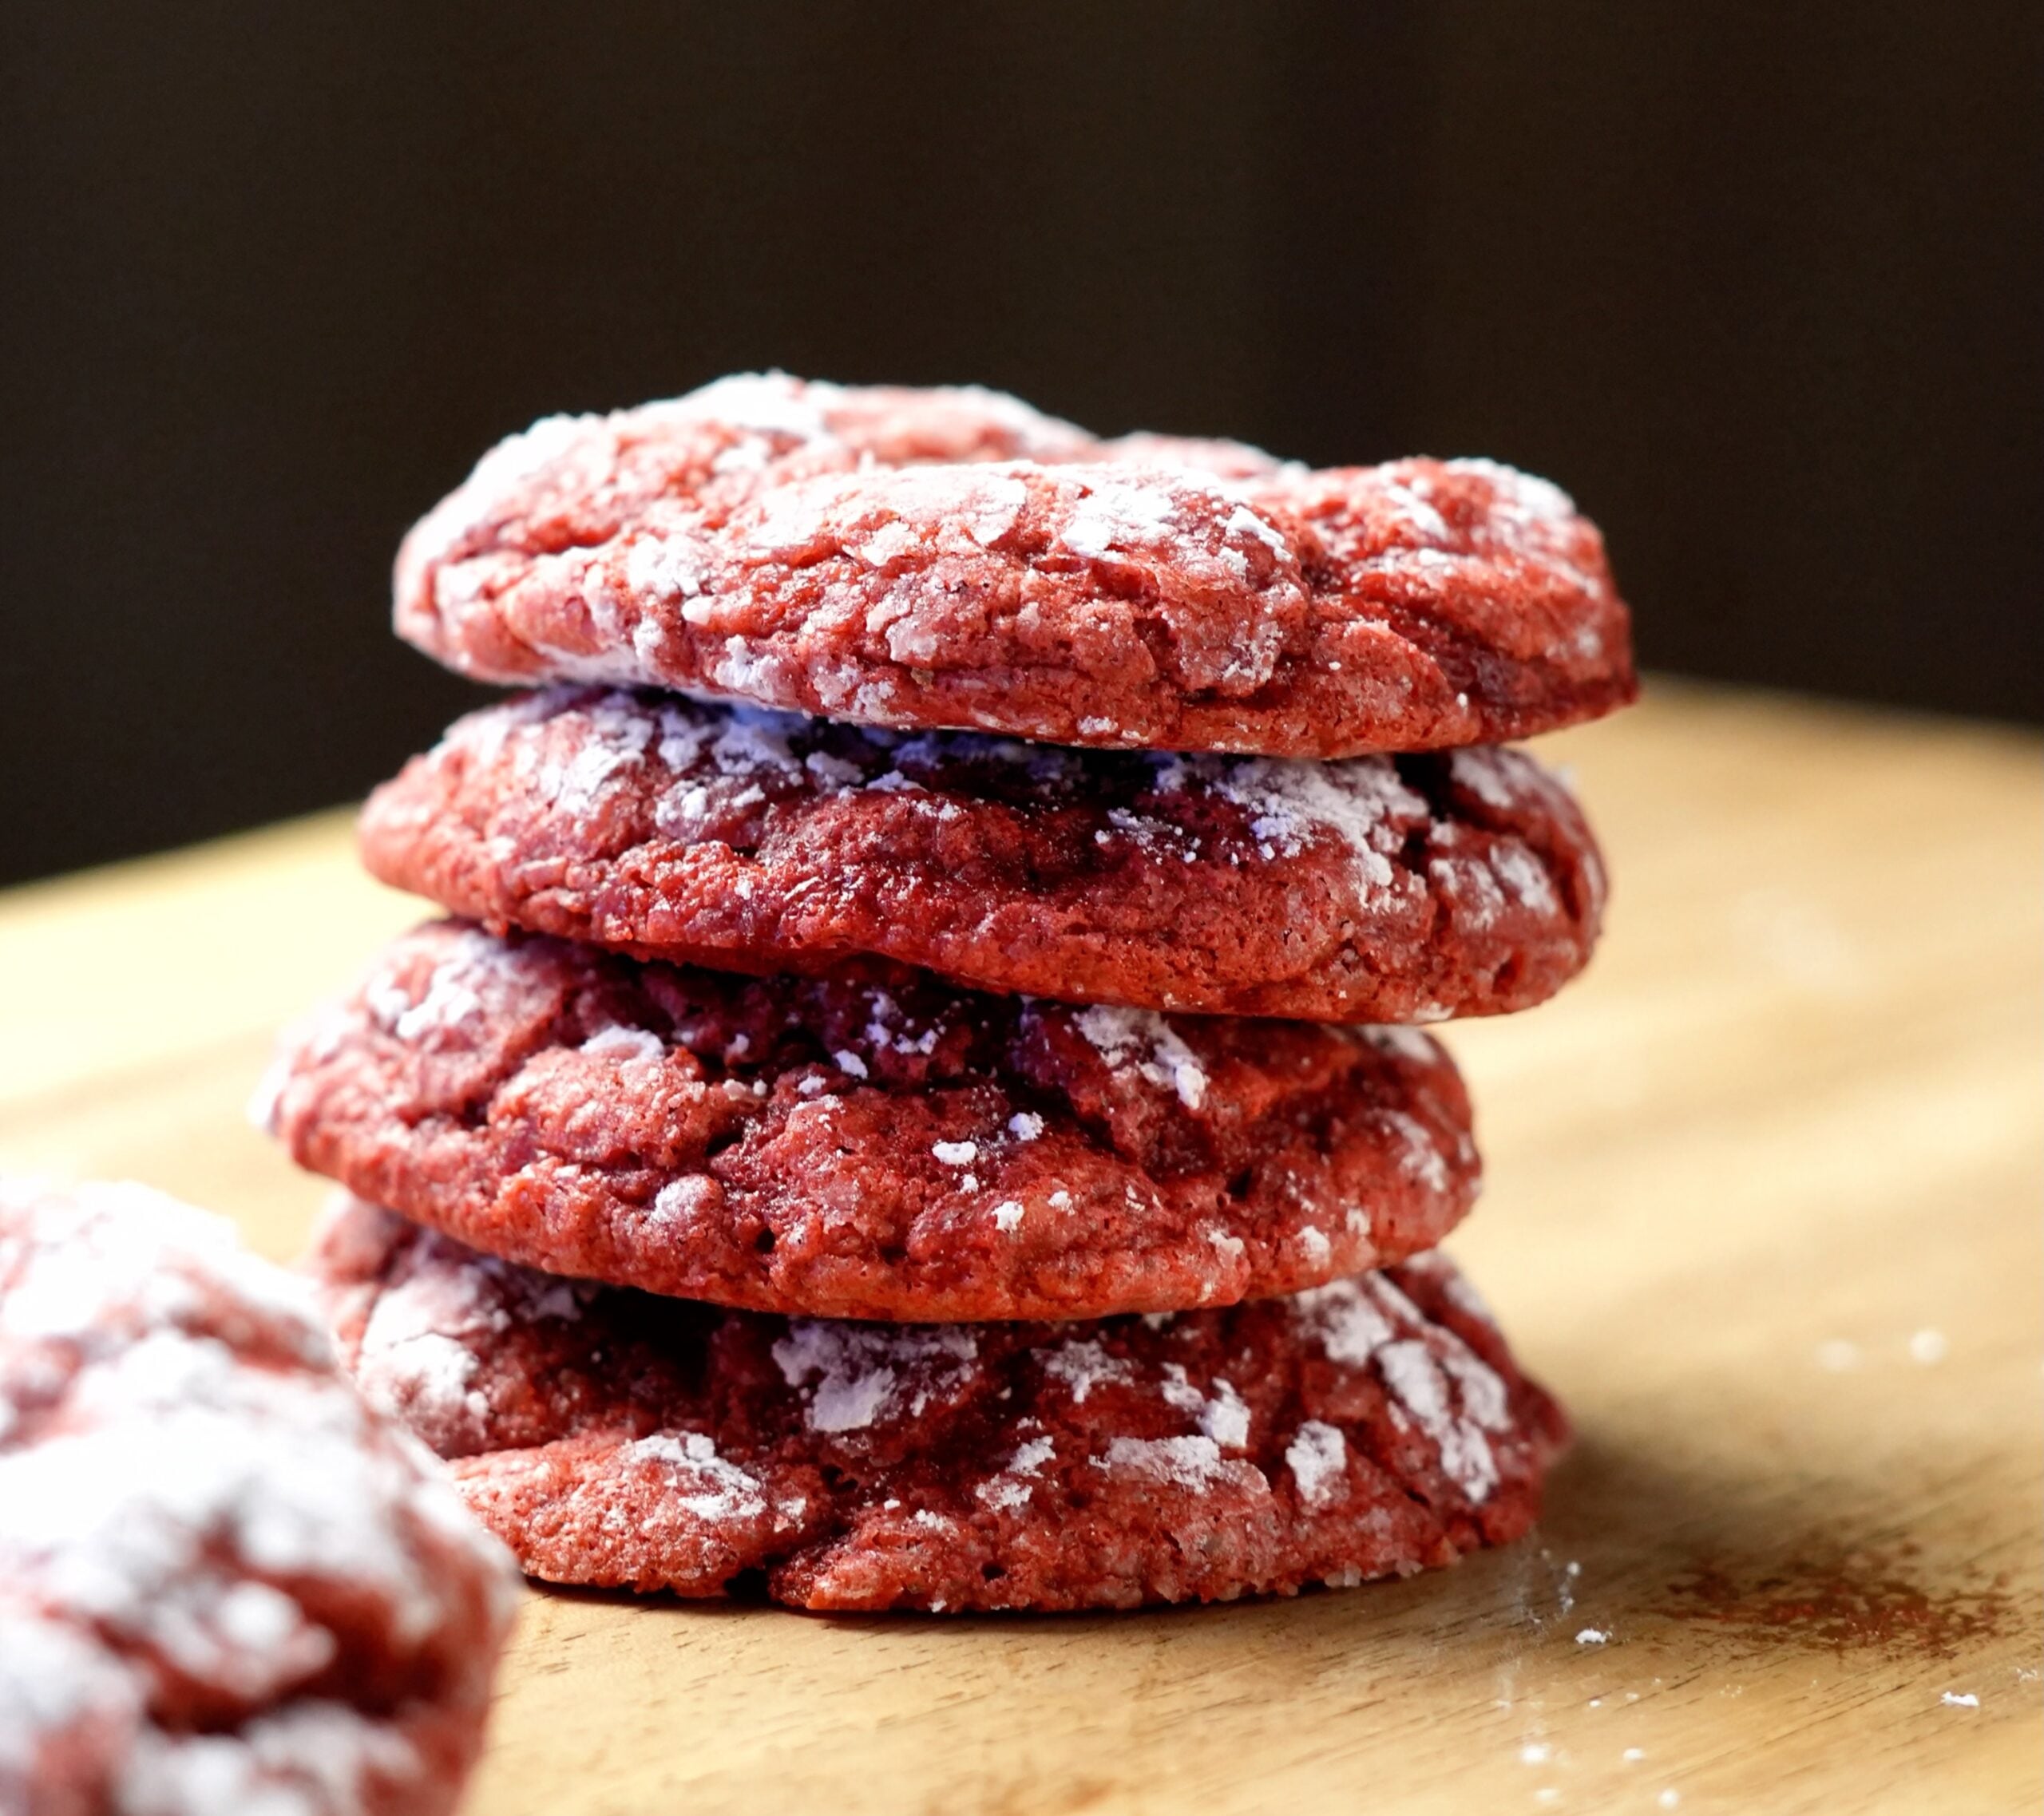
I've always loved the classic look of a crinkle cookie, but the traditional versions are usually just sugar bombs that leave you crashing an hour later. These Red Velvet Protein Crinkle Cookies change that. We're coming in at approximately 110 calories per cookie with a solid protein boost, making these a legitimate snack rather than just a cheat meal. They are soft, fudgy, and have that iconic crackled top that makes red velvet so recognizable.
If you're looking for other Cookies hits from the archive, try these:
When you're making a high-protein cookie, the biggest risk is ending up with something that feels like a hockey puck. In this recipe, we use a specific ratio of melted butter and unsweetened applesauce. The applesauce provides the necessary moisture and bulk without the heavy calorie count of more fat, while the small amount of butter ensures we keep that “melt-in-your-mouth” texture. By combining these with a whey/casein blend protein powder, we create a structure that stays soft even after cooling.
Why You'll Love This Recipe
Macro-Friendly Indulgence: At approximately 5g of protein per cookie, you can satisfy a sweet tooth while staying on track with your daily goals.
The Perfect Texture: Thanks to the quick chill and the post-bake “press,” you get a fudgy center with a classic crinkle exterior.
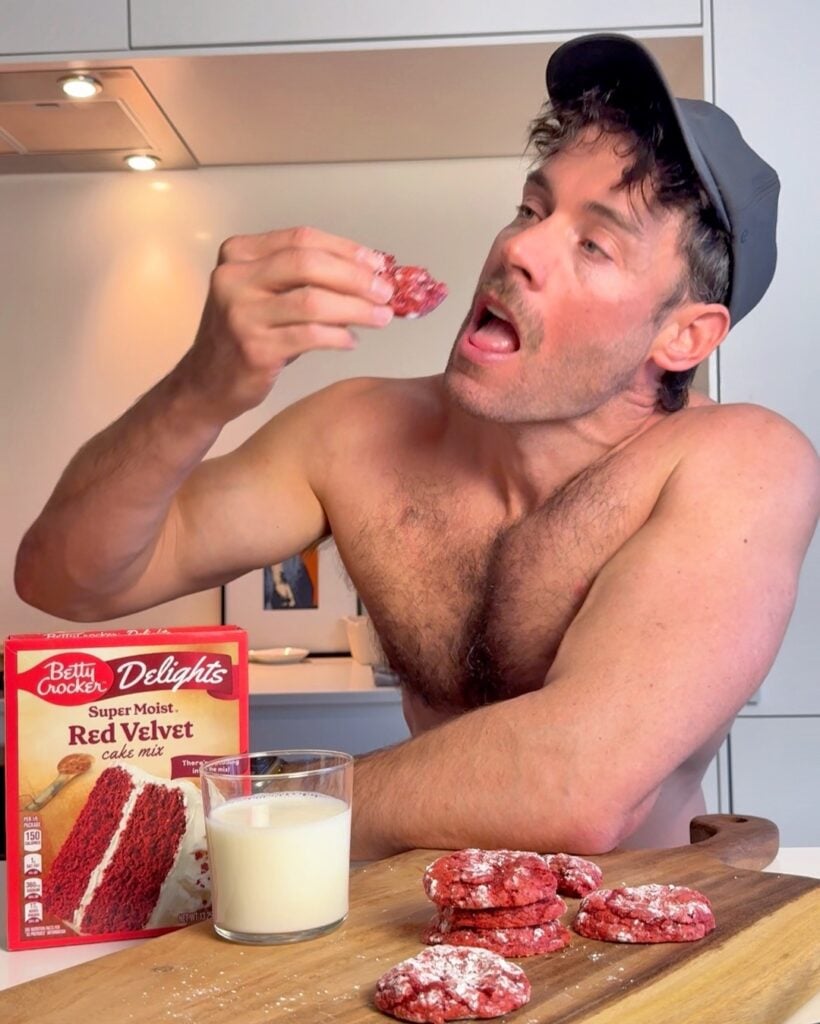
Minimal Ingredients: This isn't a 20-ingredient science project. We use a base of red velvet cake mix to ensure the flavor is spot on every single time.
Fast Prep: From mixing to baking, you're looking at about 30 minutes total, including the chill time.
What makes Red Velvet Protein Crinkle Cookies special?
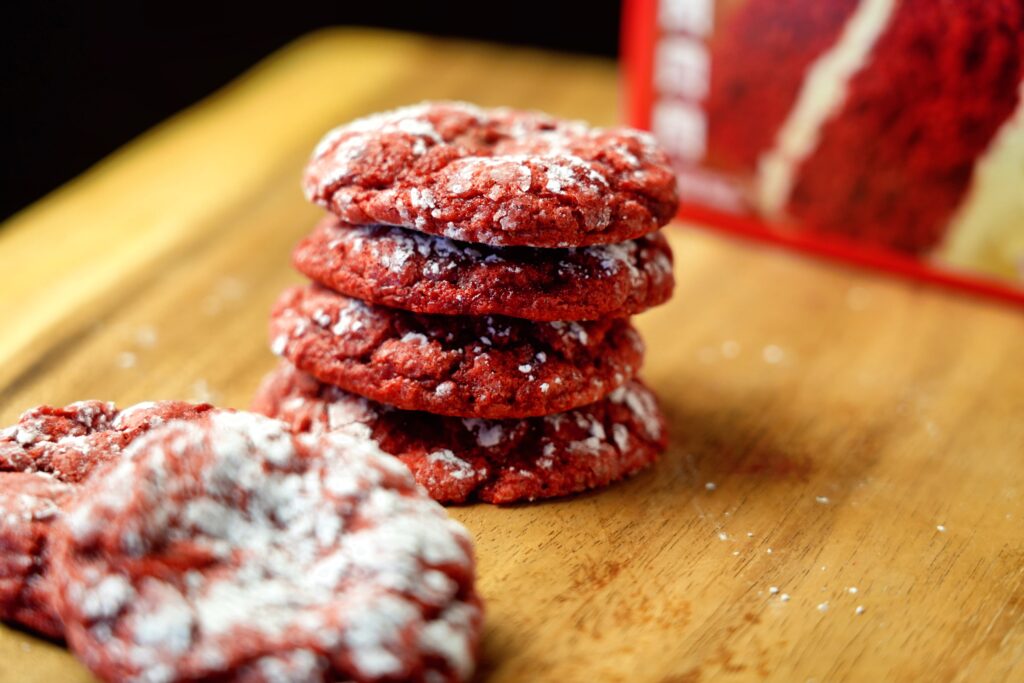
A true red velvet cookie isn't just a chocolate cookie with food coloring; it's about the balance of a mild cocoa flavor and a slight tang. In this version, we achieve that profile by using the cake mix as a structural base, which provides the precise cocoa-to-flour ratio needed. The “crinkle” is a result of the temperature contrast—rolling chilled dough in powdered sugar and hitting it with 350°F (175°C) heat causes the surface to tear beautifully as the cookie expands.
Key Equipment Focus
Digital Kitchen Scale: Precision is everything with high-protein baking. Red velvet cake mix and protein powder densities vary by brand. Weighing your ingredients (especially the 60g of cake mix) is the only way to ensure the dough isn't too dry or too sticky.
Silicone Spatula Set: The dough for these cookies is quite tacky. Using a silicone spatula allows you to scrape the bowl clean and fully incorporate the wet ingredients into the powders without the dough sticking to the tool.
Cookie Scoop Set: To ensure all 6 cookies bake evenly and finish at the same time, you need them to be the exact same size. A small cookie scoop makes portioning effortless and keeps your hands clean.
Ingredient Deep Dive & Strategy
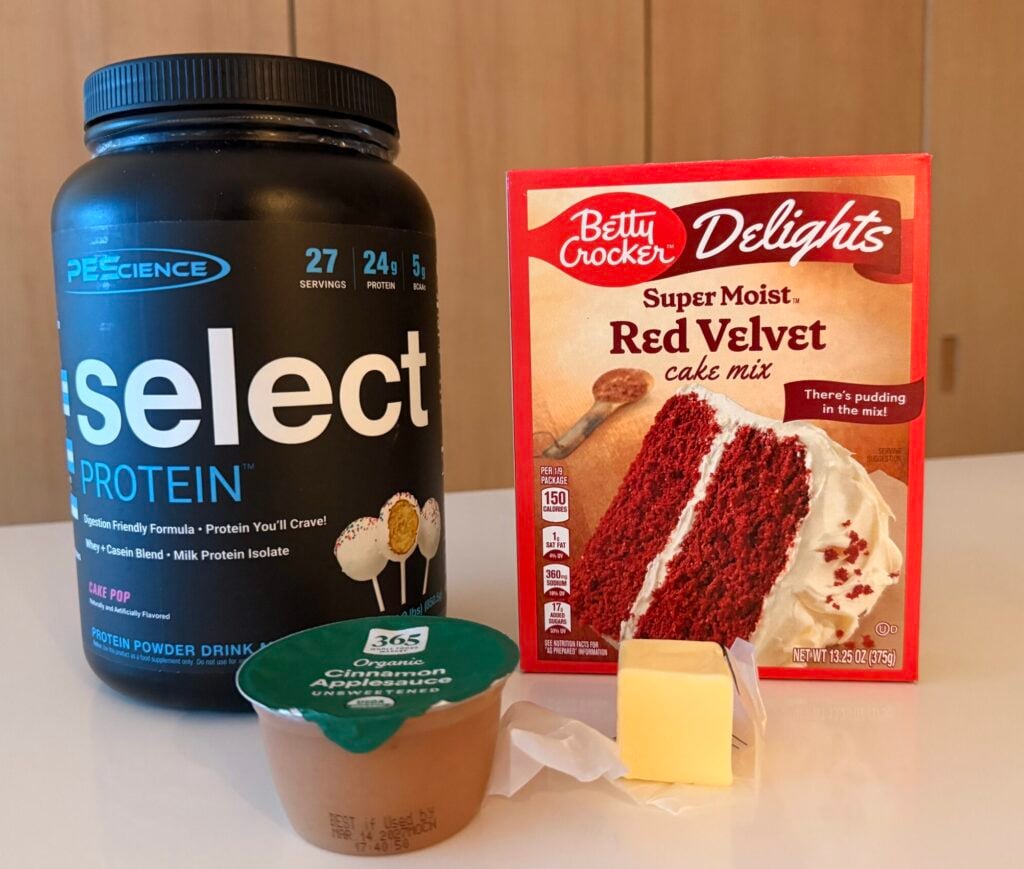
Red Velvet Cake Mix: This serves as our flavor and structural foundation. It contains the specific leavening agents and cocoa ratios needed to give that authentic red velvet taste and vibrant color.
PE Science Protein Powder (Whey/Casein Blend): Using a blend is essential. Casein absorbs more moisture than 100% whey, which prevents the cookies from spreading too thin and becoming rubbery.
Unsweetened Applesauce: This is our primary moisture source. The malic acid in the applesauce also reacts slightly with the leavening in the cake mix to help create a softer crumb.
Melted Butter: While we use applesauce to cut calories, the fat in the butter is essential for “shortening” the gluten strands, ensuring the cookie is tender rather than bready.
Red Velvet Protein Crinkle Cookies Step by Step Instructions
1. Prep the dry base:
In a medium mixing bowl, whisk together your protein powder and the red velvet cake mix. Use your Digital Kitchen Scale to ensure you have exactly 60g of the mix, as even a small overhead can make the cookies dry.
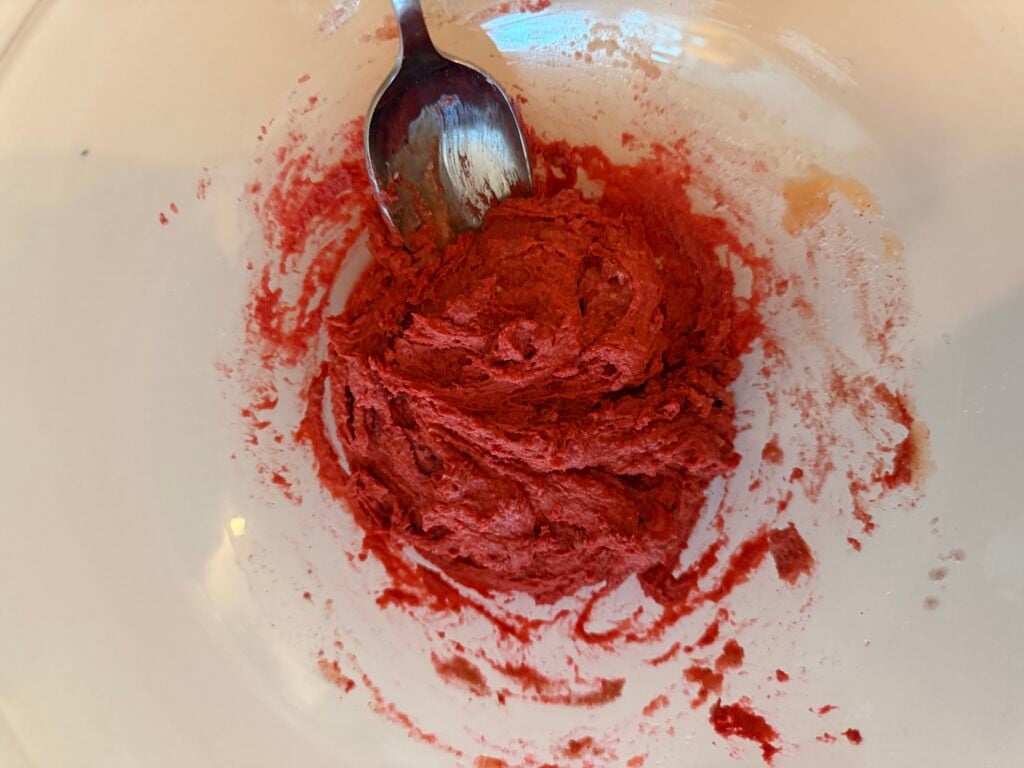
2. Incorporate the wet ingredients:
Add the melted butter and the unsweetened applesauce to the dry mixture. Use your Silicone Spatula Set to stir the mixture until a soft, cohesive dough forms. It should be slightly tacky but hold its shape.
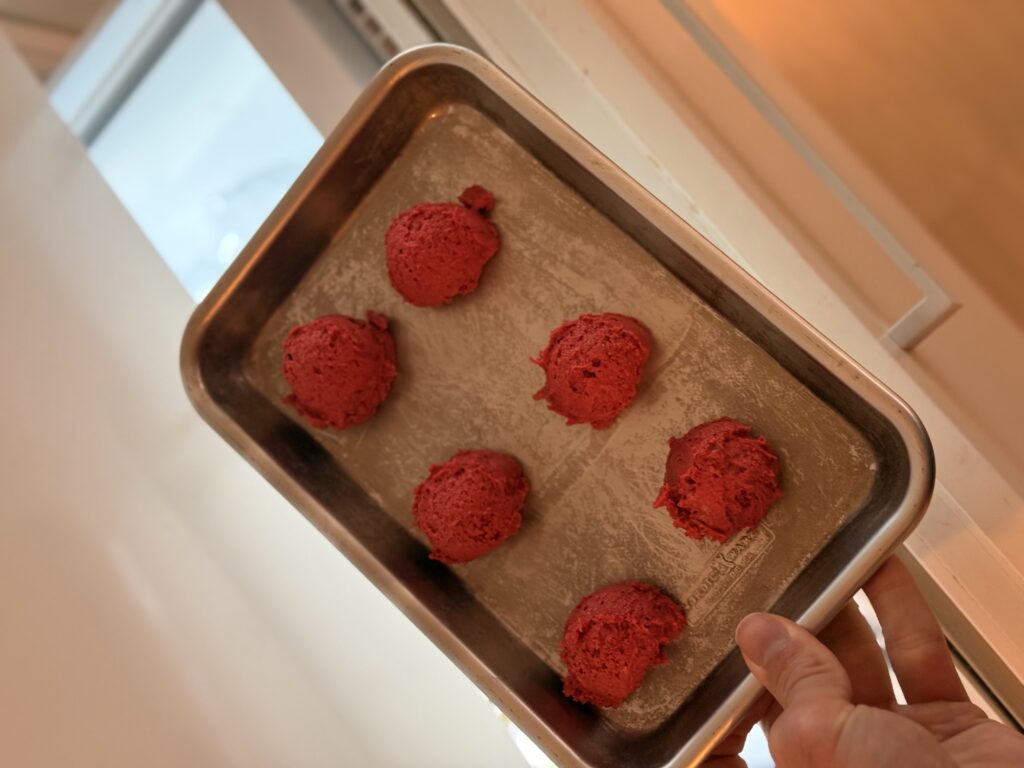
3. Portion and shape:
Using a scoop from your Cookie Scoop Set, divide the dough into 6 equal portions. Roll each portion between your palms to create smooth balls.
4. The Flash Chill:
Place the dough balls on a plate and pop them into the freezer for 10 minutes.
Chilling the dough is a non-negotiable step. It firms up the fats and prevents the cookies from spreading into flat puddles before the edges have a chance to set.
5. Preheat and prep:
While the dough is chilling, preheat your oven to 350°F (175°C). Line a standard baking sheet with parchment paper to prevent sticking.
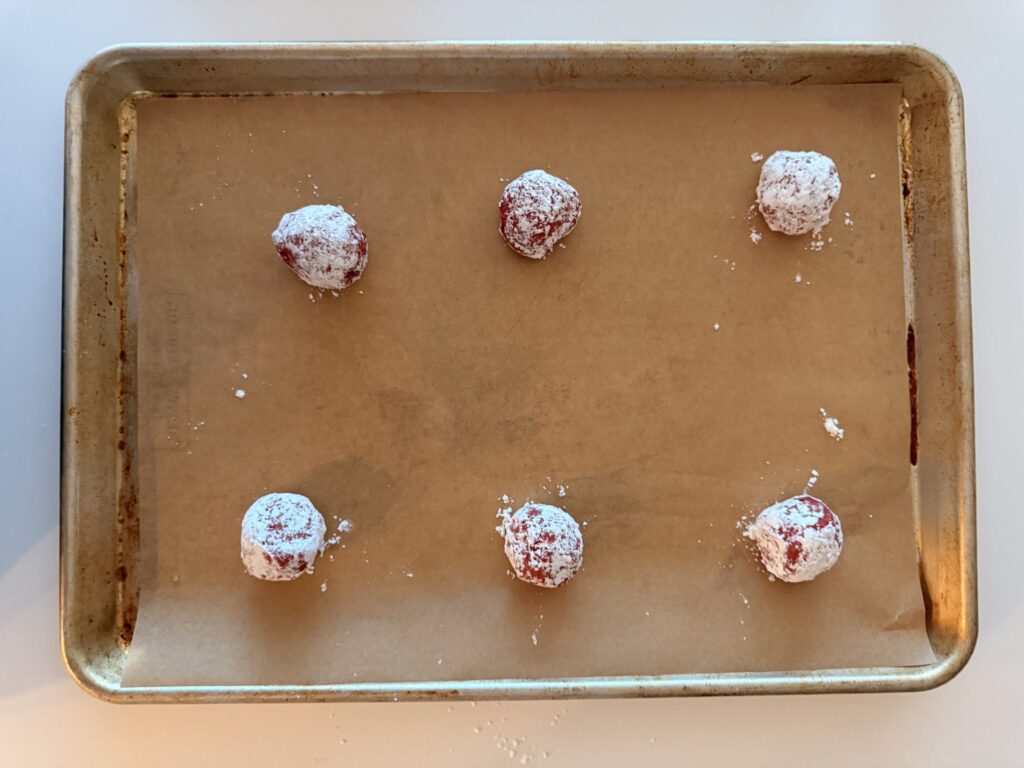
6. The Powdered Sugar Coating:
Remove the dough balls from the freezer. Roll each one generously in a small bowl of powdered sugar. You want a thick coating so the red color pops through the cracks during baking.
7. Bake to perfection:
Arrange the balls on the baking sheet with at least 2 inches of space between them. Bake for 8–10 minutes. Do not overbake; they should still look slightly soft in the center.
8. Create the Crinkle:
Immediately after removing the cookies from the oven, use the back of a spoon or a flat spatula to gently press down on the center of each cookie.
This manual “press” forces the surface to crack further, creating that professional bakery-style crinkle look while the cookie is still malleable.
9. Cool and set:
Allow the cookies to rest on the hot baking sheet for 5–10 minutes. They will finish setting up during this time.
Troubleshooting & FAQ
Why didn't my cookies crinkle?
This usually happens if the dough wasn't cold enough or if you didn't roll them in enough powdered sugar. The sugar acts as a barrier that dries out the surface quickly, causing it to crack as the interior expands.
Can I use 100% Whey protein?
You can, but be warned: 100% whey tends to dry out much faster and can lead to a “spongy” or rubbery texture. If you use whey, check the cookies at the 7-minute mark.
My dough is too sticky to roll!
Different protein powders absorb moisture differently. If your dough is too wet, add an extra tablespoon of cake mix or protein powder. If it's too dry, add a teaspoon of applesauce.
Why are my cookies flat?
You likely skipped the freezer step. Chilling the dough is what keeps the cookies thick. Also, ensure your butter is melted but not boiling hot when you add it to the mix.
Can I use a different cake mix?
Yes. This technique works perfectly with chocolate or spice cake mix if you want a different flavor profile while keeping the protein high.
Fridge: Store in an airtight container for up to 5 days. These actually stay very fudgy when kept cold.
Freezer: You can freeze these for up to 3 months. Thaw at room temperature for 20 minutes before eating. No reheating is required as these are best enjoyed at room temp or chilled.
These Red Velvet Protein Crinkle Cookies are the ultimate proof that you don't have to choose between your macros and your cravings. They look impressive, taste like a classic bakery treat, and won't ruin your progress. If you make these, tag me so I can see those crinkles!
Red Velvet Protein Crinkle Cookies
5 from 1 vote
These Red Velvet Protein Crinkle Cookies are soft, chewy, and lightly fudgy with a pretty crinkle finish. Made with protein powder, red velvet cake mix, applesauce, and butter, they're a simple sweet treat with a higher-protein twist.
Tip: Freezing the dough briefly helps keep the cookies thick while baking. Pressing them right after baking gives them that crackled, crinkle-cookie look.


Leave a Reply